Tuesday 31 March 2015

12 Page Swaps, and so it begins!

Over the last few months a group of fellow crafters and I took part in a Book Page Swap. 

Over the couple of weeks or so I will show you the pages that I created for each person so please don't miss out on what I have to show you!

We were asked to choose a subject on which we would like to receive pages from the others in the swap.  Being forever the pain in the bum that I am, I went with Science Fiction for my own!

Others in the group chose things such as Happiness, Steampunk or Family.  You will find out each person and their theme as I show you a new page each day!

We had a few guidelines to follow.  Every page was to be made 5" x 5" and to leave space in the left border for the holes to be punched for the book rings.  I confess that I fell short of that second rule on a couple of pages! 

The lovely Cheryl Baker, who also has her own craft blog, arranged the swap from start to finish, and also painstakingly created the front and back covers for each of us before binding the books and lovingly sending them on their way!  I'm sure she wont mind me sharing with you a couple of the finished books!  They really showcase the work she put into the covers!
  
The Fantasy cover, made by Cheryl Baker
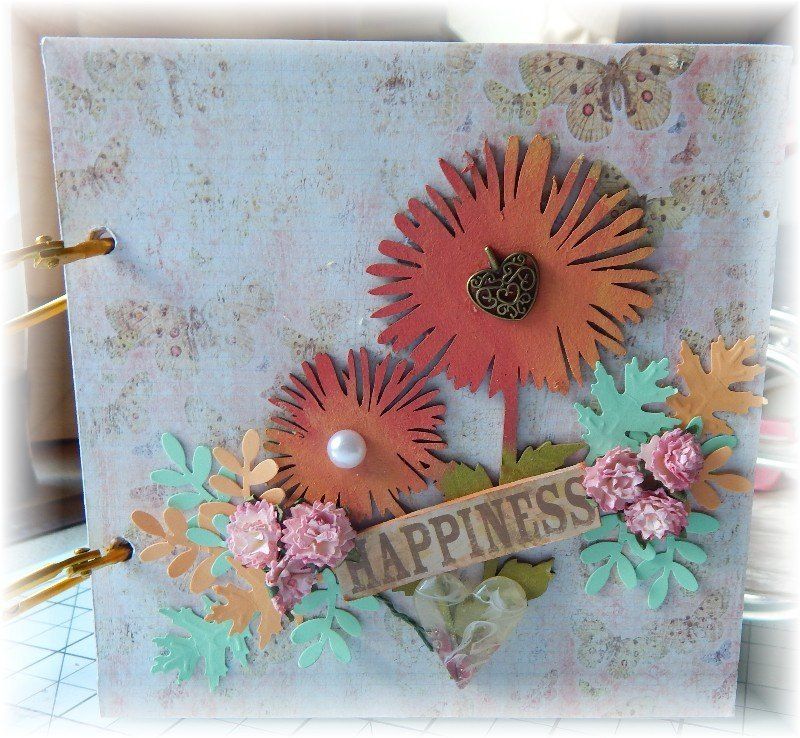
The Happiness cover, made by Cheryl Baker
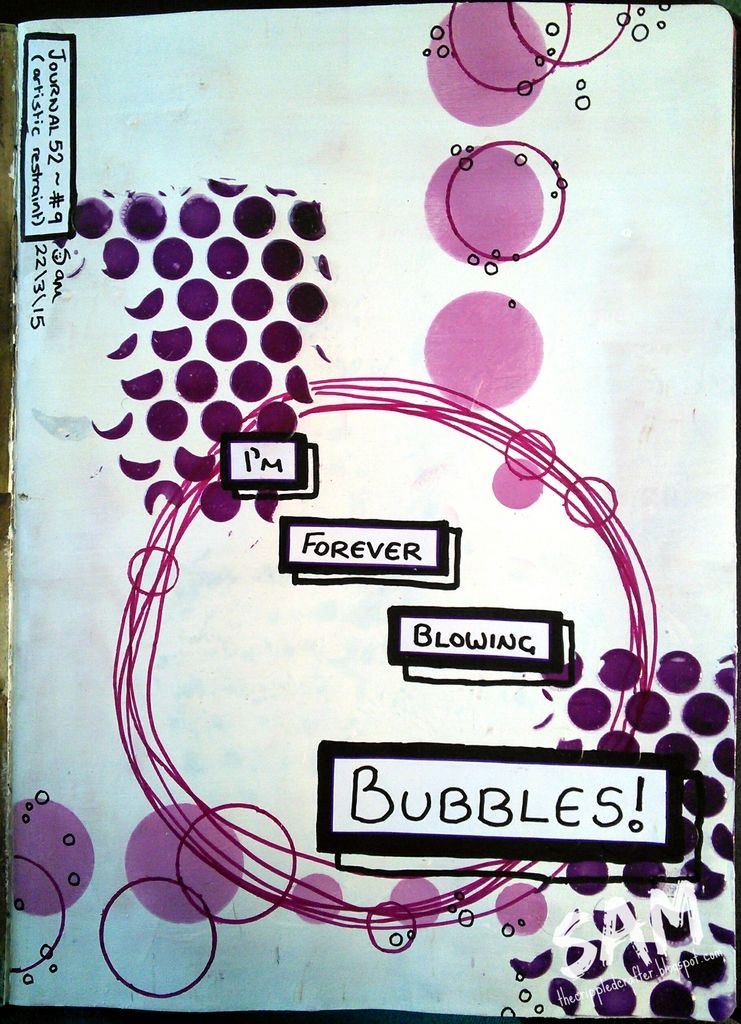
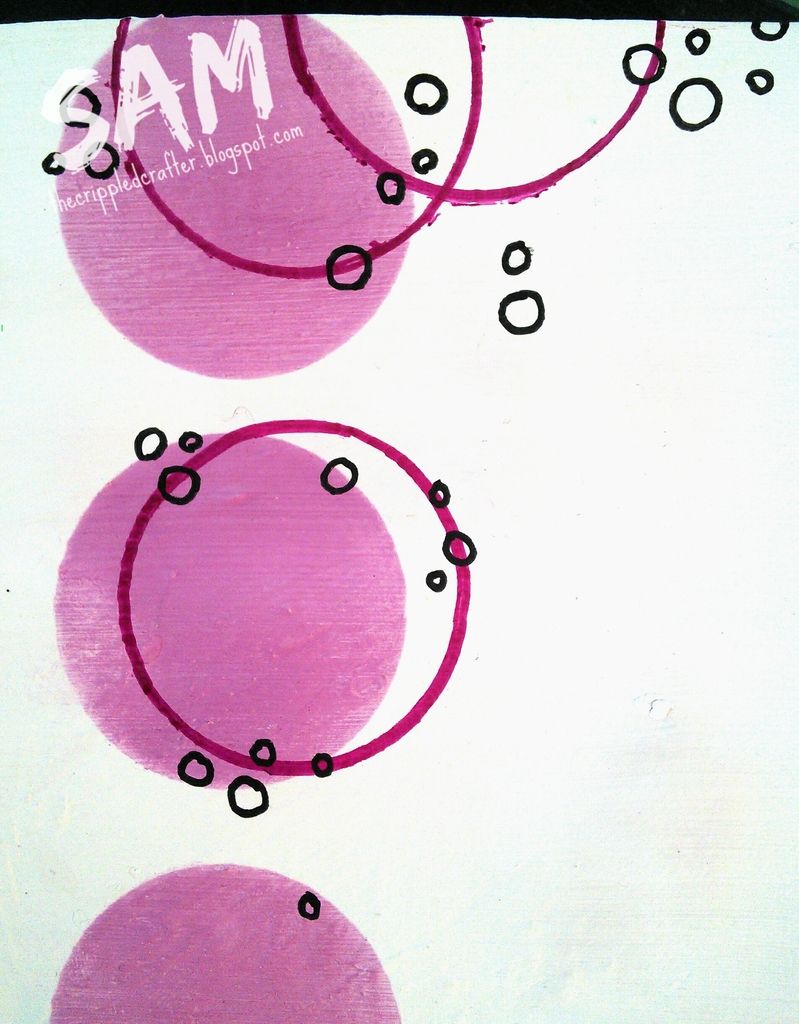
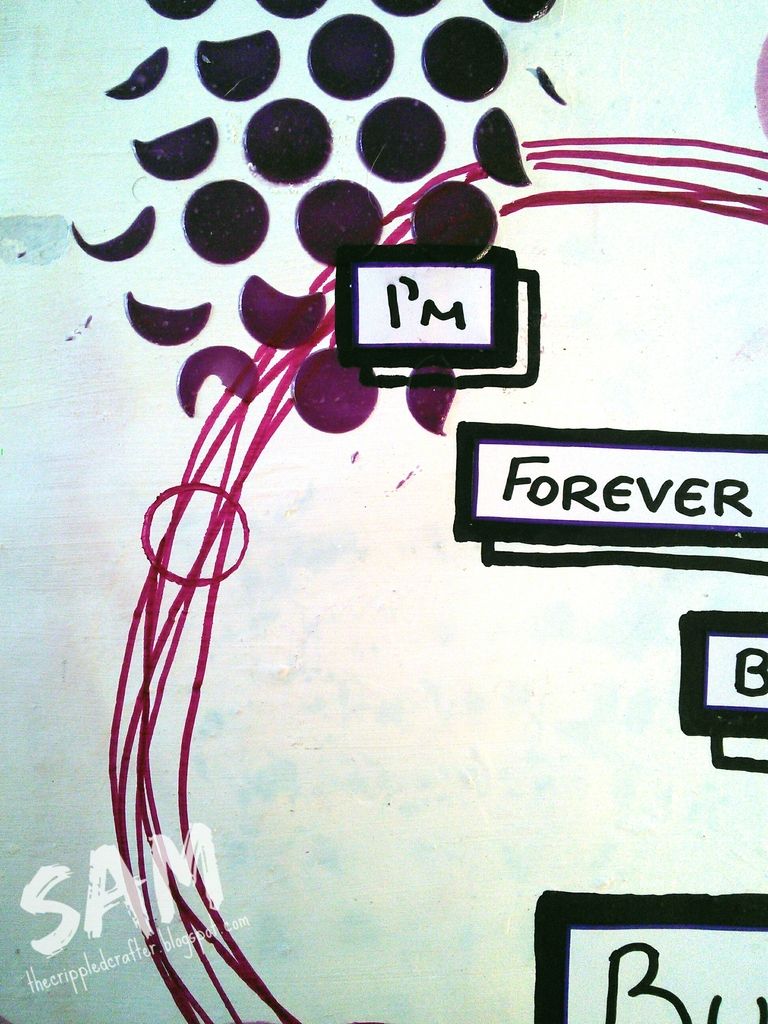
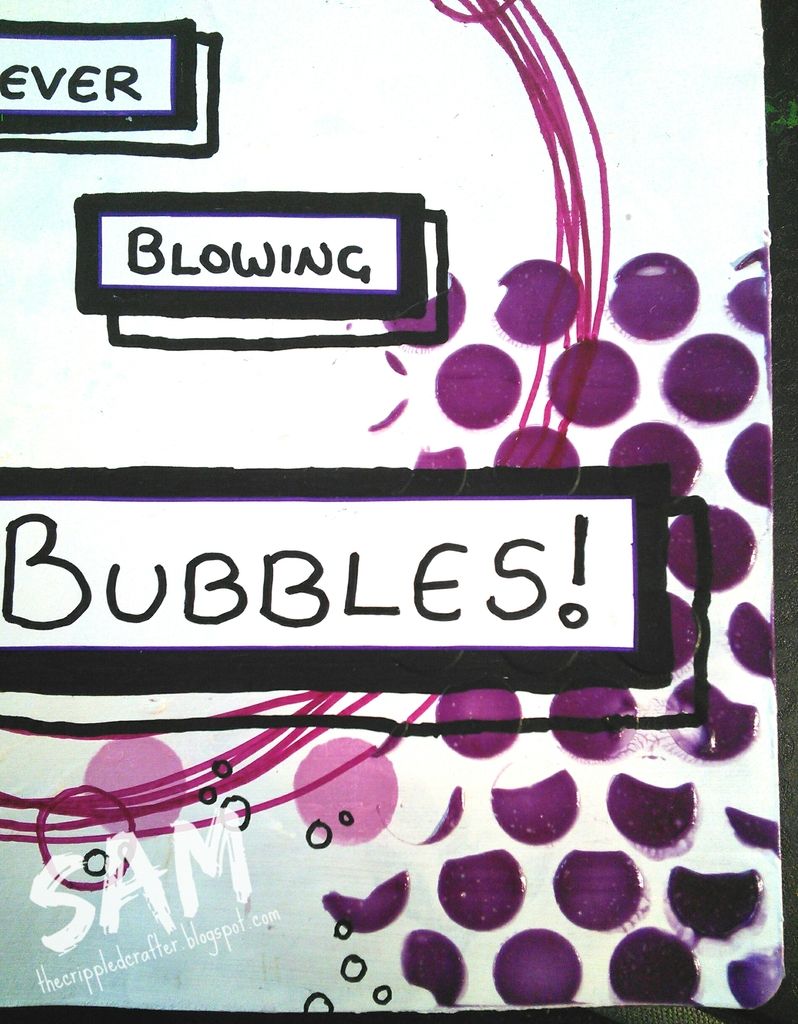
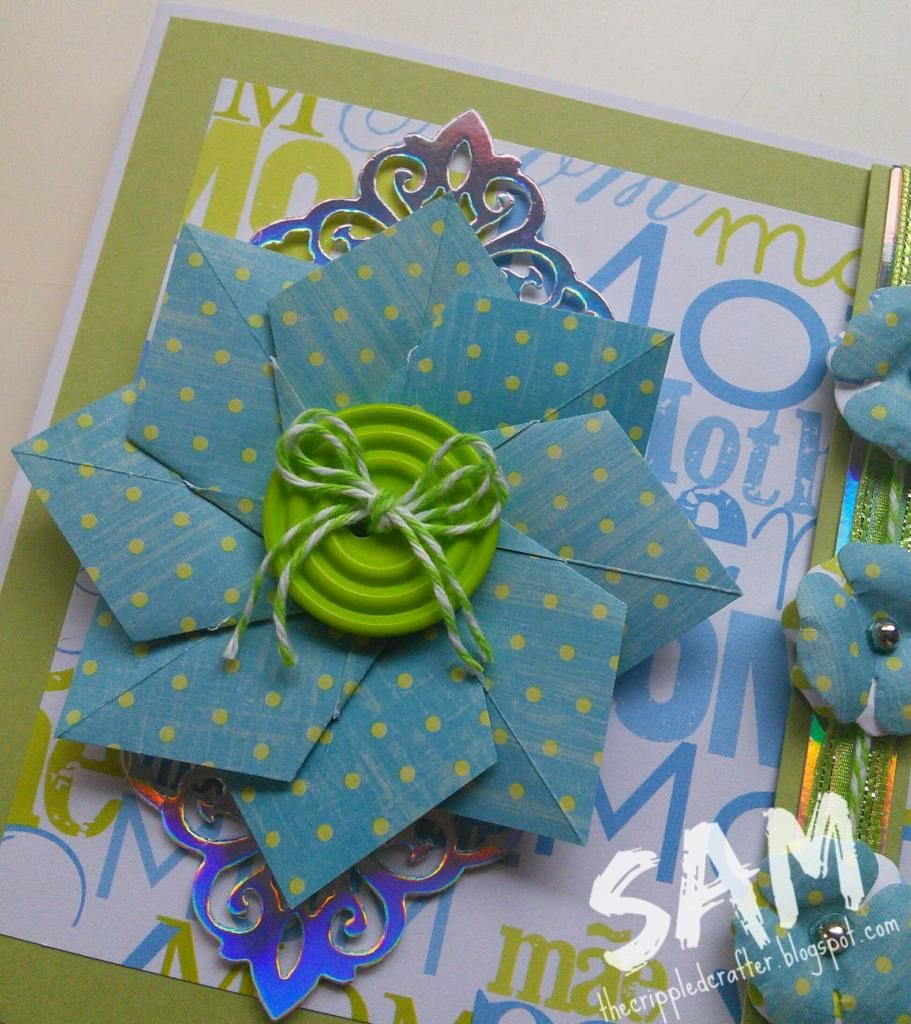
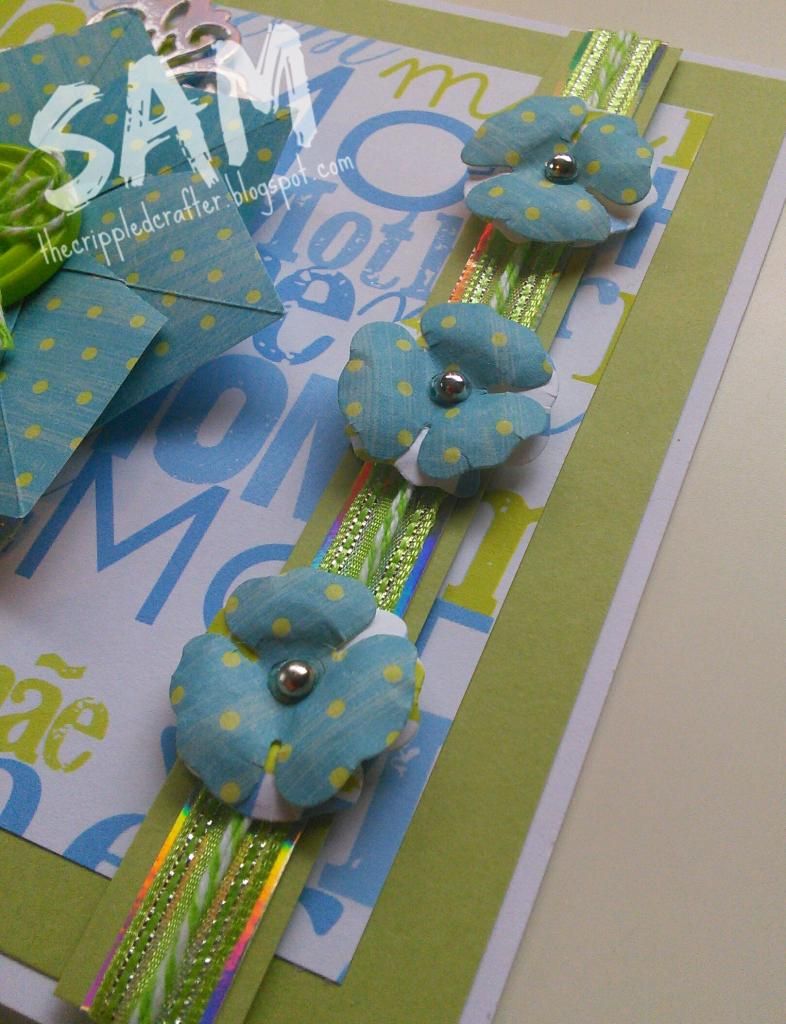
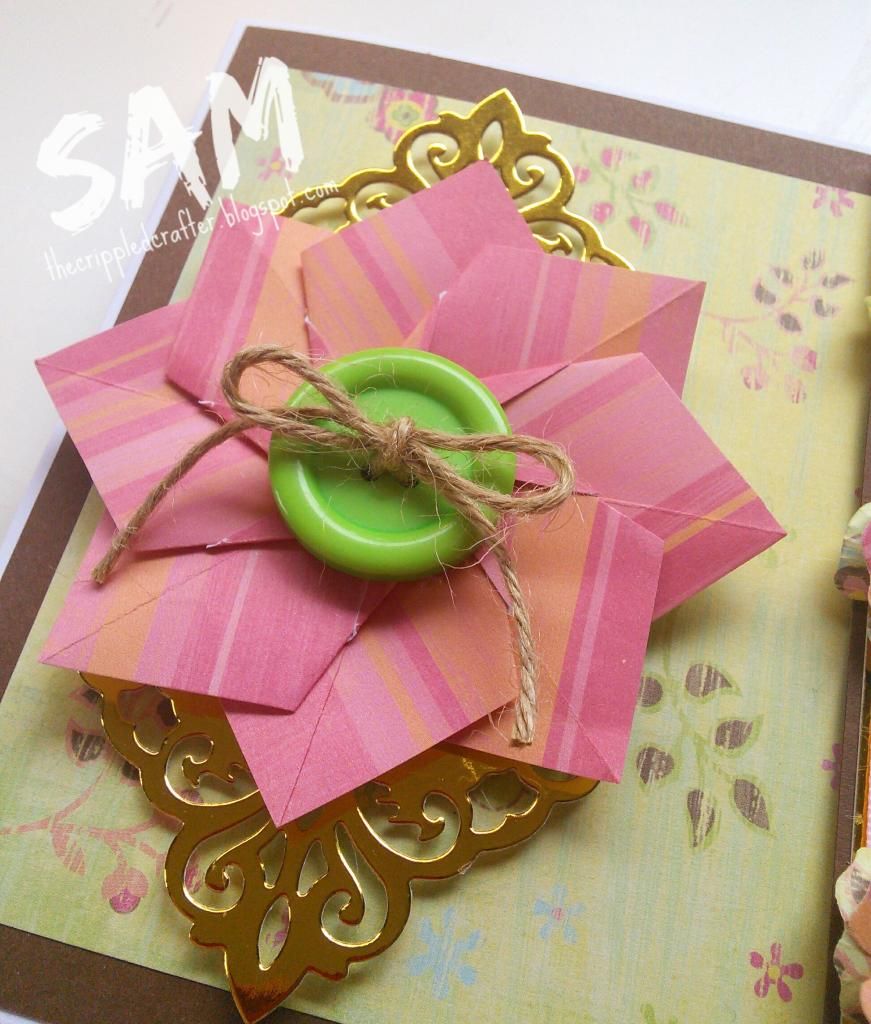
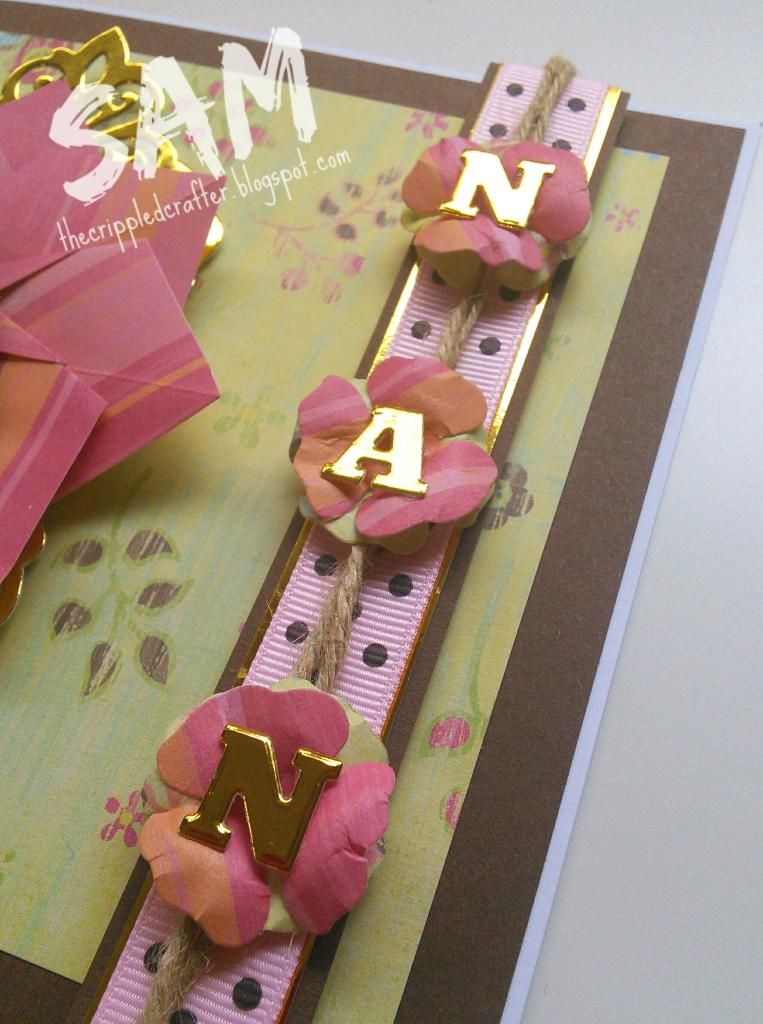
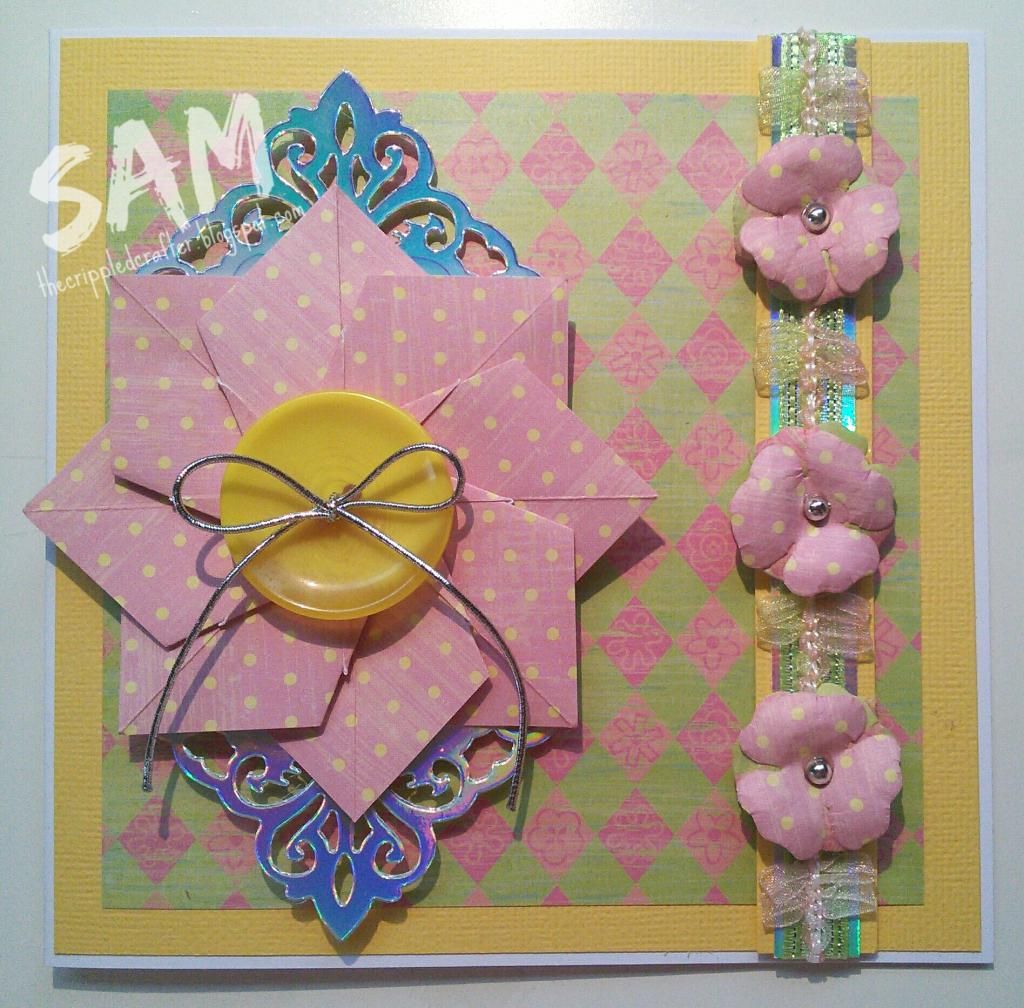
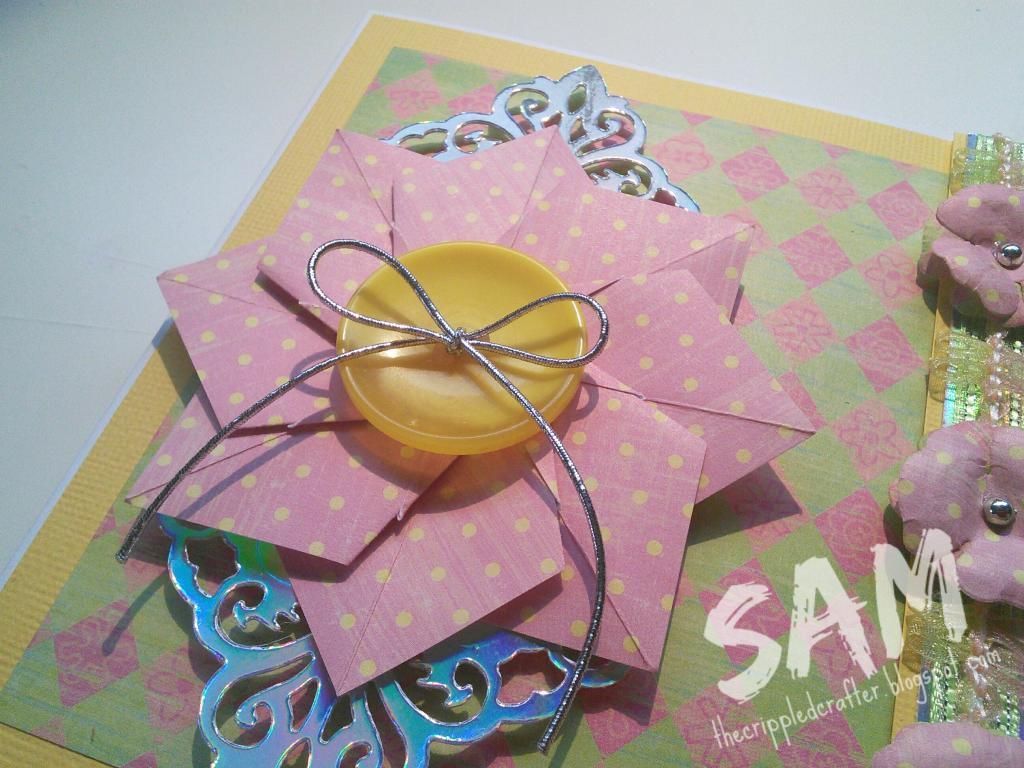
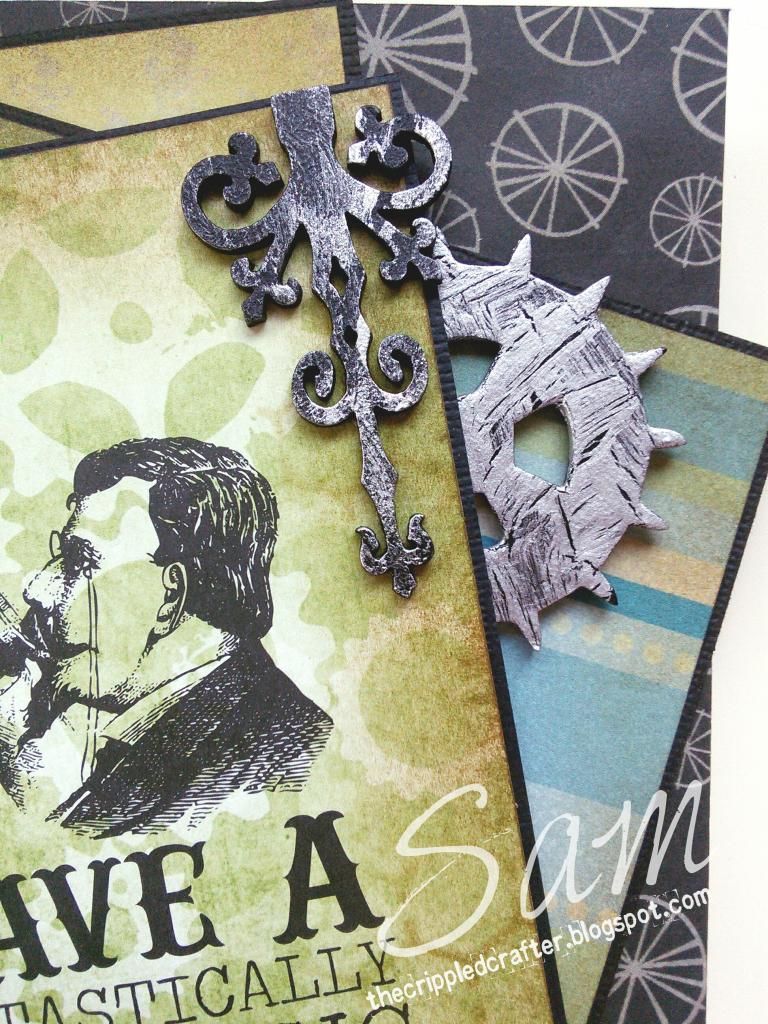
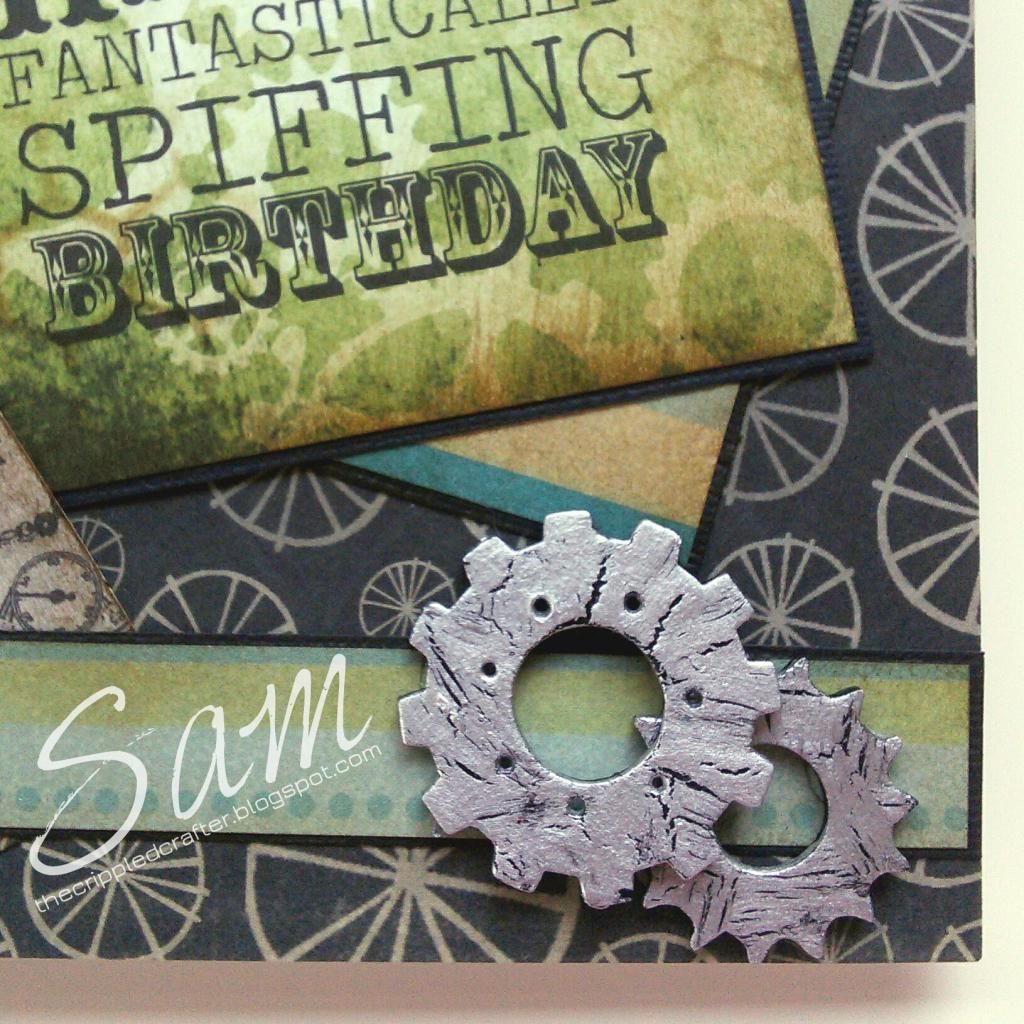
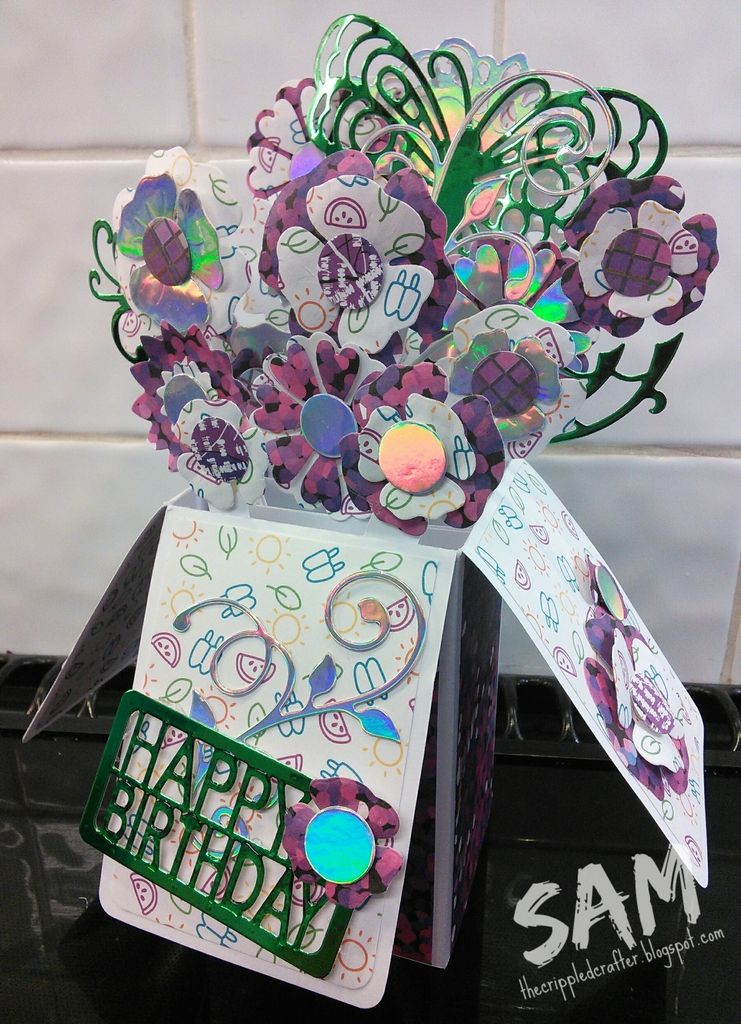
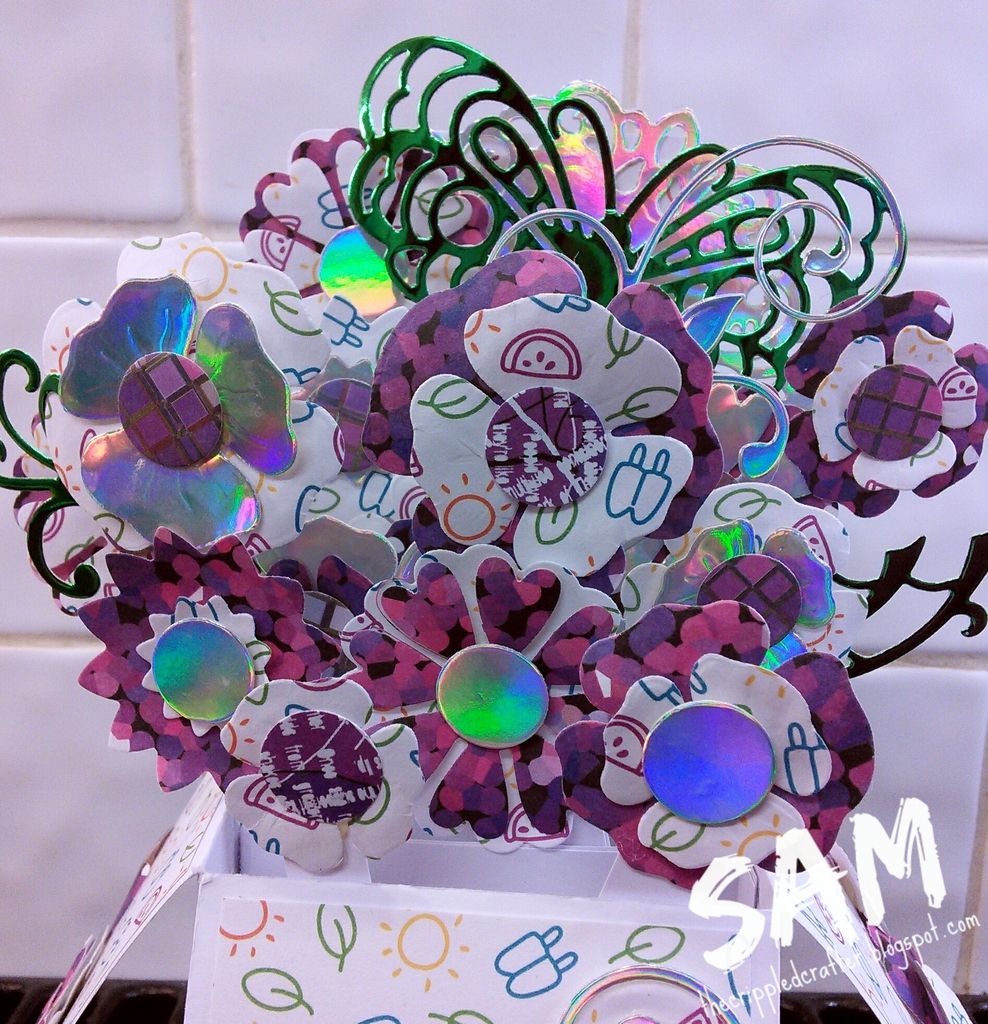
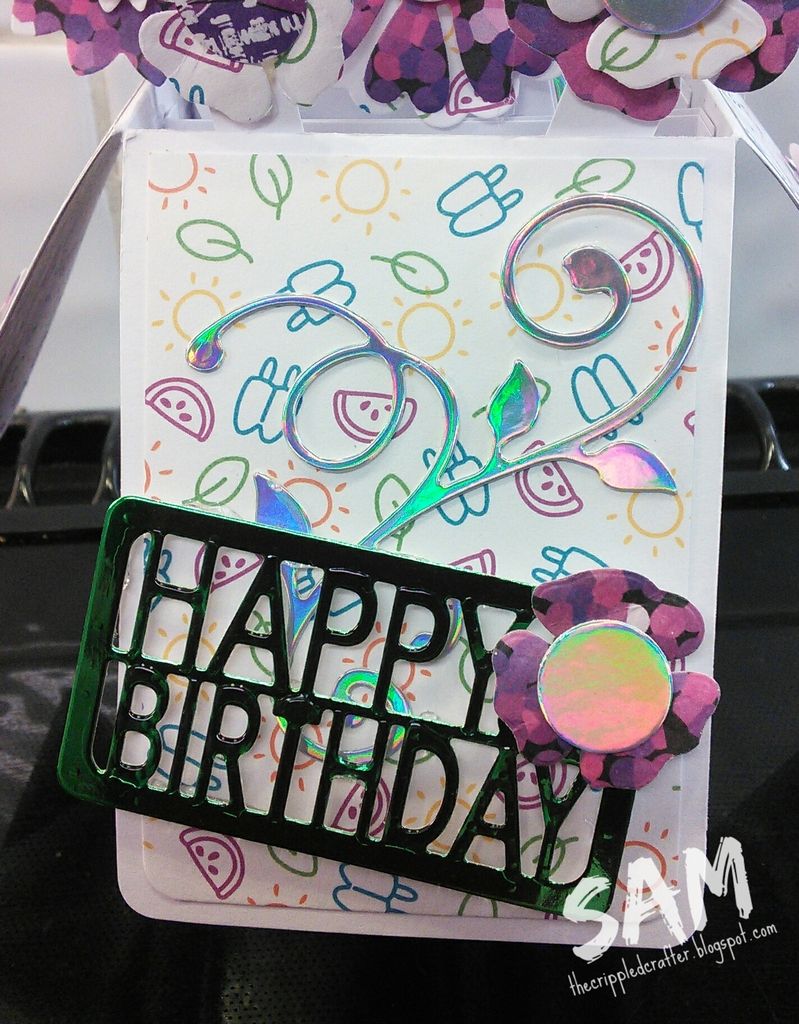
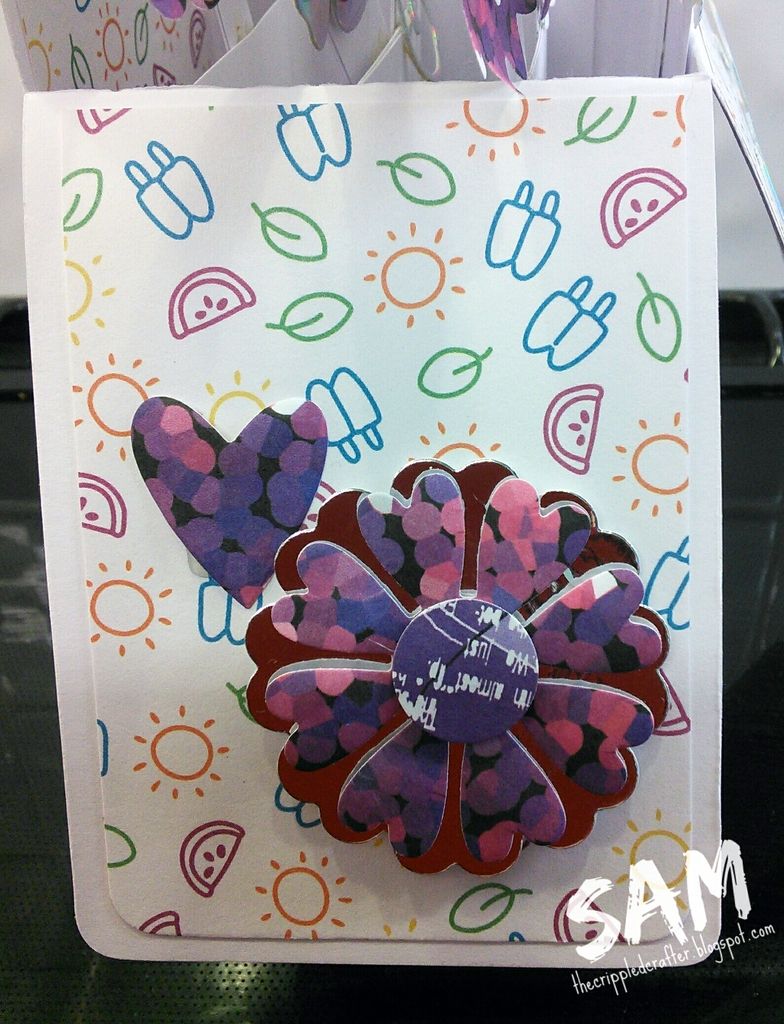
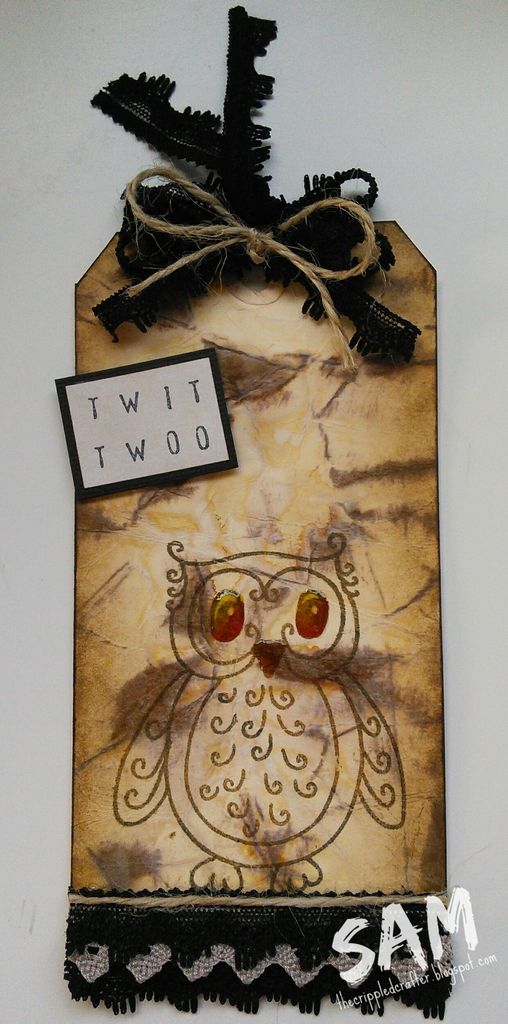
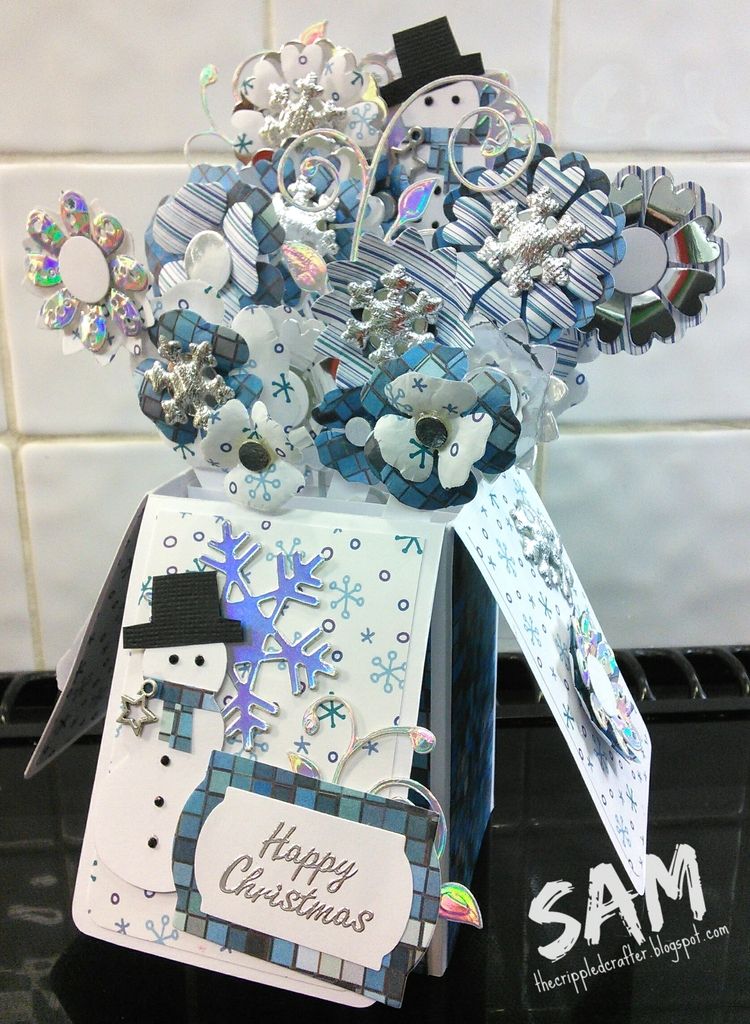
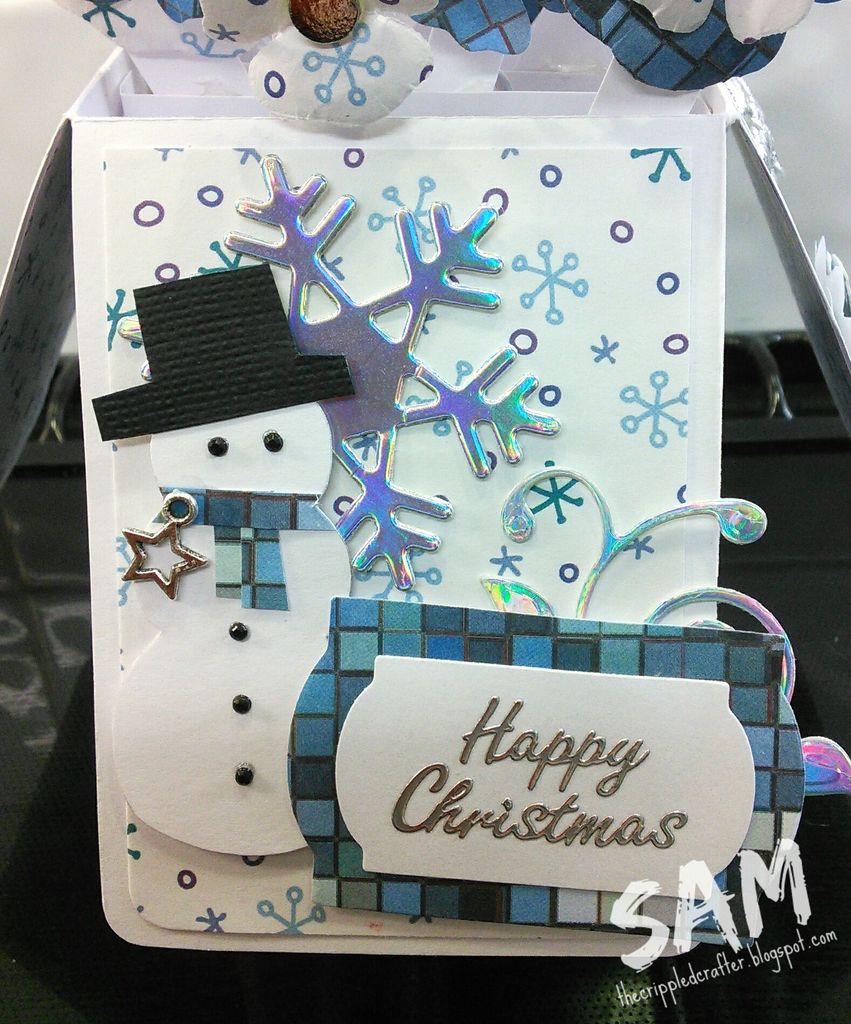
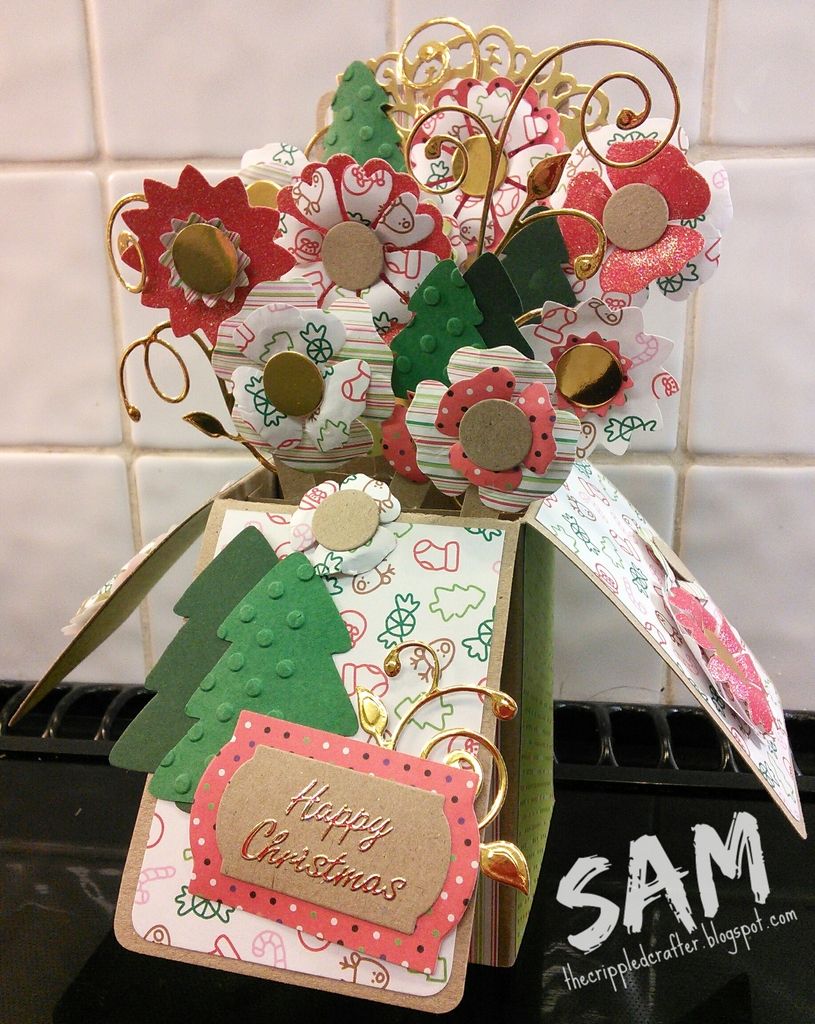
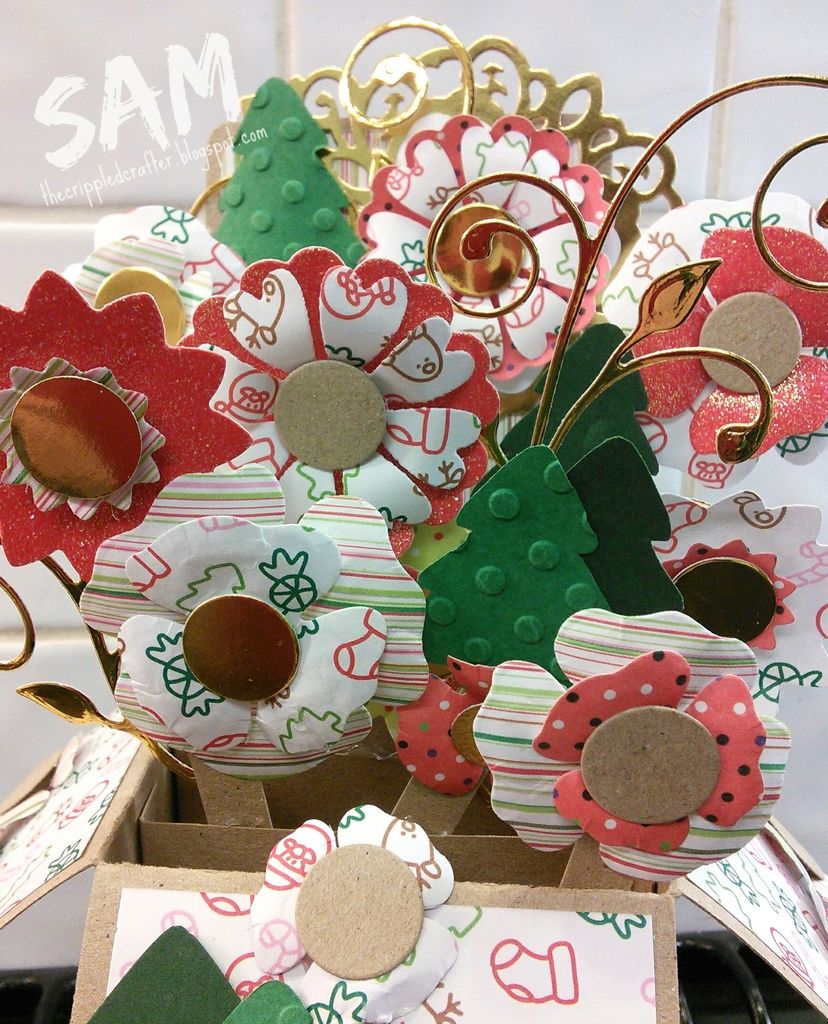
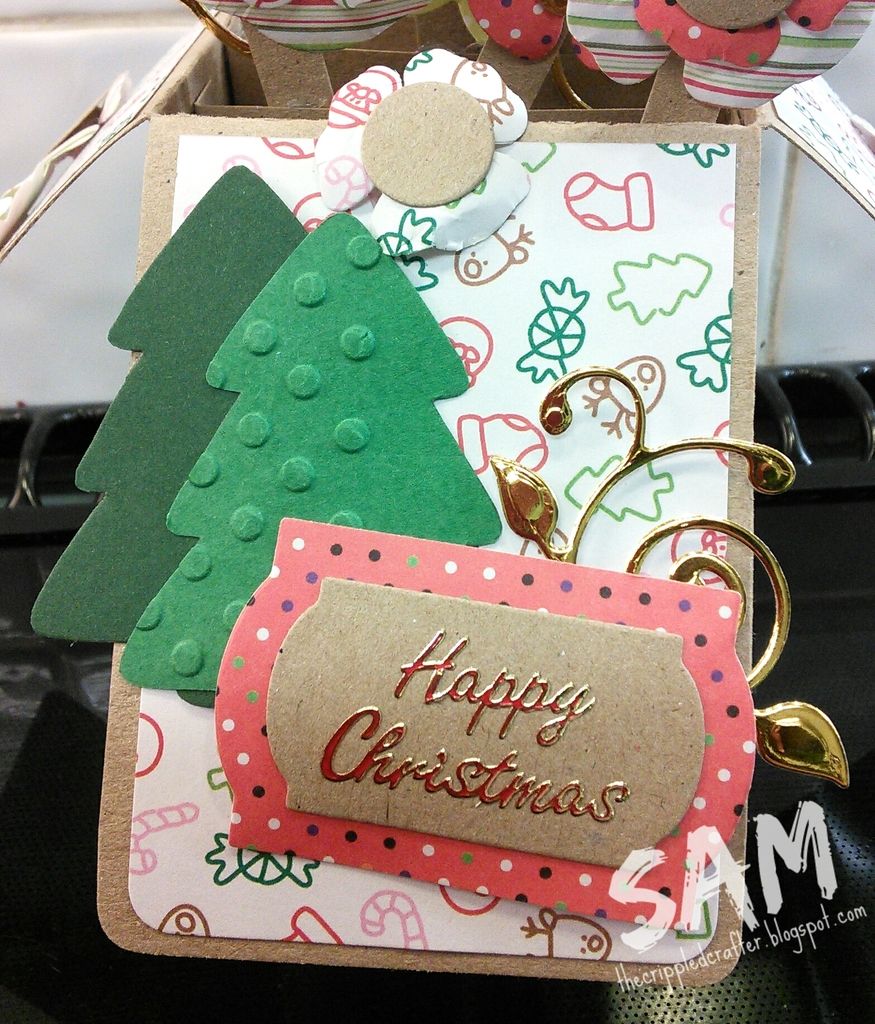
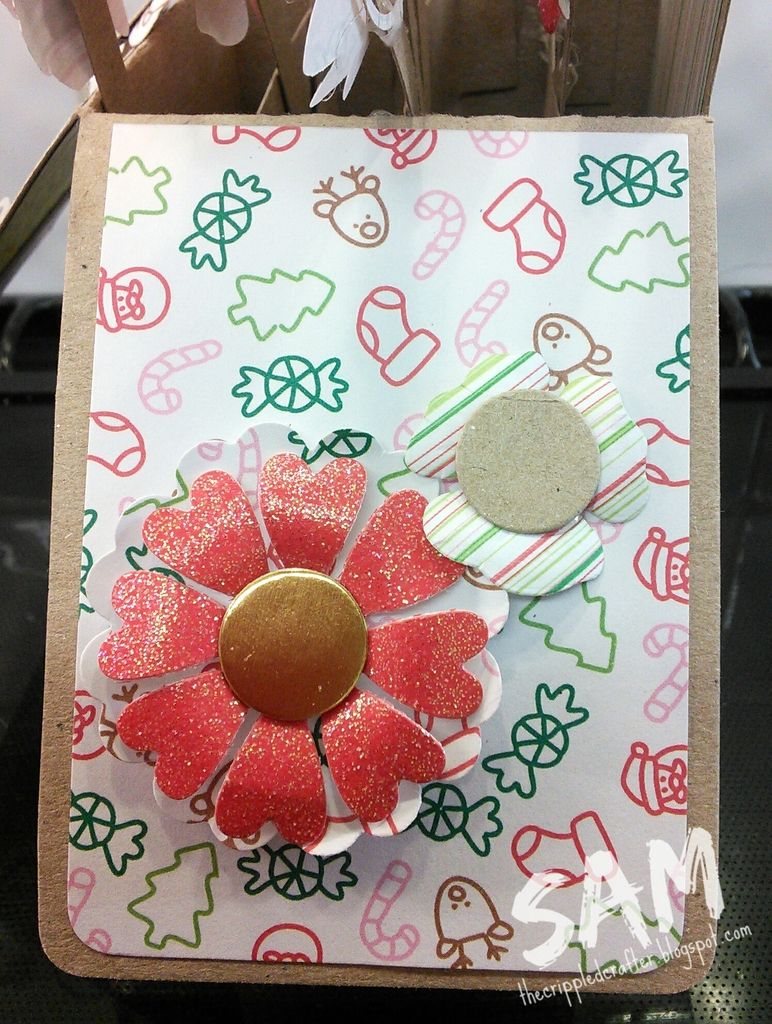
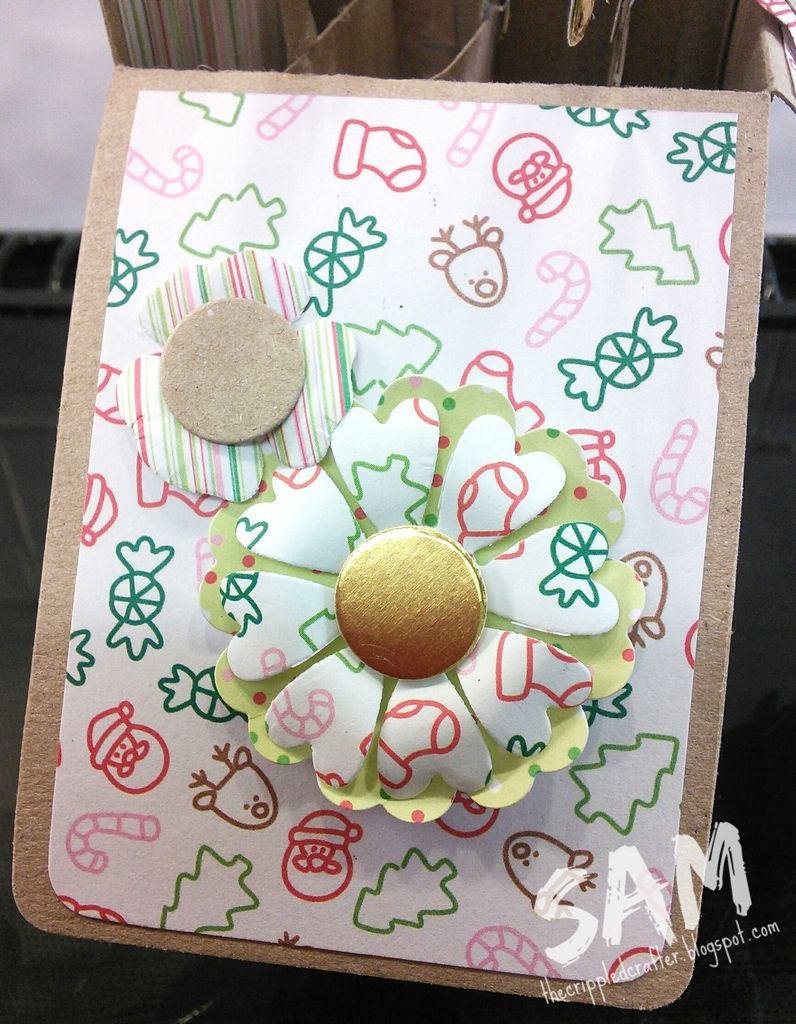
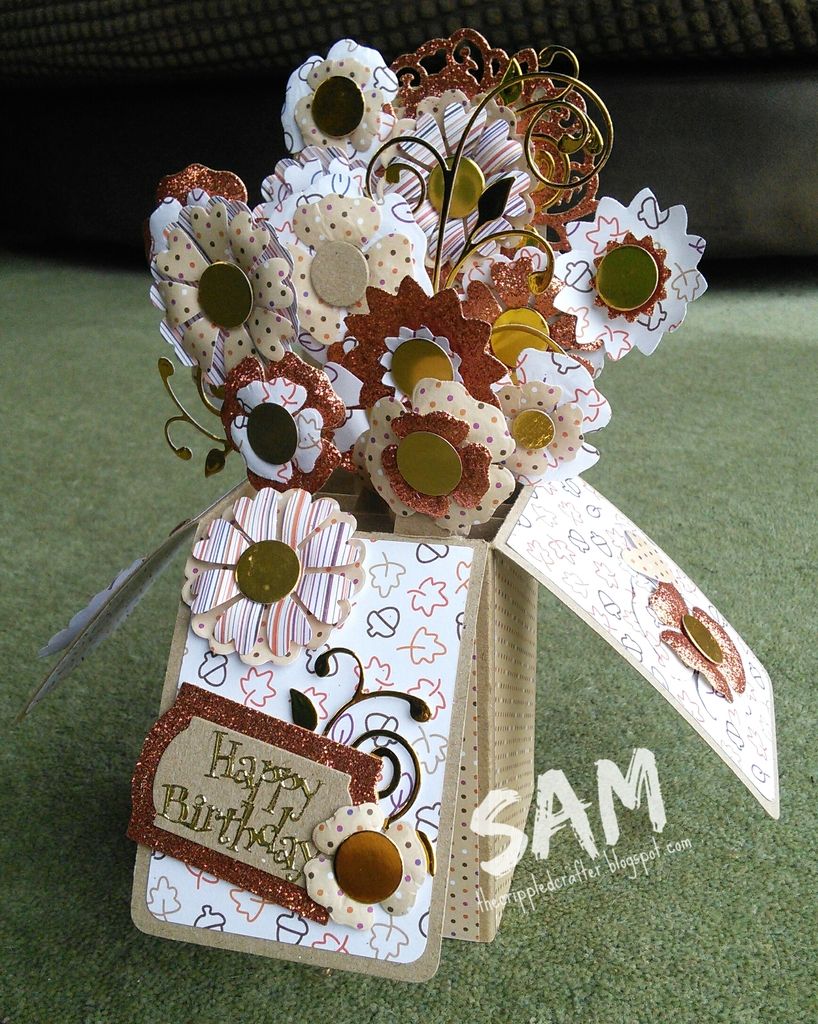
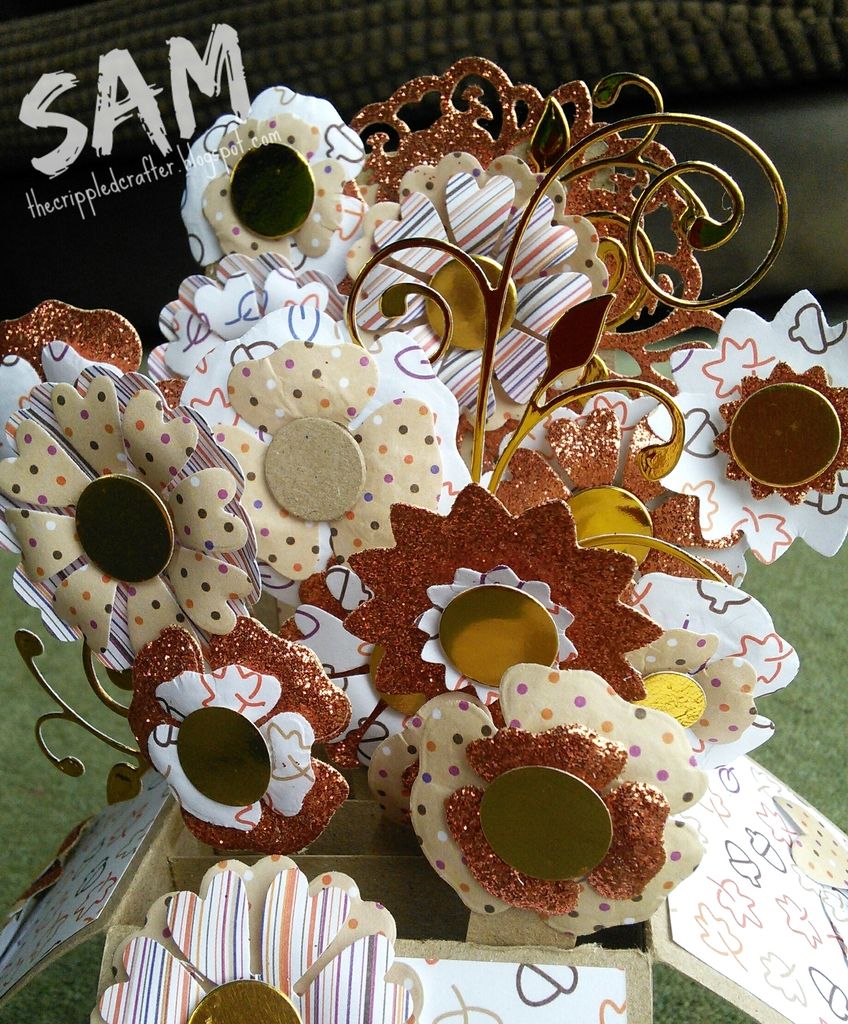
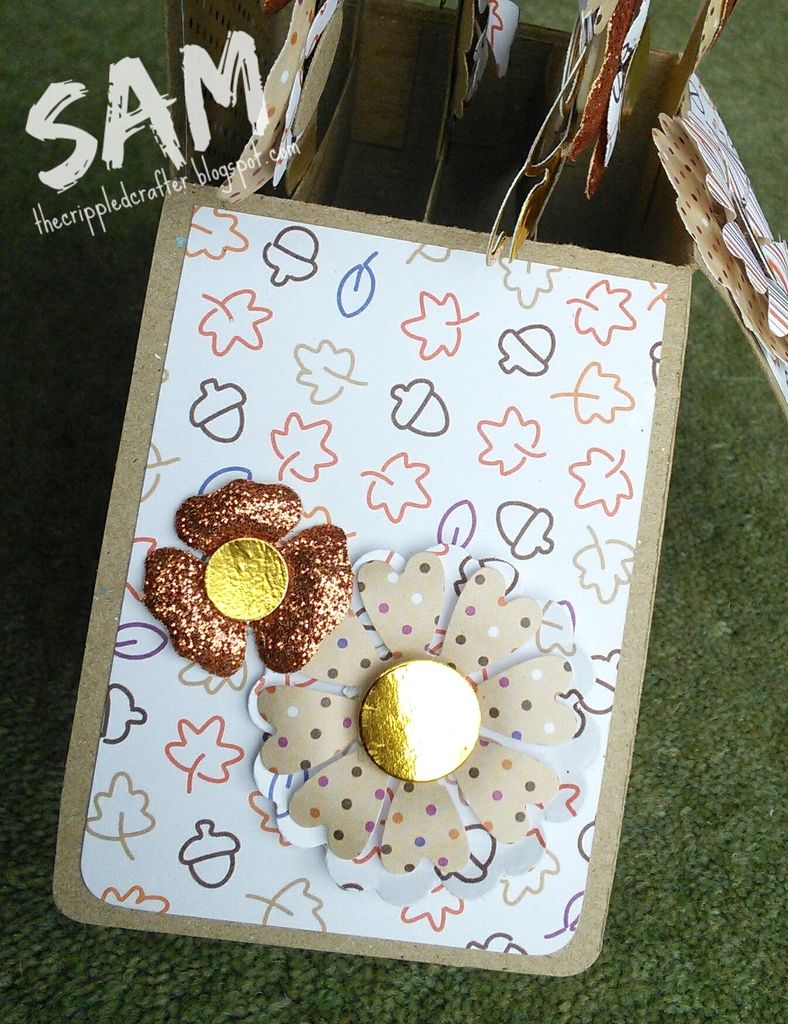
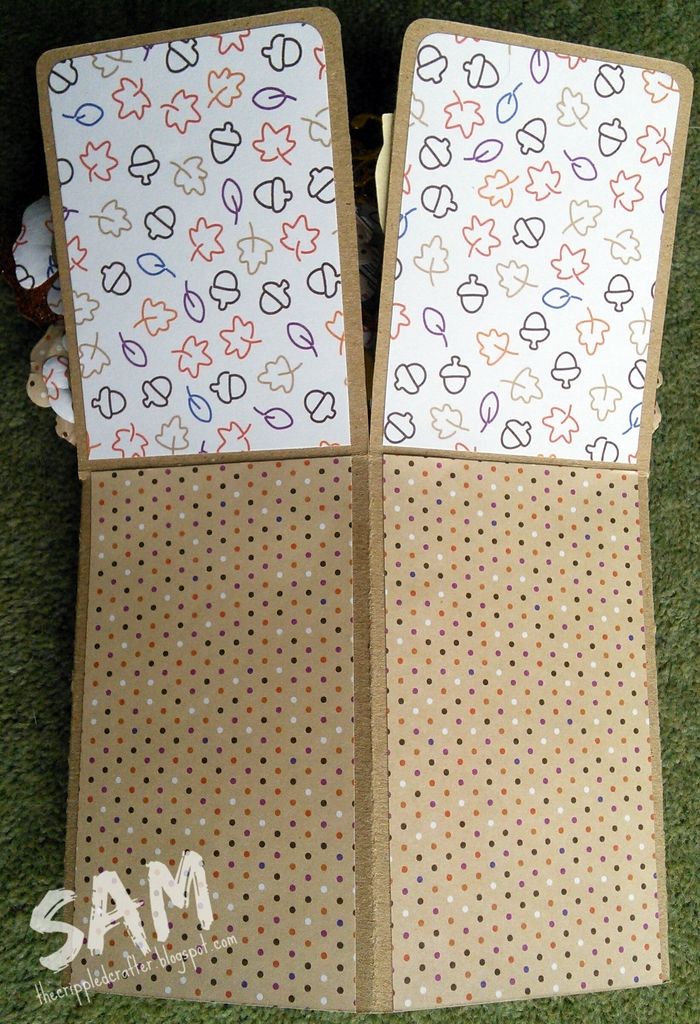
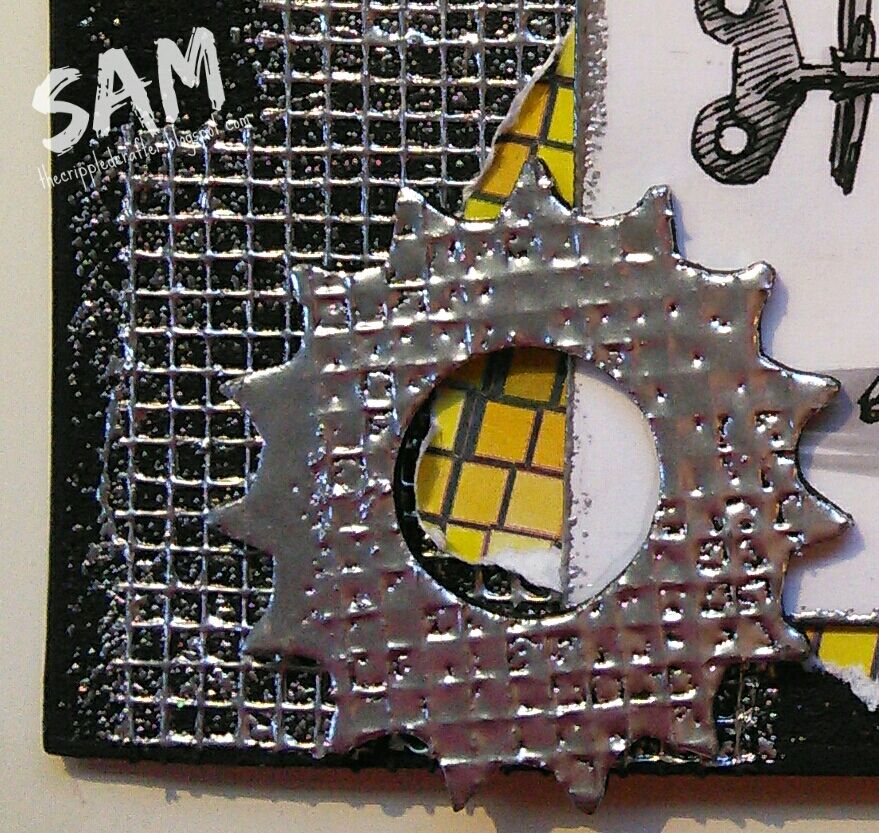
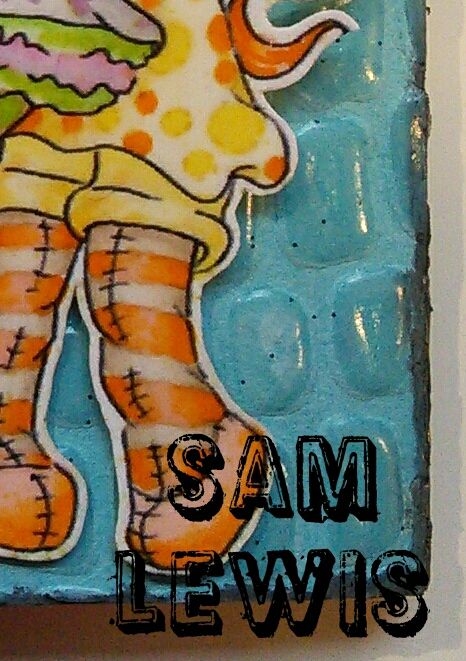
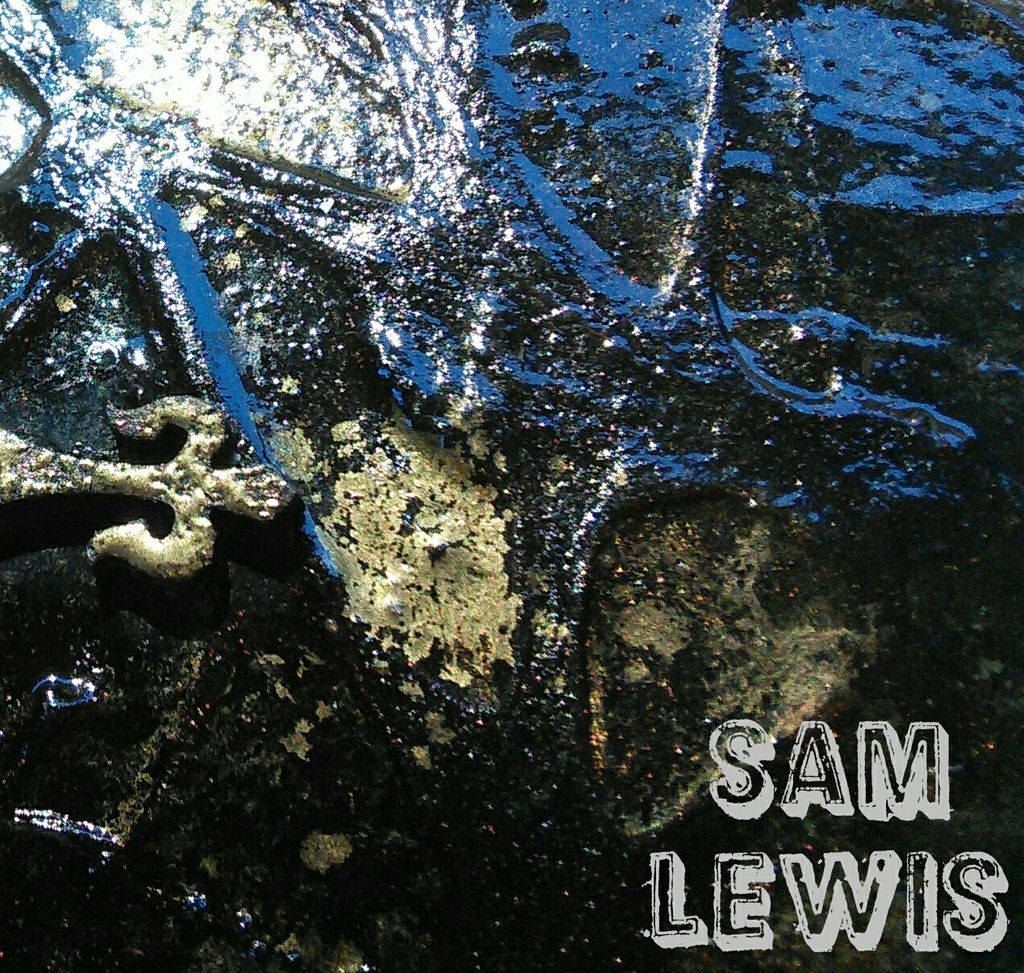
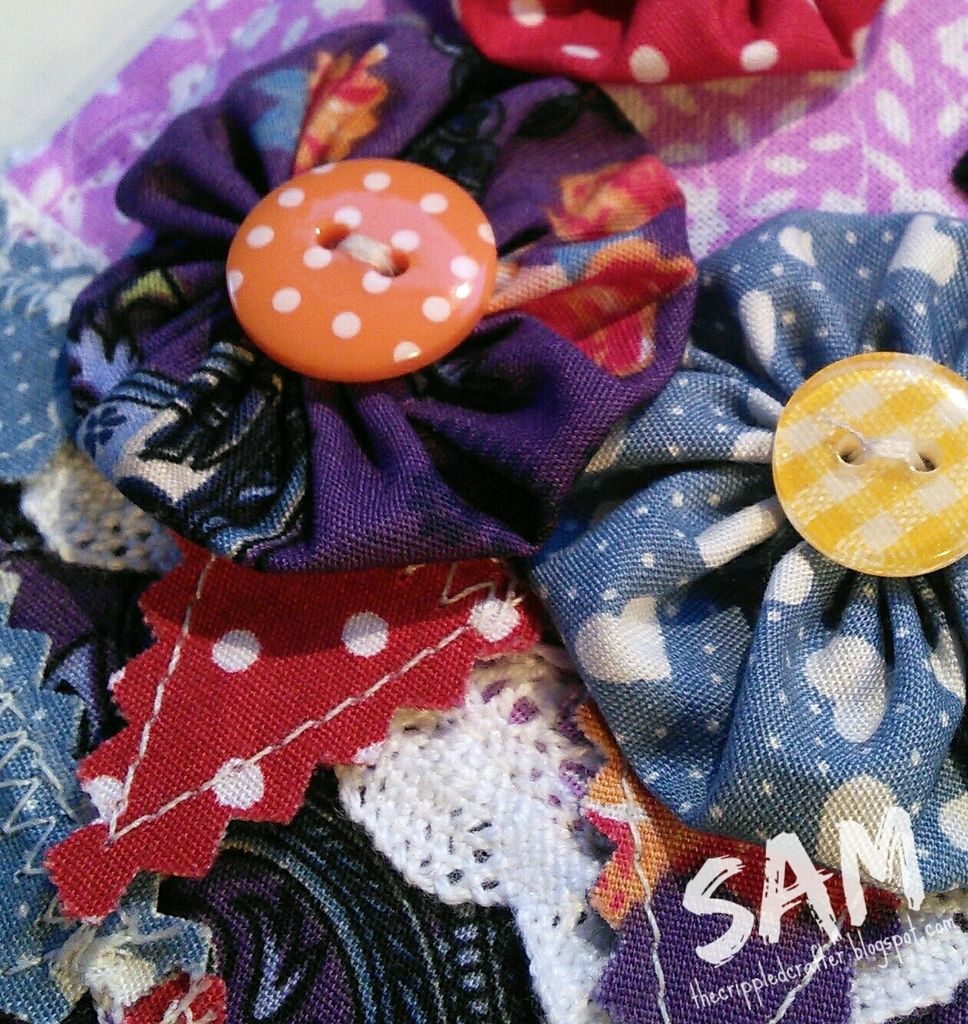
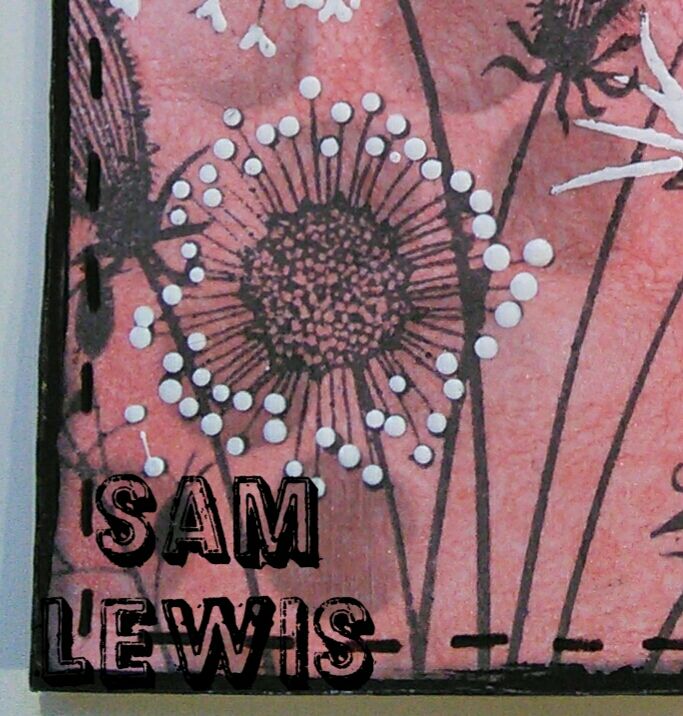
 For now I will leave you with a few teaser images!  You'll have to pop back tomorrow to see the first blog post in this series!


I'll hopefully see you all tomorrow!

xxSAMxx


Tuesday 24 March 2015

Journal52 #10 - Colouring Book Inspiration

Hello, it's me with second post today and I am back with another Journal52 page! 
 
Week 10's Journal52 prompt was Colouring Book Inspiration so I chose the easy way and found a free adult colouring sheet to use as the basis of this page.
 
 
In case you cannot figure out what this page is supposed to be (because my wife says that she couldn't!), this page shows a rug on a wooden floor. Was this obvious?!
 
Anyway, I started by embossing some white cardstock using a Tim Holtz wood grain embossing folder.  I had to repeat this until I had 4 pieces of embossed cardstock to piece together to fit the page. I then sprayed the embossed cardstock with spray ink a dried it with my heat tool before rubbing Gathered Twigs Distress Ink over the raised areas, direct from the ink pad.
 
I coloured the colouring sheet using Staedtler Triplus Color pens and cut it out and glued everything to the page before outlining the rug and adding tassels using my Molotow Paint Marker.
 
 
Thank you once again for visiting. I would love if you could take the time to leave me a comment if you have enjoyed this blog post.
 
xxSAMxx

Journal52 # 9 - Artistic Restraint

I have something different from Cards and Tags to show you today!  This week I took a little time out to catch up on 2 of the Art Journal prompts from Journal52.
 
Week 9's prompt was Artistic Restraint and came with the instructions to use just one colour and one basic shape.  As you can see, I chose the colour purple and circles.
 
 
I actually found it a very refreshing challenge to take a step back and not just throw everything at a page!  I think one of my weaknesses is not leaving enough (or any!) "white space" at times!
 
After gessoing my page (for no other reason than it was filthy with inks and stencil clean off and I wanted a white base to this page) I started by laying down Distress Ink in Seedless Preserves through a homemade stencil that I'd cut a couple of circles from. 
 
 
Next I mixed a little some cheap purple paint in with Winsor and Newton Galeria Heavy Gel Medium and stencilled it through a polka dot stencil.
 
 
After the stencilling had thoroughly dried I grabbed my Sharpies and drew circles through the same homemade stencil that I used for the Distress Ink.  I also went crazy and squiggled a huge freehand circle in the lower middle half of the page in the same colour Sharpie!
 
 
Next came my black Molotow and Posca Paint Markers which I used to create the rectangle shapes for the journaling to go on top of.  Then finally I wrote the journaling onto scrap paper and glued down before adding some tiny black circles to the rest on the page to finish.
 
Then I locked away my stash and firmly sat on my hands to force myself to adhere to the prompt theme!... and I'm so glad I did because I love it!
 
If any of you are art journal people you really should check out the Journal52 facebook group!  It is fantastic!
 
Bye for now,
 
xxSAMxx


Monday 23 March 2015

Mother's Day Cards - Bringing back Tea Bag Folding!

A bit late in posting the photos of these I know!  Just catching up on some blogging.  You'll be relieved to know that these Mother's Day cards reached their recipients in time though!
 
 
I've always love Tea Bag Folding and do sometimes come back to this traditional technique for a few cards.  The finished tea bag flower makes a great feature on any card and can really be used in modern ways to revitalise this dying technique!
 
I followed a sketch from a challenge for these cards and was able to create 3 different cards from the same sketch!
 
The first card was for my own Mum and she loved it.  All the papers in these 3 cards are from my stash and have been in my stash too long to remember where they came from!


The second card I made for my wife's Nan and this also was very appreciated!  She doesn't get out of the house and is bedbound and always appreciates my handmade creations.


Finally I made a third one, with no sentiment on, to keep in my stash!


xxSAMxx
 
I would like to enter these cards into the following challenges please:


Fantastically Spiffing!

Well hello folks! Thankyou once again for stopping by. Today's post was written a couple of weeks ago and scheduled to post on the recipients birthday.


This fantastically spiffing topper is from the Chronology range by Docrafts and was gifted to me in a swap just after Christmas. I combined the topper with papers from my stash and gently distressed the edges of both papers and topper with distress ink.


Both the book hinge flourish and cog greyboard lasercuts are by That Craft Place and I firstly painted these with black gesso and dried. I then did the PVA glue crackle technique using DecoArt Silver metallic paint as my final coat. This was my first time trying this technique using just regular PVA and I love it!

I've linked to Kelly Donovan's video below:


As you can see, this technique gives wonderful results!


Thanks again and hope to see you back soon!

xxSAMxx

Sunday 22 March 2015

Butterfly Pop-Up Box Card

Just another quick post before I log off for the night. This past week I've been making some pop-up box cards and this was the last one of the week! 


Stepping away from the mid-year Christmas card making, I chose a nice summery theme this time.


The flowers and flourishes were die cut using does by Tonic, Xcut, Leanne Creatif and Sizzix. 


The butterfly and Happy Birthday die cuts were gifted to me in a swap. 


And now, after a week of intensive die cutting and a very achy shoulder that is my last box card for a while!

Hope you have a wonderful weekend.

xxSAMxx

Owl Tag - Wrinkle distress technique

This evening I would like to share with you a tag I made this week using the Tim Holtz Wrinkle Distress technique. 


This tag was made using a #8 Manila Tag by Ranger alongside my Gathered Twigs Distress Ink Pad. 

After drying I stamped the owl image in Gathered Twigs Distress Ink and Tuxedo Black Memento ink and coloured the eyes with Sharpies before adding Glossy Accent highlights to the eyes and beak.


I added lace and twine to the bottom of the tag as well as to the top and finished off with a Twit Twoo sentiment stamped in Archival Ink.


Here is a video showing various Distress Ink techniques including the Wrinkle Distress technique used for my tag 


Thankyou for stopping by. Please pop back tomorrow when I have more to show you!

xxSAMxx

Thursday 19 March 2015

Snowflakes and snowmen in March!

I can't believe it's getting on for 1am already!  I just wanted to finish my blogging off before I get some much needed shut eye.

Today I have been continuing with the pop-up box cards, although this time I decided to make a couple of Christmas ones ready for the end of the year! I'm going on the theory that if I make a couple a month then I won't have as many to do come winter time!


I have already posted a blog entry about the first of these cards. The second card I made using white cardstock as the base of the box and covered with Christmas themed papers from my stash. 


I cut more flowers from matching paper using the same dies as mentioned in yesterday's blog post. I also cut more flourishes and tags using ,the same dies as yesterday. 

I drew a simple snowman and top hat freehand. I cut 2 of each of these from white and black cardstock. I used tiny nail art black gems for the eyes and buttons.

I finished off by adding a couple of silver metal star charms and some padded snowflake embellishments from my stash.

Thankyou for stopping by, if you haven't done so already, do please pop back to my home page and check out today's other blog post featuring another Christmas box card.

Again I would like to finish with a quote from one of my favourite YouTubers, Kelly Donovan. This simple statement always resonates with me each time Kelly finishes one of her wonderful videos with it. 

Merry Christmas... in March!

I'm a bit late in the day again folks but hope you manage to find me once you guys awake! 

Today I have been continuing with the pop-up box cards, although this time I decided to make a couple of Christmas ones ready for the end of the year! I'm going on the theory that if I make a couple a month then I won't have as many to do come winter time!

The first card I made using kraft card as the base of the box and covered with Christmas themed papers from my stash. 


I cut more flowers from matching paper using the same dies as mentioned in yesterday's blog post. I also cut more flourishes and tags using the same dies as yesterday. 

I drew a simple Christmas tree freehand and cut several of these in a couple of different sizes from 2 shades of green card stock. I embossed a simple dot design onto some of them using an embossing folder. 


Anyway, that's it for this blog post! I don't want to make it too picture heavy so pop back to the home page and check out today's other blog post about another Christmas themed pop-up box card, this time snowflakes and snowmen dominate! 

I would like to finish with a quote from one of my favourite YouTubers, Kelly Donovan. This simple statement always resonates with me each time Kelly finishes one of her wonderful videos with it. 

"Be kind to each other, you never know what battles someone is fighting"

I spend a lot of time on YouTube, sometimes searching for special topics but often I like to have my favourite you tubers keeping me company while I craft. So as my way of given back to them I am going to write a brief blog post soon giving a shout out to these wonderful people who let us into their craft rooms and their lives! So keep an eye out for that soon.

xxSAMxx

Wednesday 18 March 2015

Pop-up box card 1 of ... however many I end up making this week!

Hi folks, this week I've been putting my mind to making a few pop-up box cards. 
 
It's been some time since I've made some so thought I'd make a few as they are always popular with customer and card recipient alike!
 
 
Yesterday's creation had an autumnal theme, I just love autumn colours at any time of year!
 
All the flowers were die cut using my Big Shot from Leanne Creatif, Sizzix and Xcut dies.  The flourishes and ornate tag by Tonic, and the simple tags by Sizzix.


The box card itself was made from kraft card and the papers were from my stash. 
 
 
Just before I go, 12th May will mark my 1 year Blogversary!
 
To celebrate I will be offering up some yummy tasty blog candy in the shape of one of my own canvases along with some goodies to be decided!  So keep an eye on this blog in the coming weeks so you don't miss out!
 
Thank you for stopping by! 
 
xxSAMxx