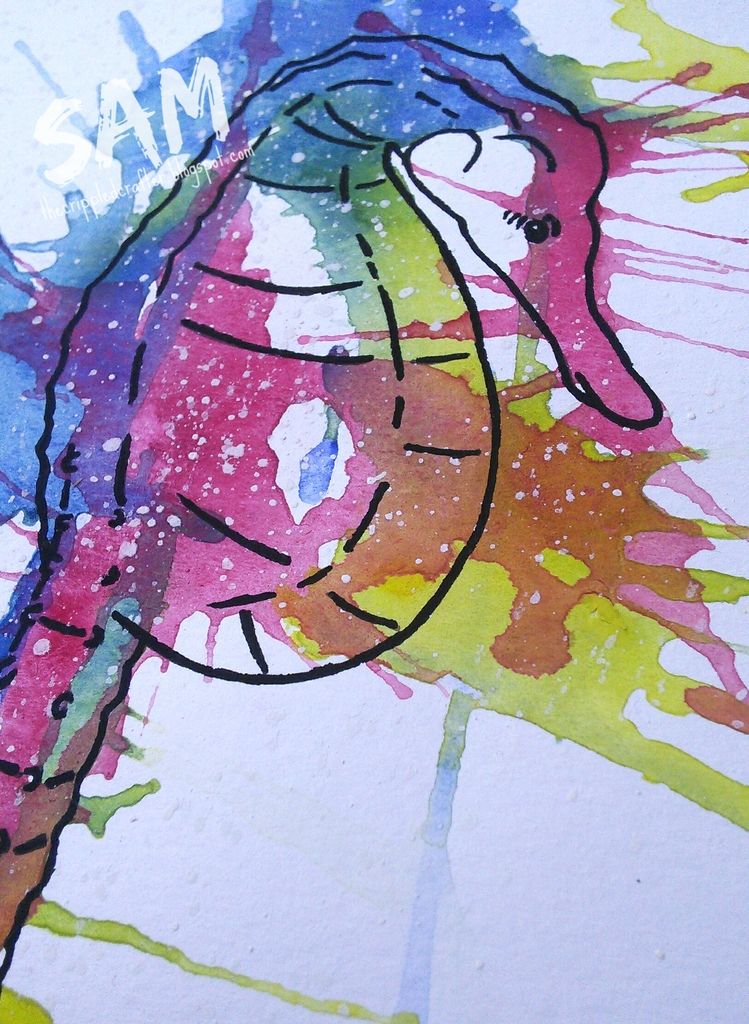
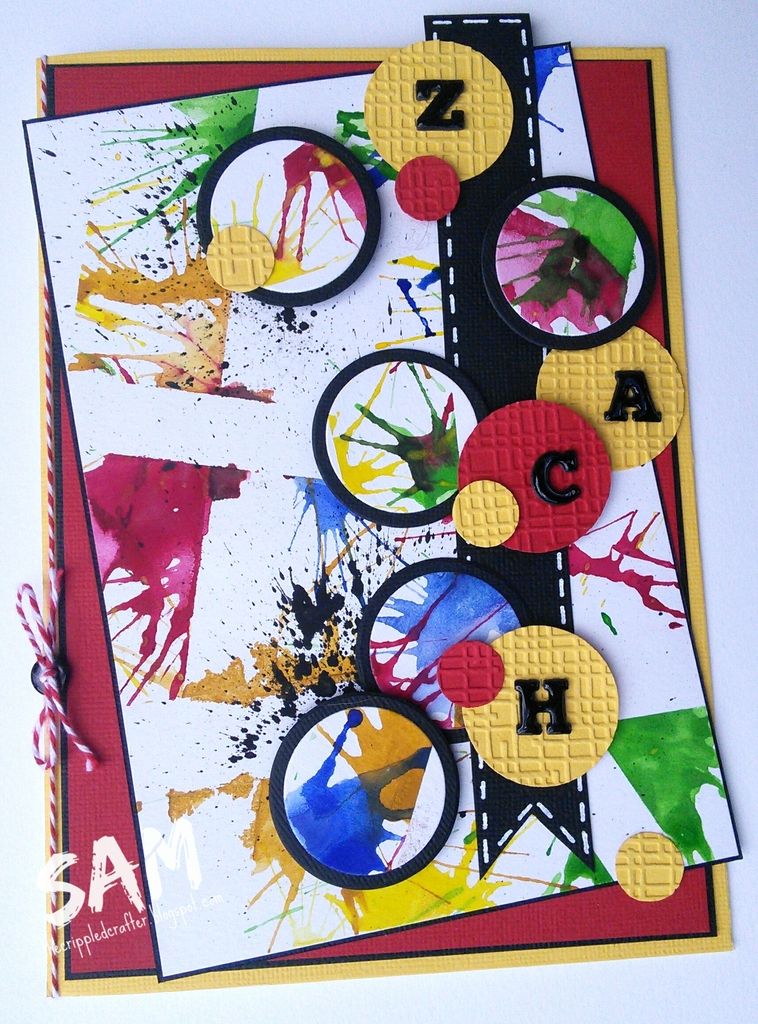
Good afternoon folks! Yes I've been playing with my new Reeves Watercolours again and couldn't wait to share this finished piece!
I adore the vibrancy of these paints and was particularly excited to see just how opaque the white (and black) paints are in this set. Perfect for the spatters over the top of the other colours.
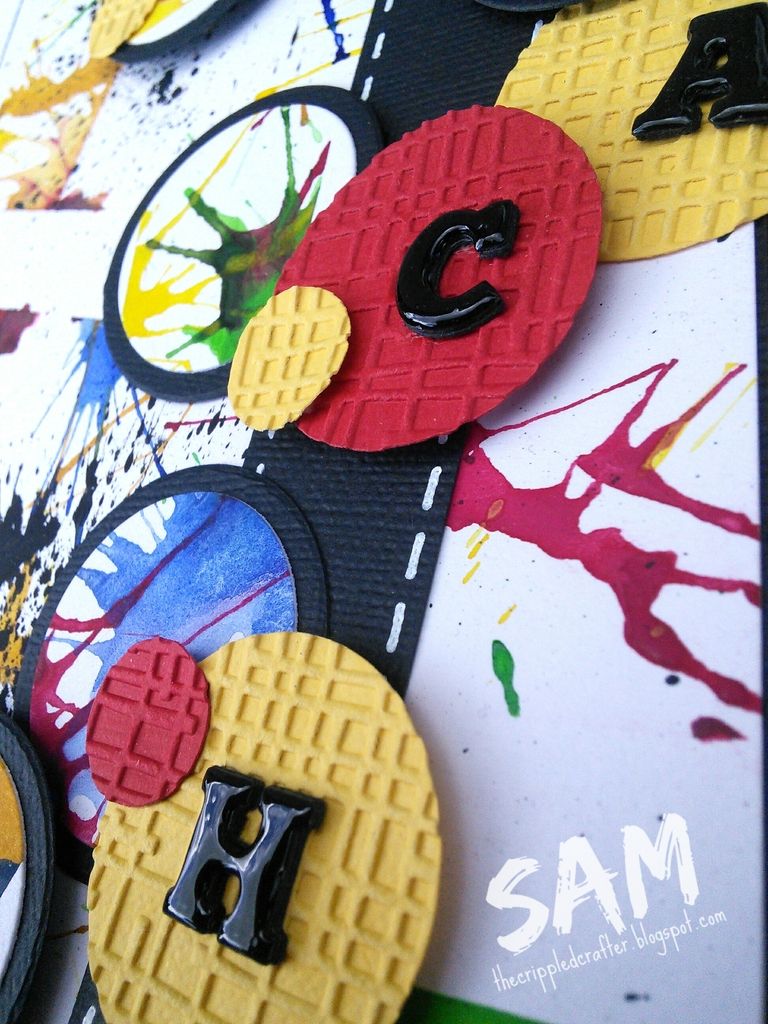
OTHER PRODUCTS USED: Daler-Rowney Mixed Media Paper, American Crafts Textured Cardstock, Bakers Twine, Circle Dies by Sizzix, Alphabet Dies by First Edition Crafts. "Linen" Embossing Folder by Creative Expression, 3D Foam Tape
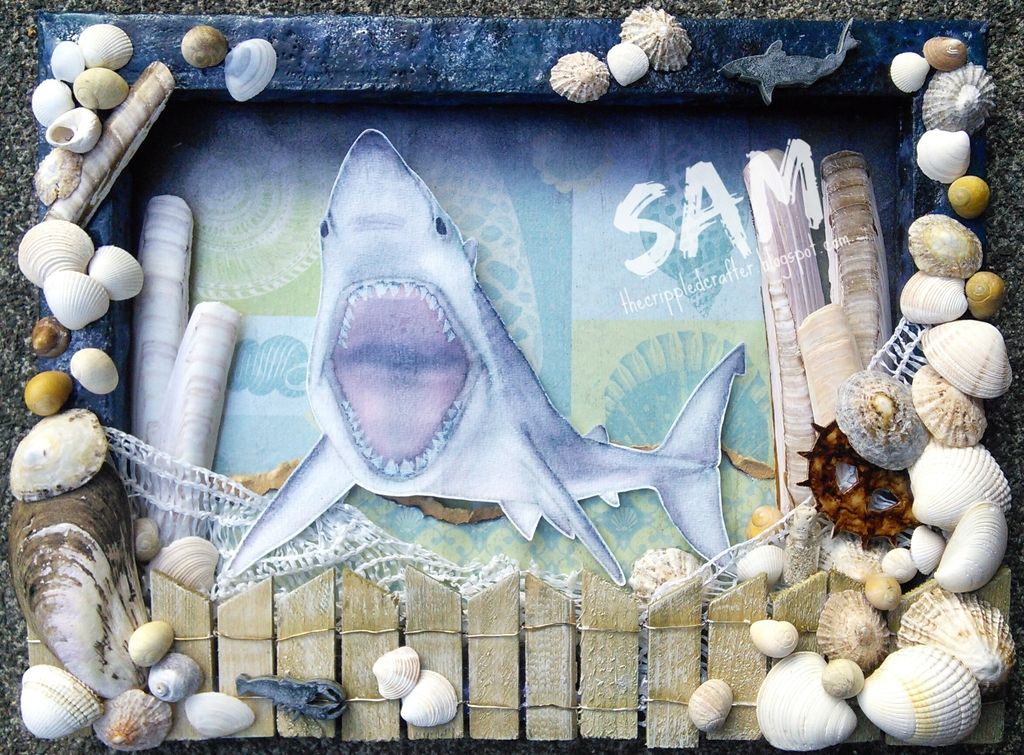
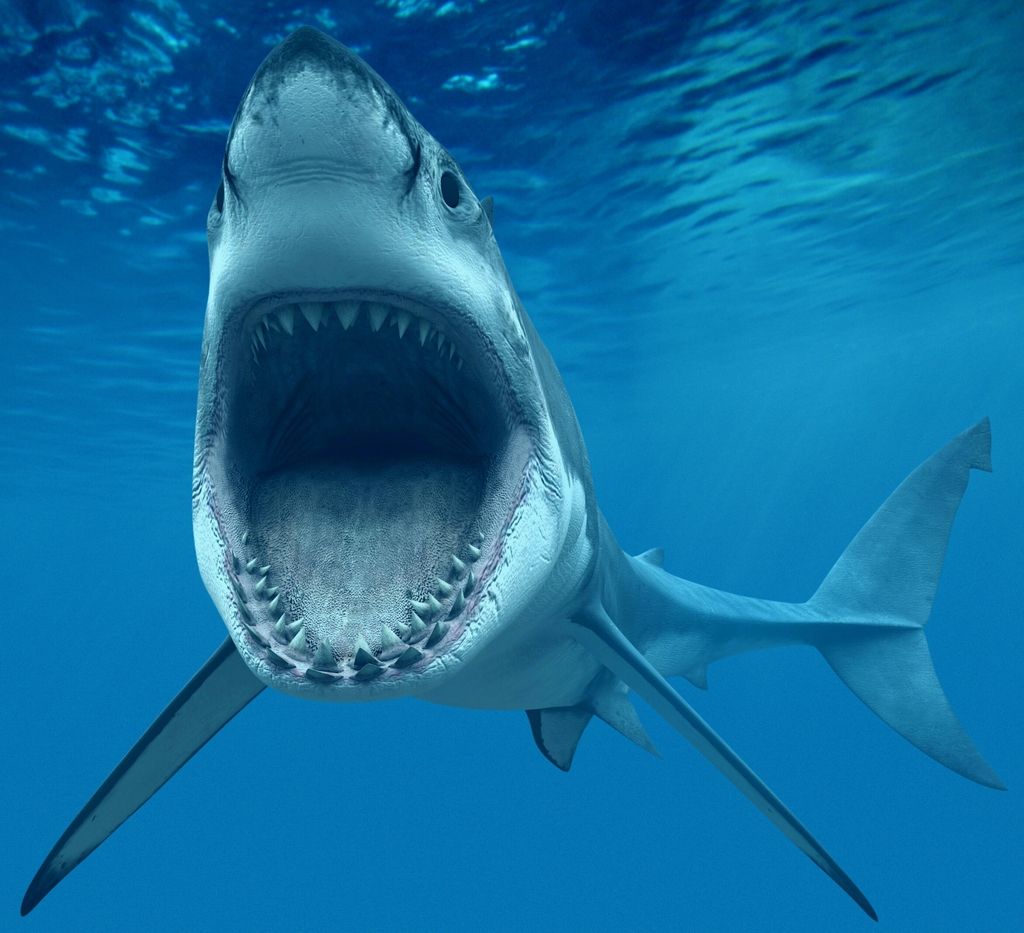
Hey folks. It is a lovely evening here and is like to share with you this very special Reverse Canvas made this week using my very first attempt at a "realism" Watercolour! I drew the shark from a free-for-personal-use reference photo.
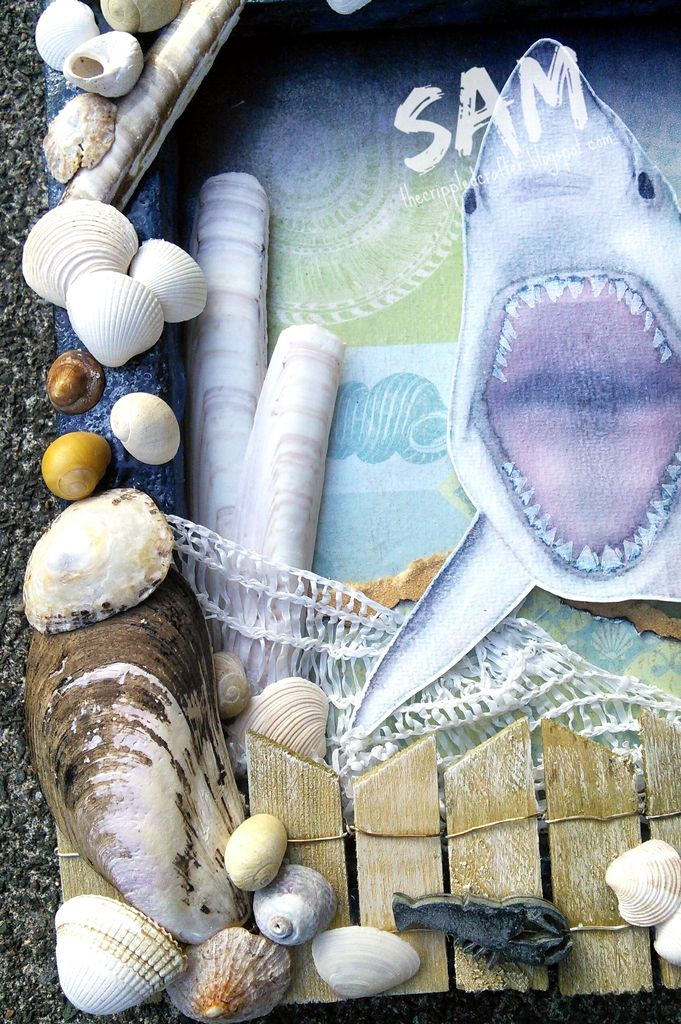
I was also able to use some much treasured shells from my favourite place on earth, the Isle of Mull off the west coast of Scotland. I so long to be able to get back there one day after spending so much of my childhood there!
In the meantime, I tasked my Mum and Dad with collecting shells for me when they went up there earlier this year.
Above is a scanned image of the painting. The shark was first sketched with graphite pencil before rubbing all the lines out leaving just faint marks. I then painted the shark using DoCrafts Artiste Watercolour Pens. Once I had painted the shark, I added the teeth with a white Posca Paint Marker before blending and shading them with more watercolours. It's not perfect by any stretch, but I just love it and I'm so proud!
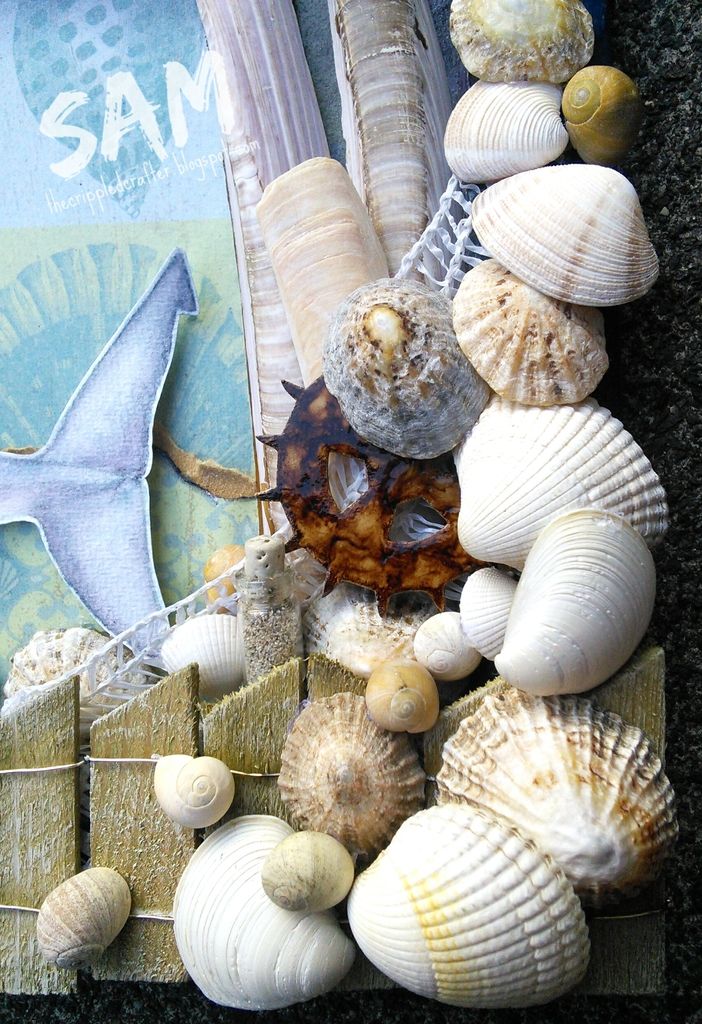
RECYCLED MATERIALS: Canvas wedges, polypropylene net bag from oranges, sandpaper.
ANYTHING ELSE: Shells collected on the Isle of Mull!, wire, patterned paper, white Posca Paint Marker.
- - - - - - - - - - - - - - -
Here are some more photos:
The frame part of the canvas was done by prepping with Gesso before painting with navy acrylic paint. I then sprayed with DoCrafts sprays and whilst still wet applied generous amounts of clear, black and silver embossing Powder.
- - - - - - - - - - - - - - -
Did I mention that I hand drew and painted the shark myself??? Haha!
Thank you as always for popping by and sharing my passion for the sea!
xxSAMxx
Please can I enter this project into the following challenge(s):
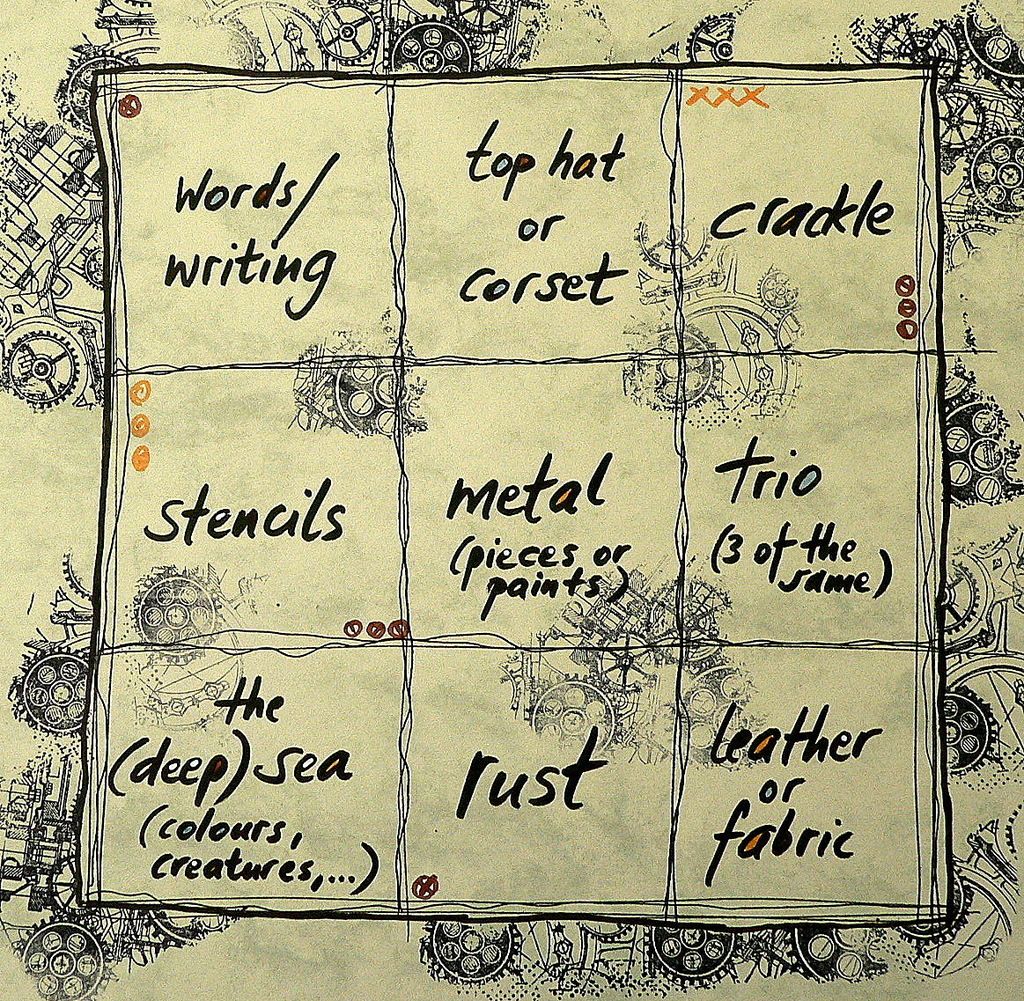
They are hosting a Tic Tac Toe challenge and to enter I had to include 3 items/techniques from the table that formed a line either vertically, horizontally or diagonally.
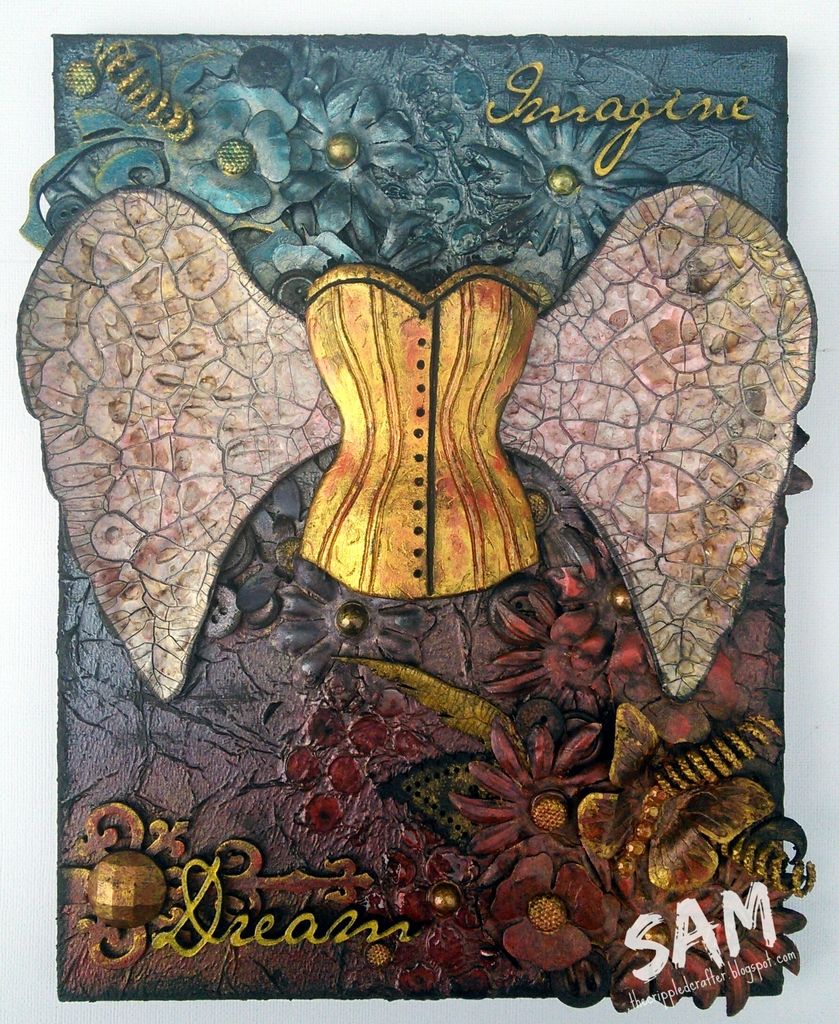
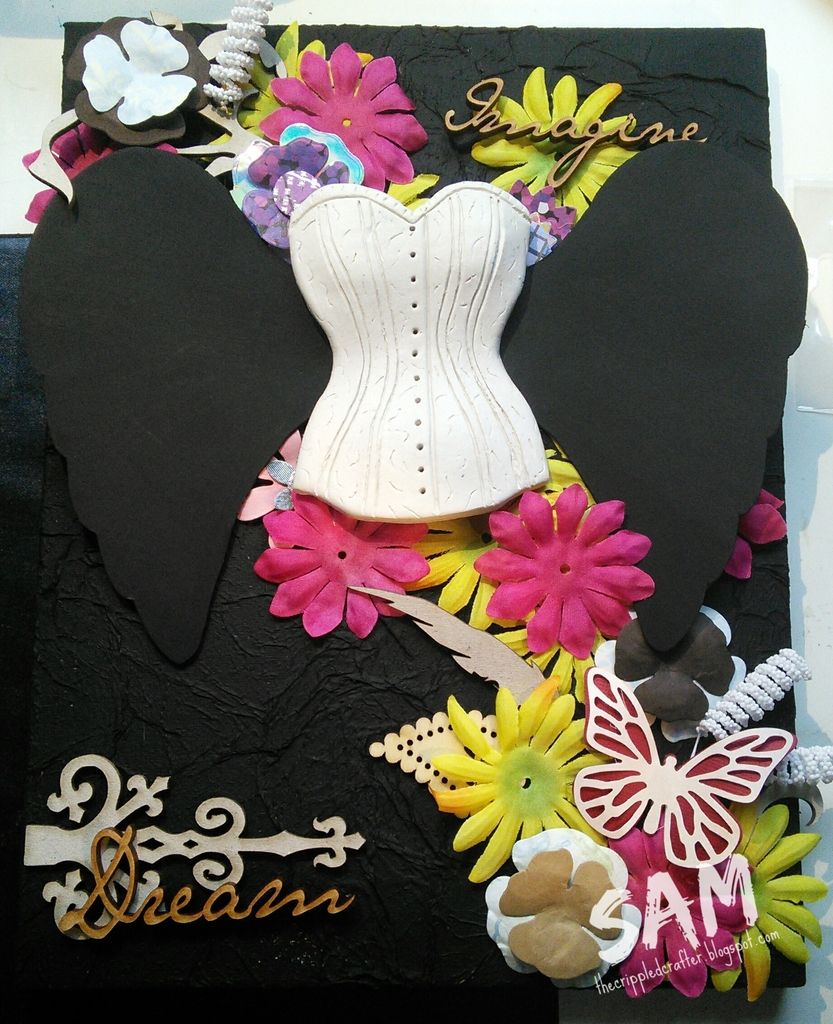
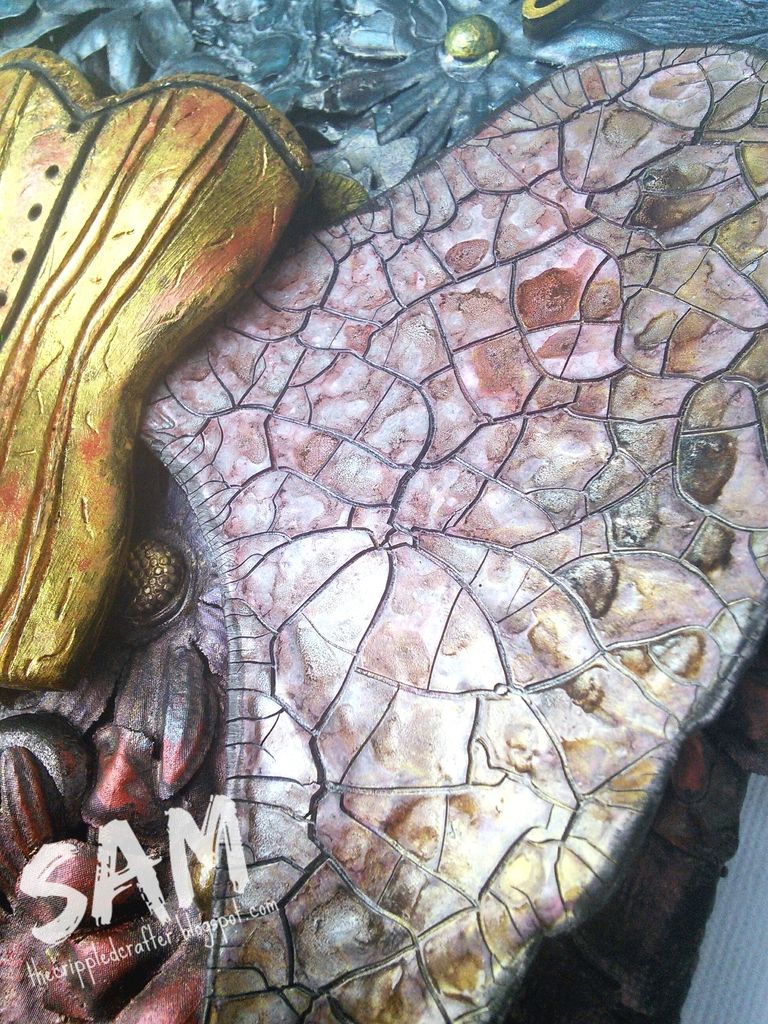
I chose WORDS, CORSET and CRACKLE, although once completed I noticed I'd also satisfied the CRACKLE, TRIO, FABRIC column as well as having used metallic paint and stencils! So I think I satisfied the criteria for this challenge pretty darn well!!
- - - - - - - - - - - - - - -
I used the following materials:
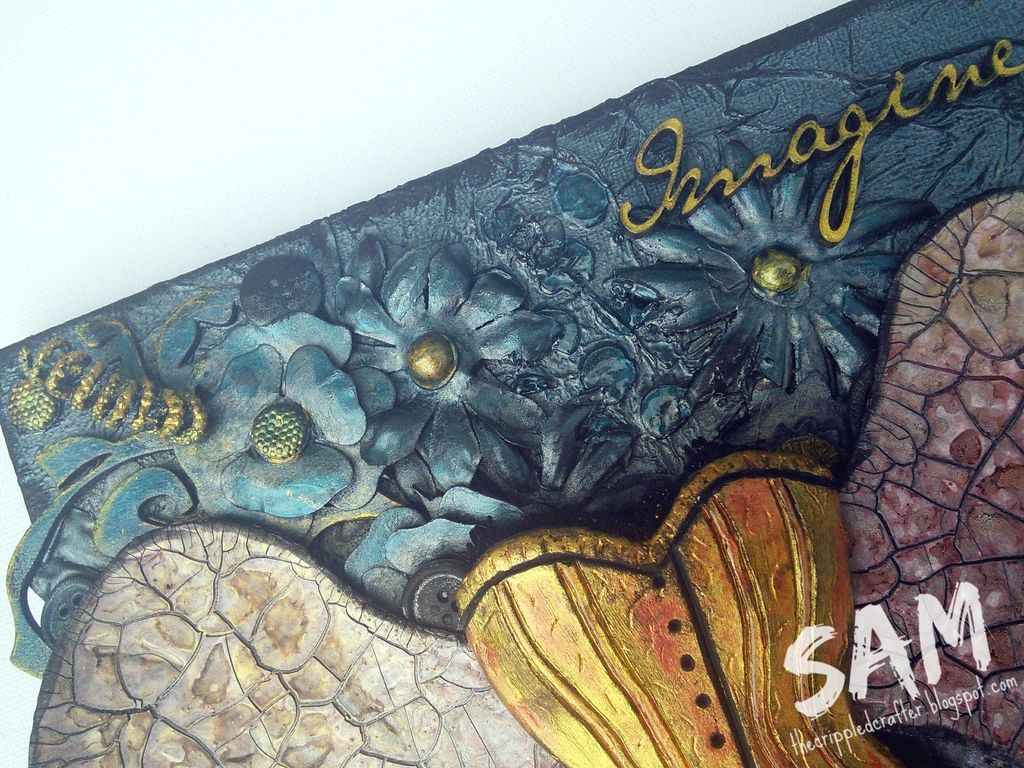
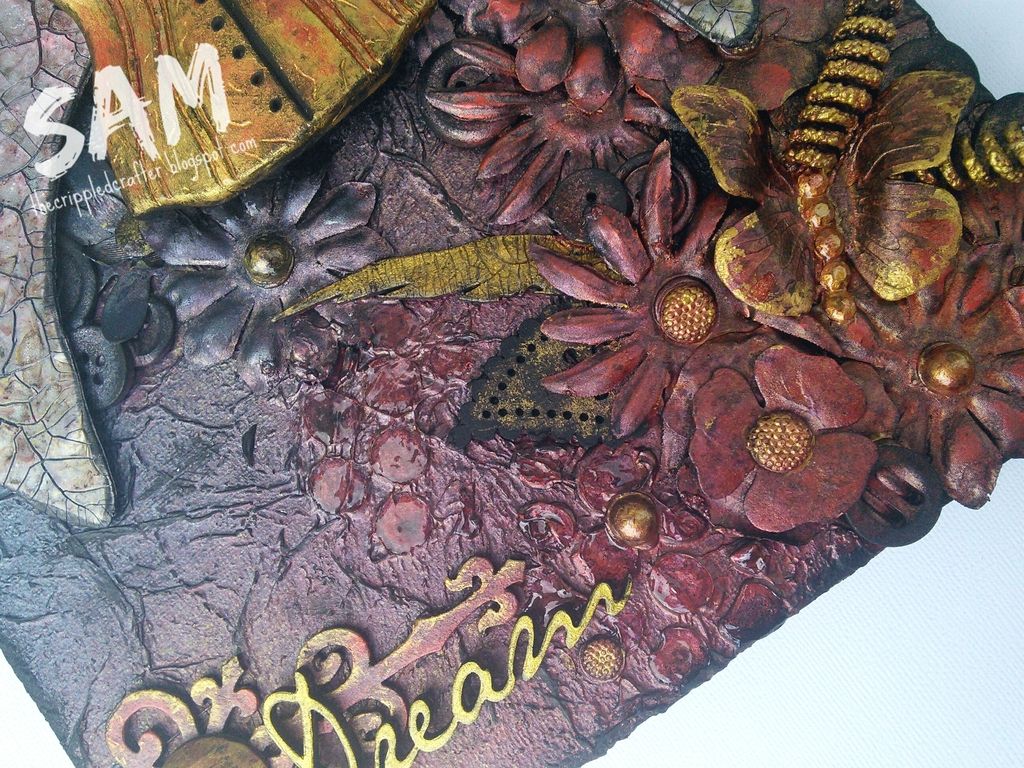
THAT CRAFT PLACE MDF / GREYBOARD: MDF words ("Dream" & "Imagine"), Greyboard hinge, Greyboard flourish, Greyboard feather, Greyboard sheets.
ANYTHING ELSE: A4 Canvas, used kitchen roll, fabric flowers received in a swap, die cut flowers that I'd cut previously and not used, die cut butterfly, air drying clay,
- - - - - - - - - - - - - - - SummaryProcess:
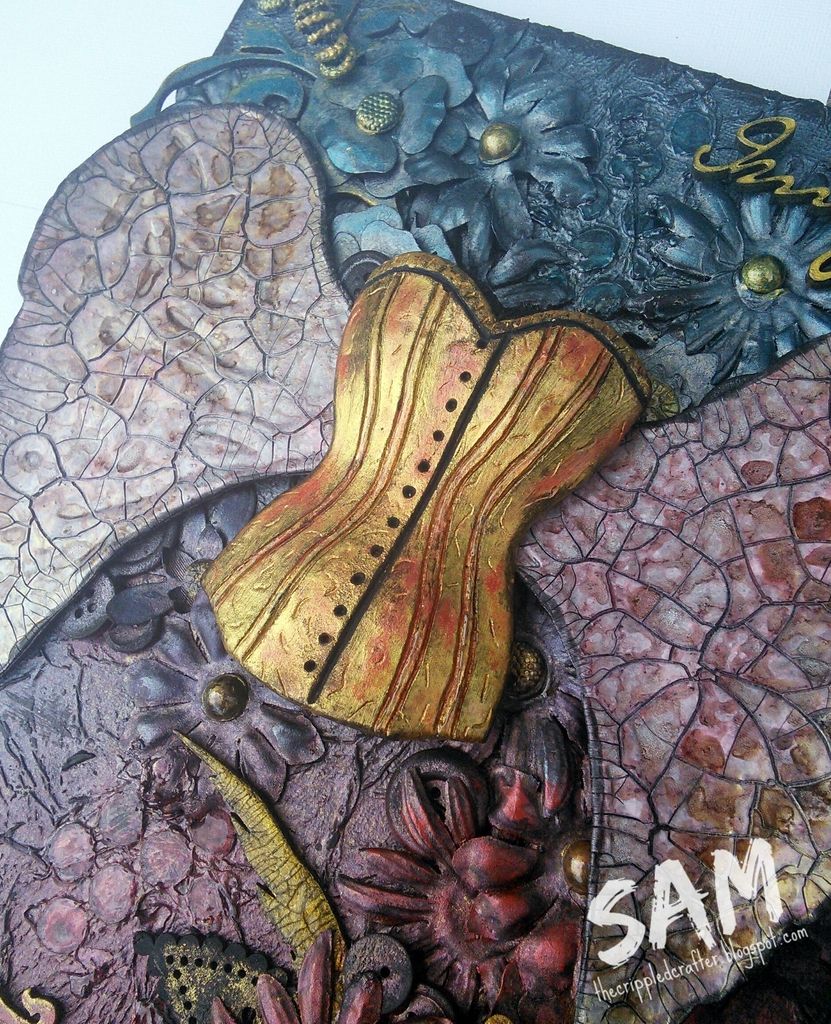
Old used kitchen roll applied to canvas with Mod Podge and gesso'd. Flowers, flourishes and other embellishments glued down.
Texture paste added through a spotty stencil and another coat of Gesso applied. I used black Gesso throughout this project.
DoCrafts Artiste Spritzing Ink in Crimson, Ocean Blue and Gold sprayed generously onto canvas.
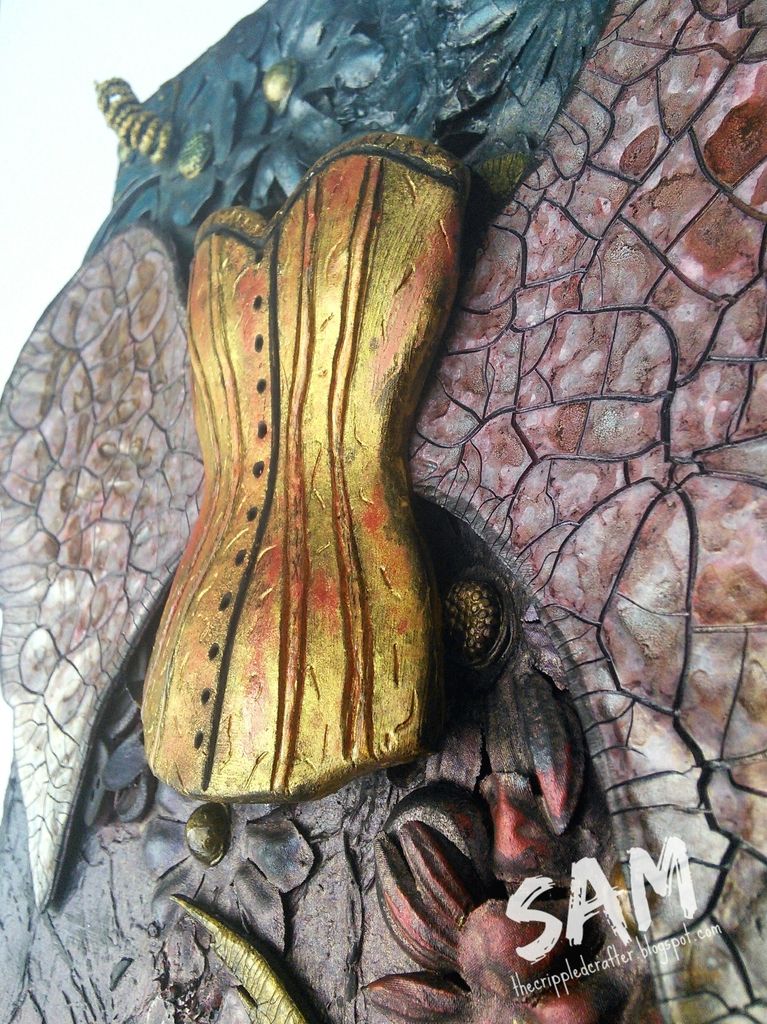
In the meantime I made a corset from air drying clay and hand cut a pair of wings from greyboard.
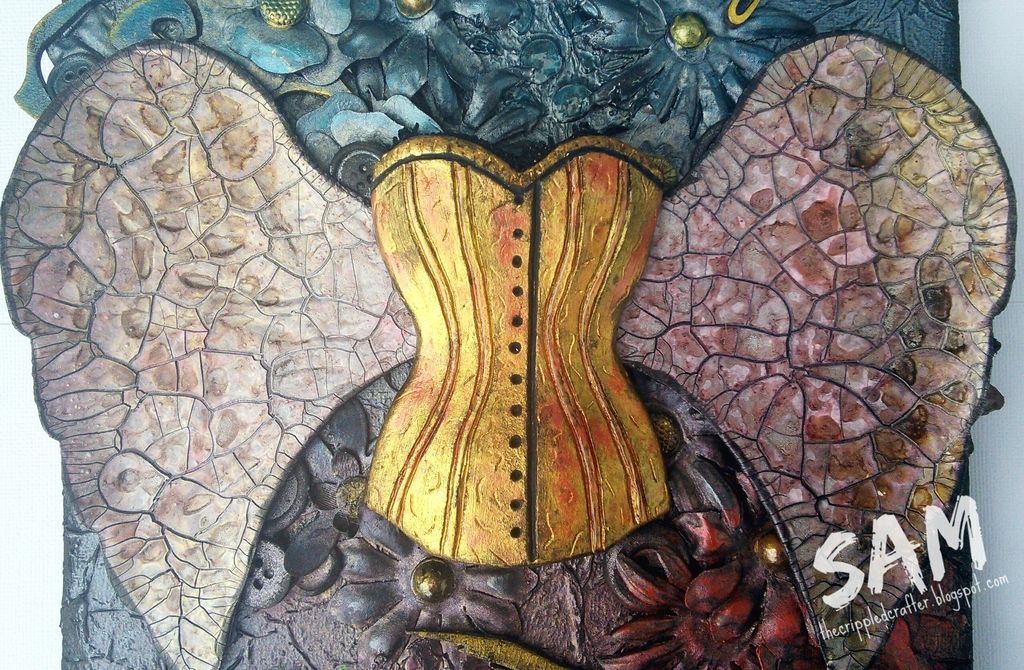
I black gesso'd the wings before adding a thick layer of DecoArt Crackle Paste which I had tinted with a small amount of the Crimson DoCrafts spray. Once dry and fully crackled, DoCrafts sprays in Crimson, Gold and Hematite were sprayed over.
Corset prepped with black Gesso and sprayed with Gold DoCrafts spray and a smudge of the Crimson. Once dry, black detailing added to buttons etc. Glossy Accents added to boning lines.
Further detailing was added to the whole canvas with Gold Metallics paint by DecoArt as well as Pinflair Buff-It in Slate and Red. I also added Crackle Accents and Glossy Accents to different areas as well as a little black Gesso to further add depth and frame the whole design.
- - - - - - - - - - - - - - -
Here are some more photos:
Planning my layout...
Close ups of the finished project...
- - - - - - - - - - - - - - -
Thank you as always for popping by. I loved the challenge of working to set criteria!
xxSAMxx
Please can I enter this project into the following challenge(s):
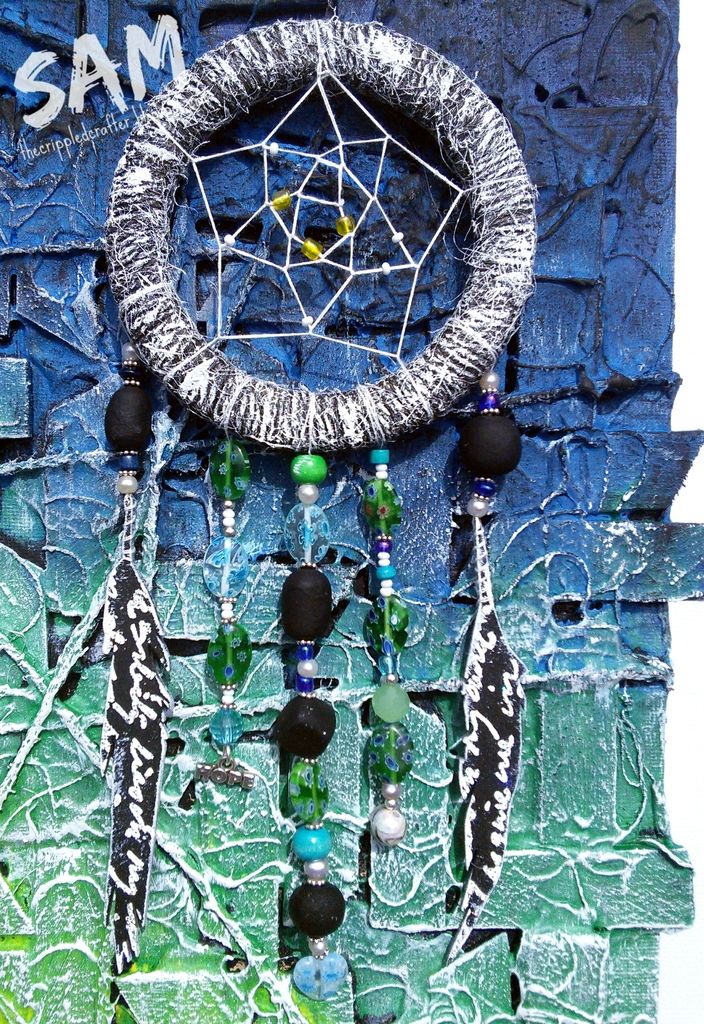
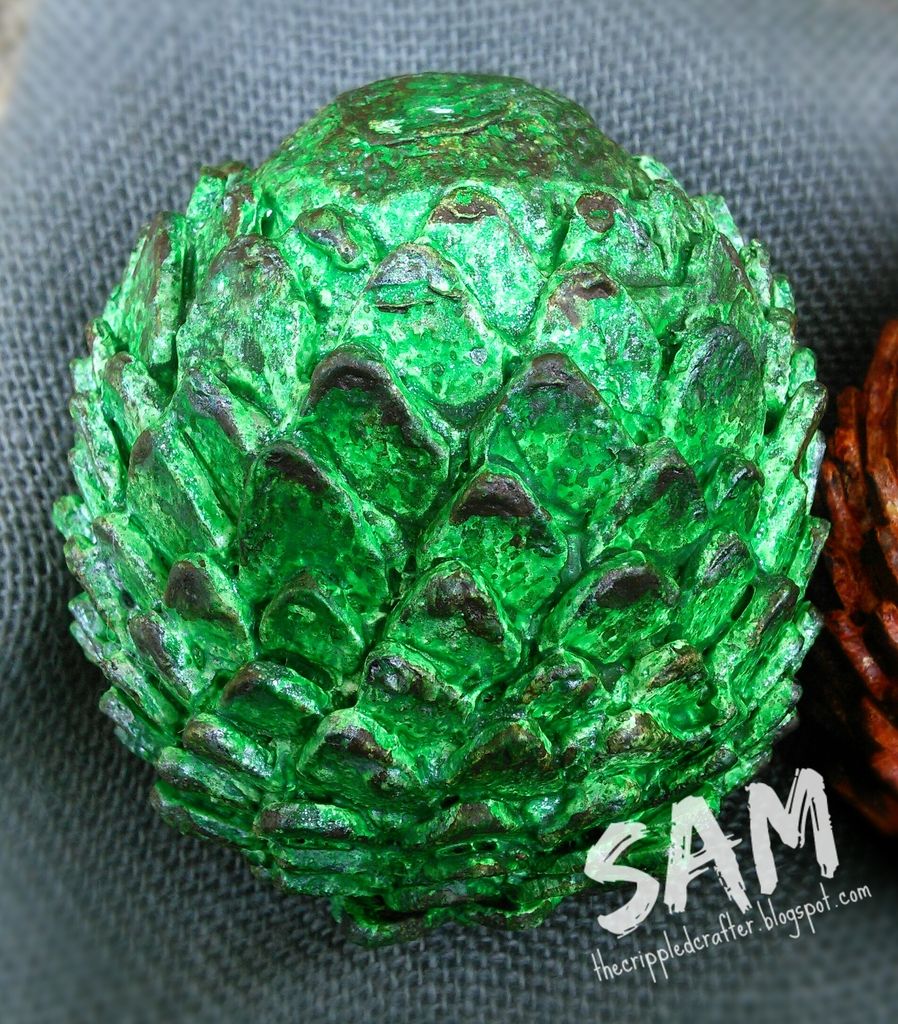
Inspired by my love of Game Of Thrones (what a jaw dropping 5th season!!) I have wanted to make a set of dragon eggs for some time and the season just ending kicked my ass into gear.
ANYTHING ELSE: Old corrugated cardboard box, brown parcel paper (recycling Amazon packaging), jute fabric, fabric scraps for stuffing box.
- - - - - - - - - - - - - - - SummaryProcess:
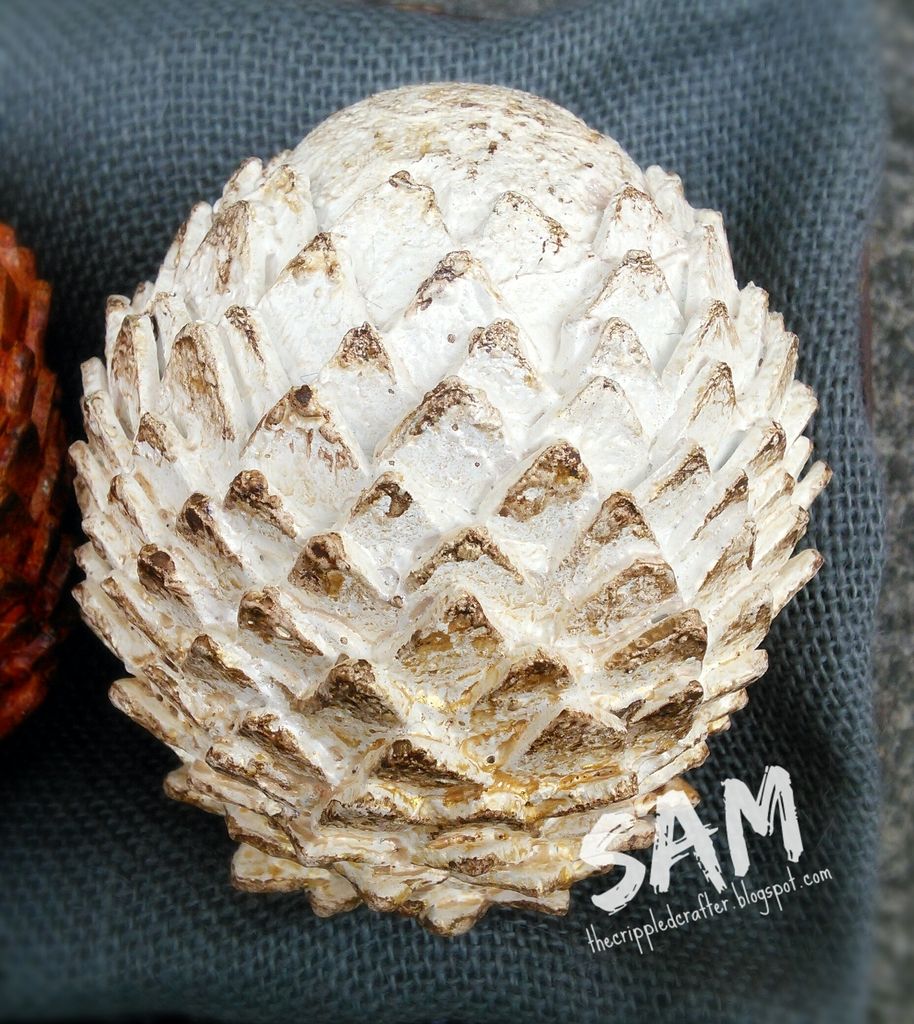
DRAGON EGGS
Cut LOTS of scale shapes from fab foam and glued to eggs with hot glue. Any colour fab foam will do, I used lots of off cut pieces I'd had for a long while.
Give the eggs 2 coats of Gesso thoroughly air drying in between. I applied very coarsely to add lots of texture.
I sprayed/rubbed the eggs with the following products:
GREEN EGG: Watered down acrylic paints (cadmium green & sap green), light spiritz with DoCrafts Artiste Spritzing Ink (White) to add some shimmer, added some depth with DoCrafts Artiste Spritzing Ink (Hematite) and watered down acrylic paint (burnt umber).
WHITE EGG: DoCrafts Artiste Spritzing Ink (White), DoCrafts Artiste Spritzing Ink (Gold), watered down acrylic paint (burnt umber).
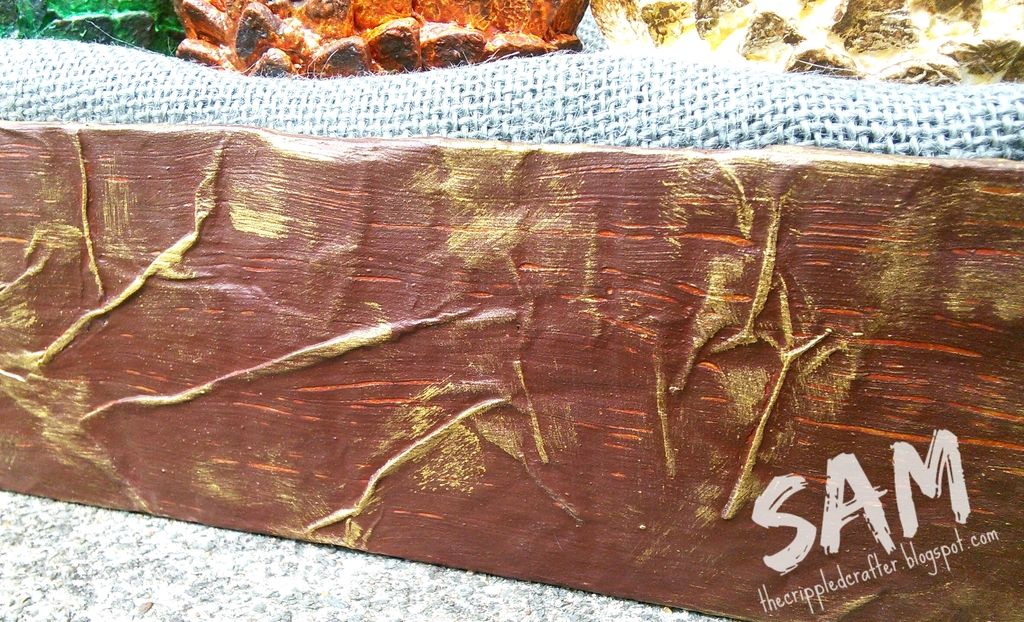
BOX
Box constructed from a corrugated cardboard box and decoupaged with scrunched up brown parcel tape using several coats of watered down PVA glue.
Painted with a coat of brown acrylic paint which actually, and unintentionally, crackled in a weathered wood style, presumably because of the about of glue underneath.
I then painted over with DecoArt Fluid Acrylics in Quinacridone Gold before dry brushing Gold DecoArt Dazzling Metallics over.
I finished with a coat of DecoArt Ultra-Matte Varnish.
- - - - - - - - - - - - - - -
Here are some more photos:
- - - - - - - - - - - - - - -
Thank you as always for popping by, I hope you enjoyed looking at this creation as well as reading the thought process behind it.
xxSAMxx
Please can I enter this project into the following challenge(s):
Good morning! I hope you've be enjoying the luverly weather recently! I've loved the thunderstorms just as much as the sun! They have been very impressive!
Anyway!, it is time for a new challenge over at the
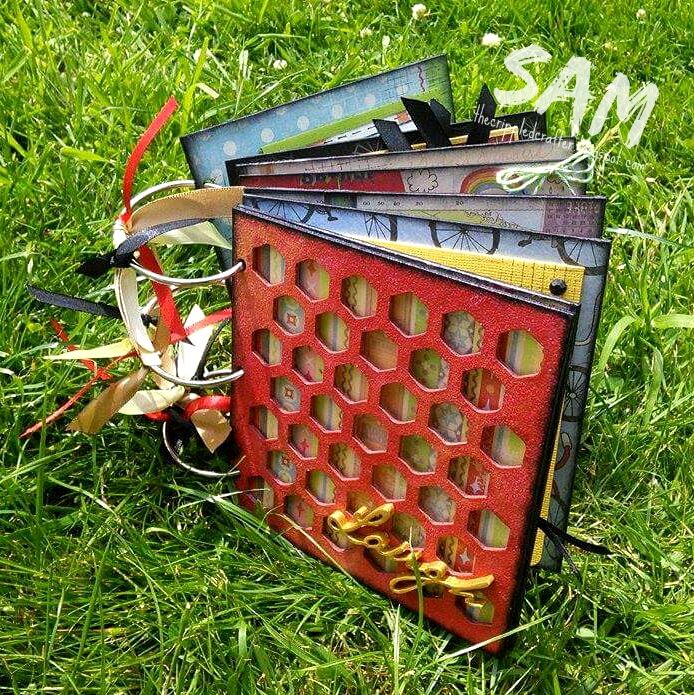
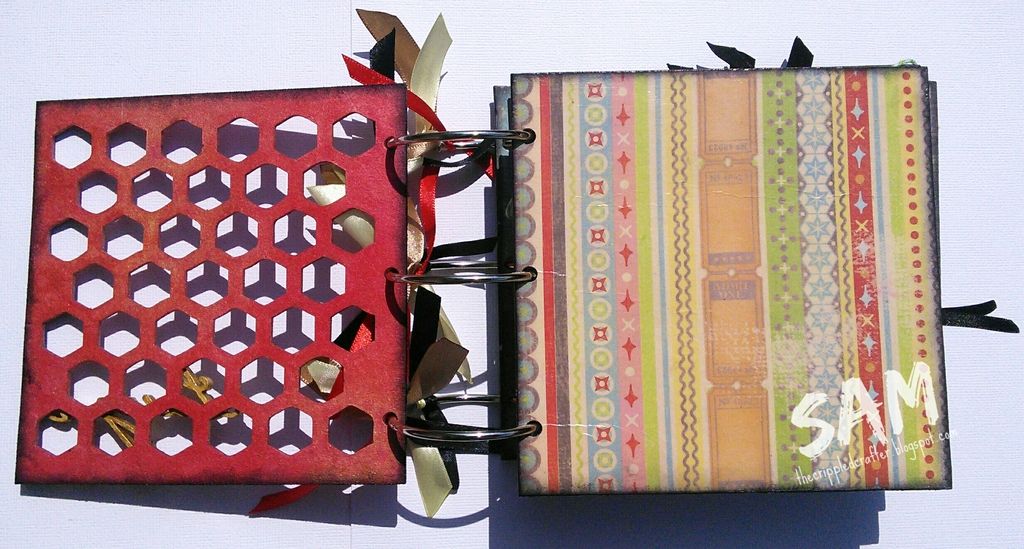
I hope I have done this Greyboard Album from That Craft Place justice! It was amazing fun to make and certainly won't be the last one I do!
As there are so many pages and interactive elements to this project I decided to have a go at videoing it! Please excuse the wobbliness and my obvious inexperience with a video recorder!!
Please enjoy! I really do show all the details in this video so it's worth a look.
- - - - - - - - - - - - - - -
I used the following materials:
THAT CRAFT PLACE MDF / GREYBOARD: Greyboard Album & Extra Pages (6" x 6"), Greyboard Key, MDF "Laugh" Word.
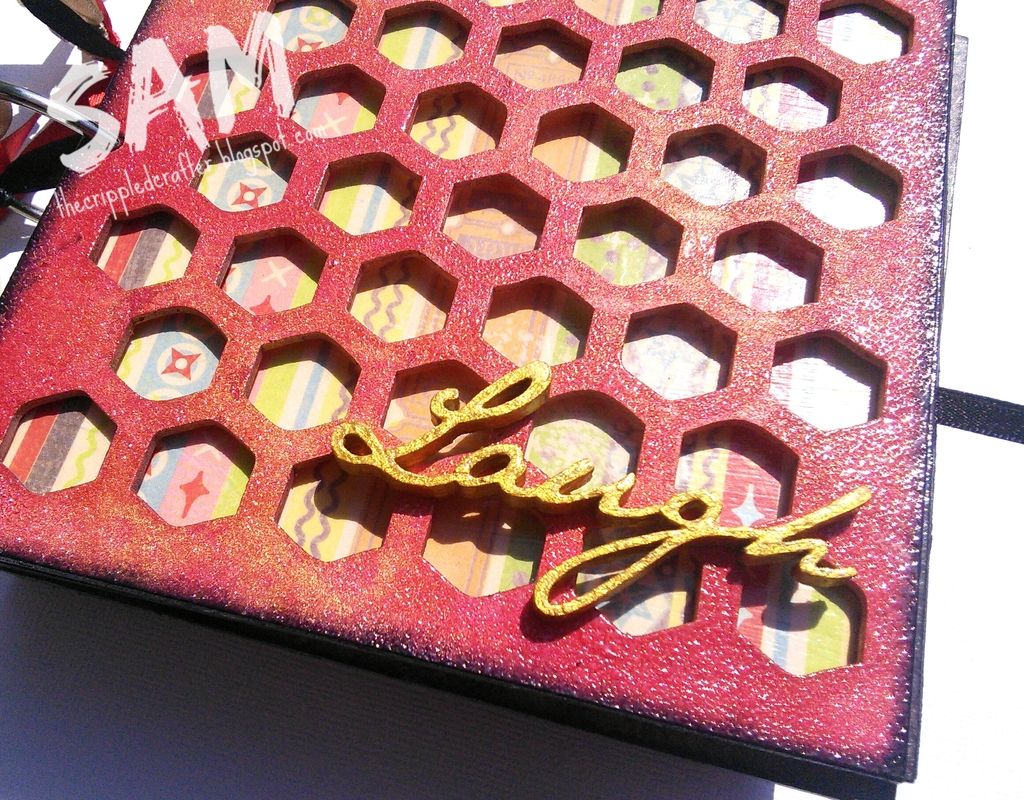
Front cover sprayed with DoCrafts Artiste Spritzing Ink in Crimson and Gold. Edges inked with Archival Ink in Jet Black before adding Ranger Antiquities Frosted Crystal Embossing Powder. "Laugh" MDF word prepped with white gesso and sprayed with DoCrafts Artiste Spritzing Ink in Gold before Glossy Accents added. ---------------
Paper applied and sealed with 2 coats of Mod Podge Matte. Edges inked with Archival Ink in watering Can and Jet Black.
---------------
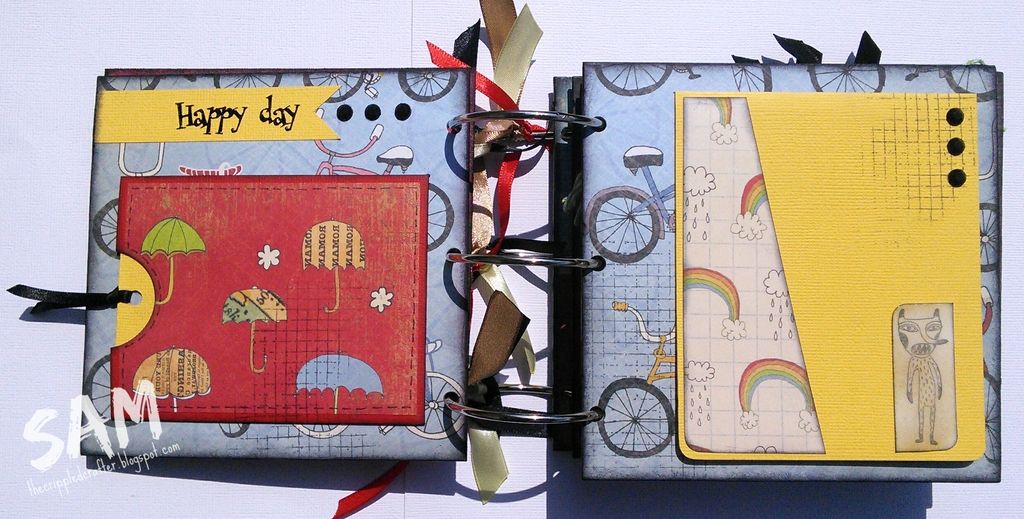
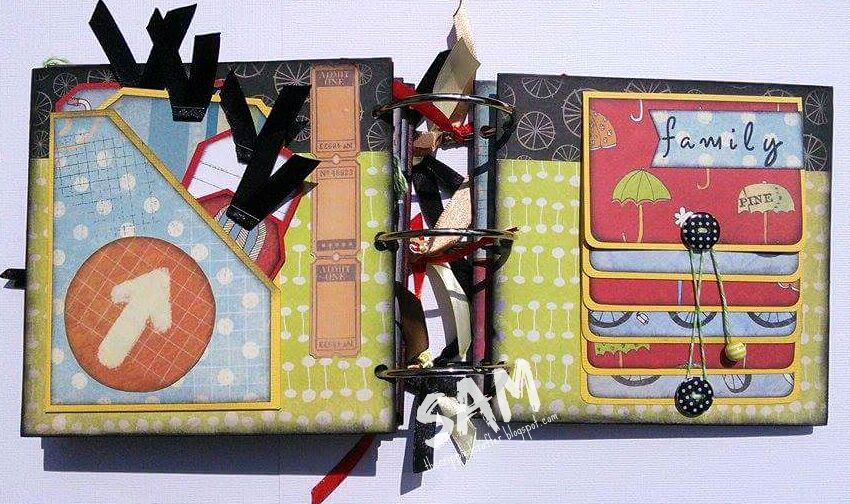
Each page in the album had paper applied and the edges inked with Archival Ink in watering Can and Jet Black. The grid design to tie the album together was stamped in Archival Ink (Watering Can) using a rubber Tim Holtz grid stamp.
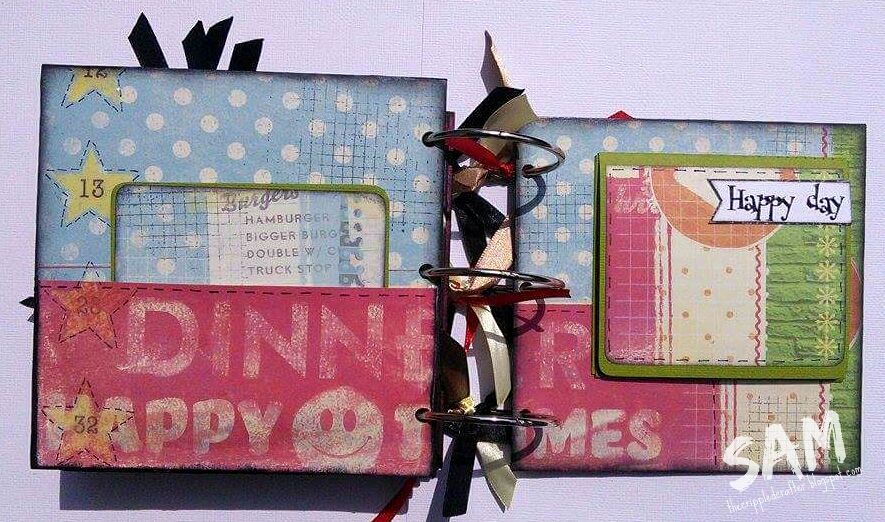
The Happy Day Peel-off on this page started life as a Happy Birthday Peel-off that I butchered! Little monster dude stamped in Archival Ink. I distressed this with Distress Ink and applied Glossy Accents to finish this spread off.
---------------
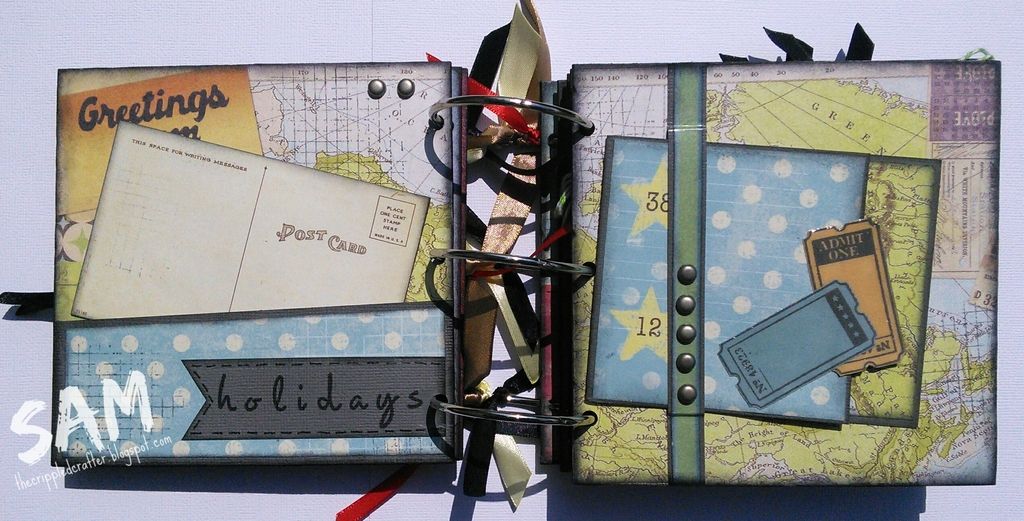
Postcard and tickets cut from papers used in this album. I cut the legs off the brads before attaching with Glossy Accents.
The tickets on the mini book (right page) finished with Glossy Accents.
---------------
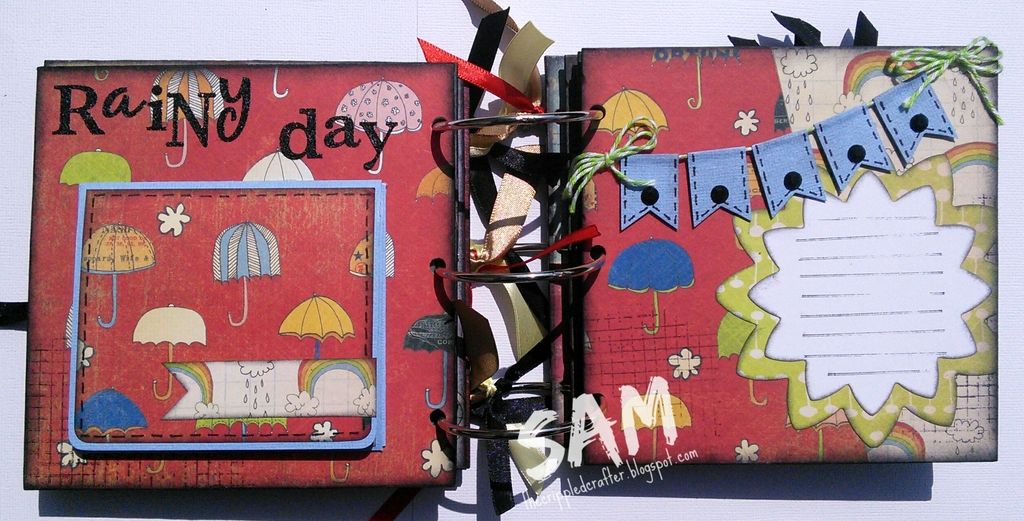
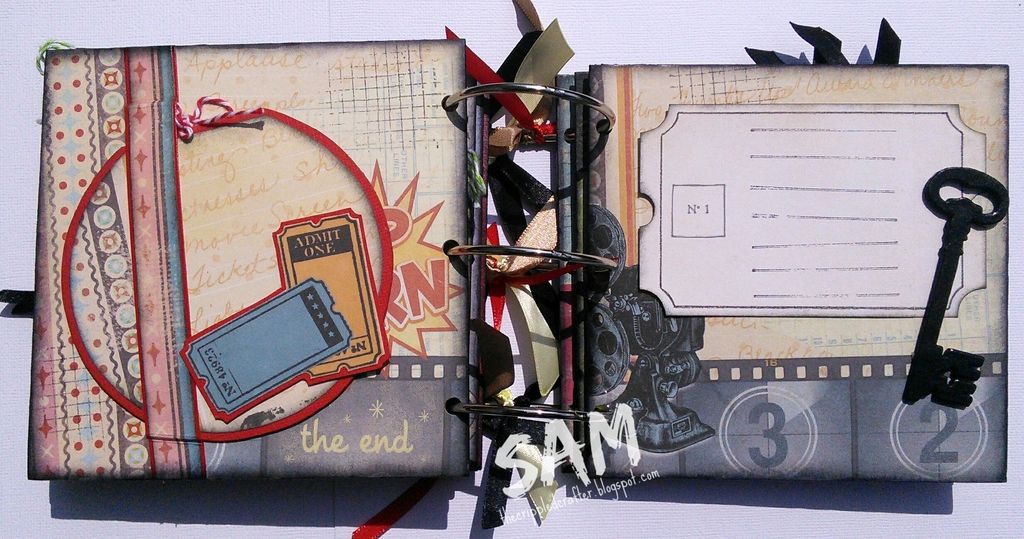
Bunting banners cut by hand and glued down with Silicone Glue Gel. Journal spot on the right page cut using an XCut die.
Idea for the Quad fold photo panels on the left page was taken from Pinterest! It adds so many more places for photos!
---------------
Tag pocket holds 4 double sided Tags. Waterfall photo panels on the right page secured shut with a figure of 8 string. Arrow on the left page finished with Glossy Accents.
---------------
Left pocket contains 4 double sided photo cards and the right page features another quad fold photo panel. Stars on the left page finished with Glossy Accents.
---------------
Minibook (left page) has several pages (see video!).
The key has been heat embossed and the ticket lifts up. The video camera which is partly hidden by the ticket flap has been finished with glossy accents.
---------------
Like the first page, 2 coats of Mod Podge Matte added to protect the back cover.