Showing posts with label Make It Sew. Show all posts

Tuesday, 28 April 2015

Fairies & Fairy Doors

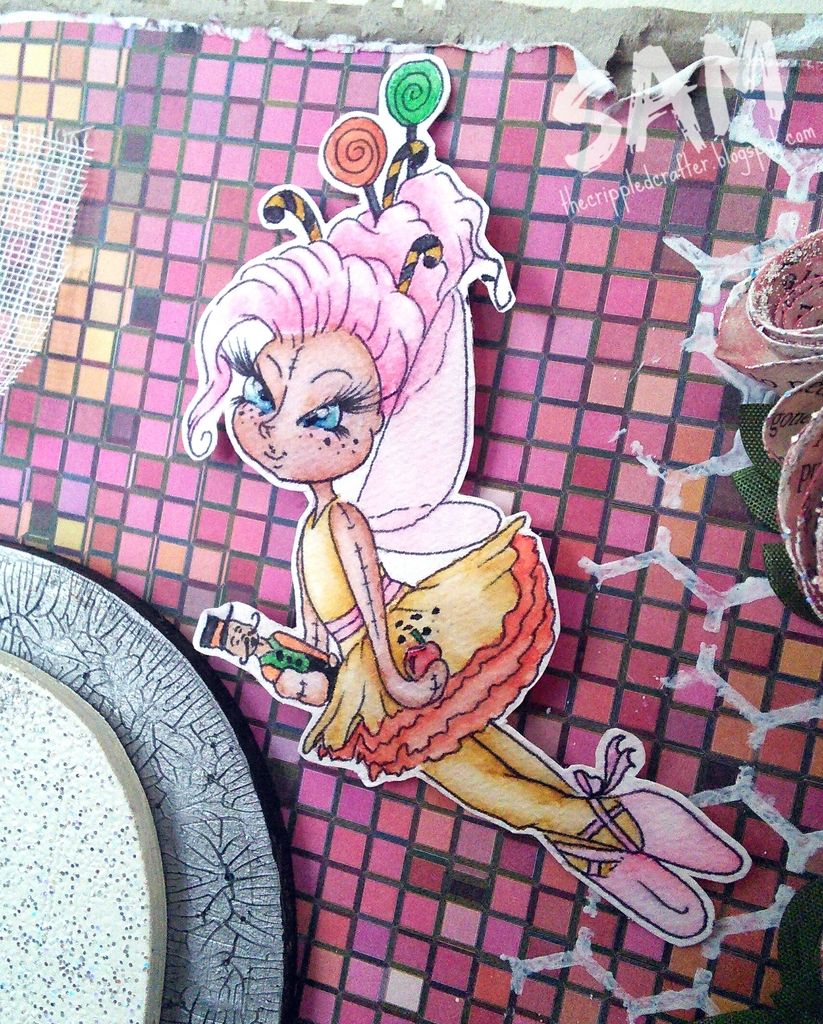
Hello again.  I back to share with you a project I've spent the last couple of days making, specially for the "No Cards" challenge over on the That Craft Place Challenge Blog! 

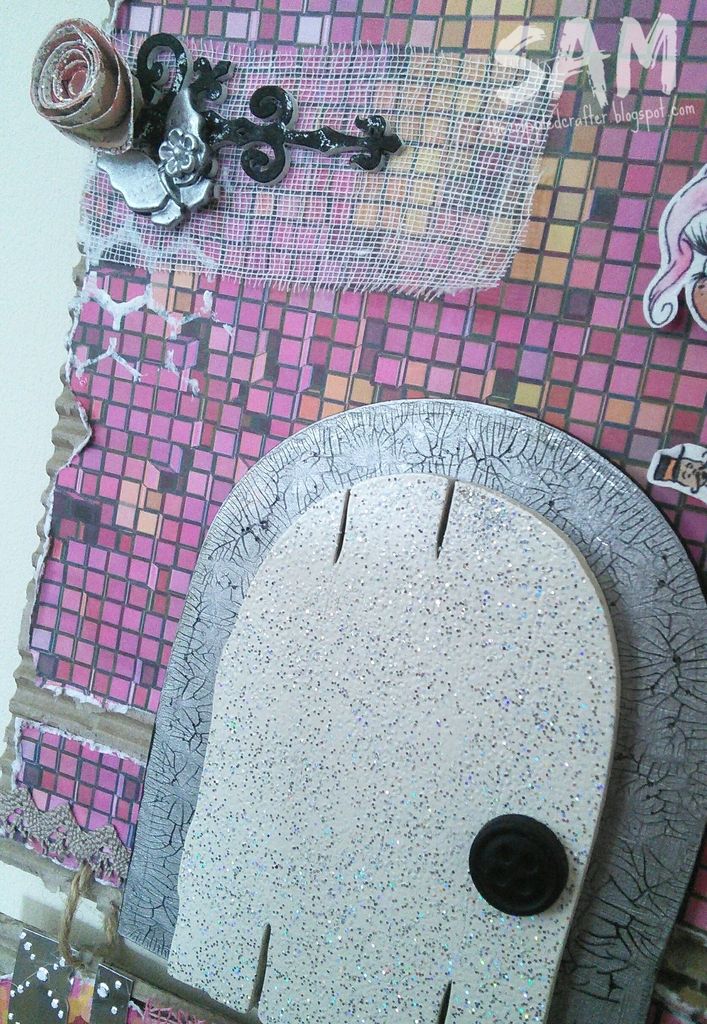
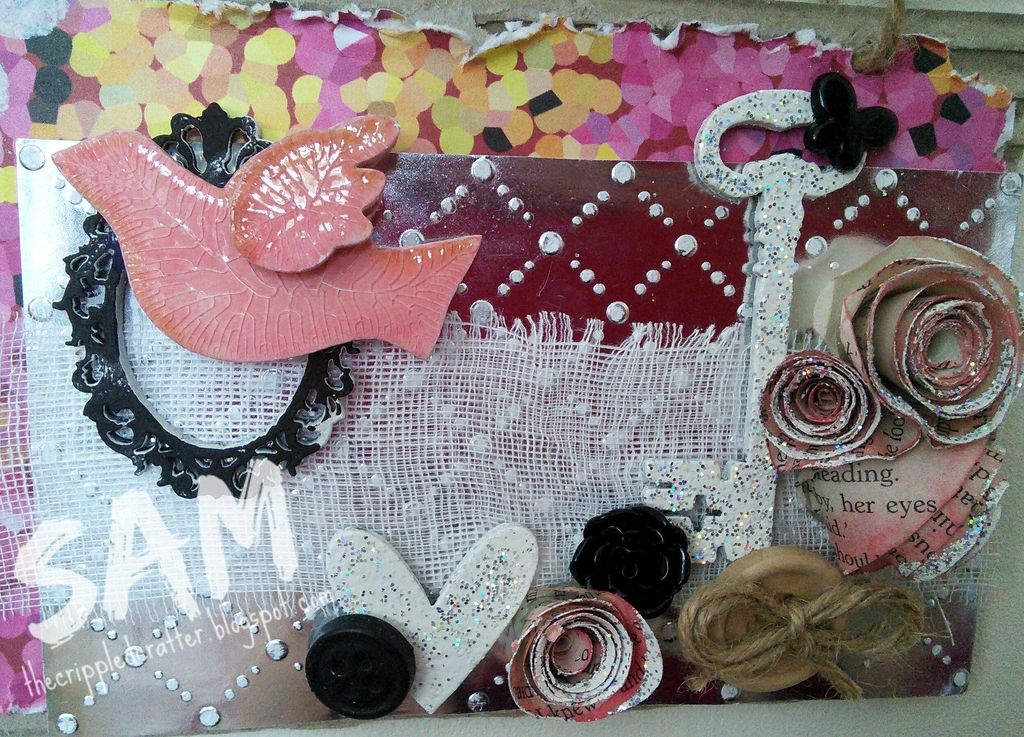
So here is the wall hanging I made for my niece! It measures 10" wide.
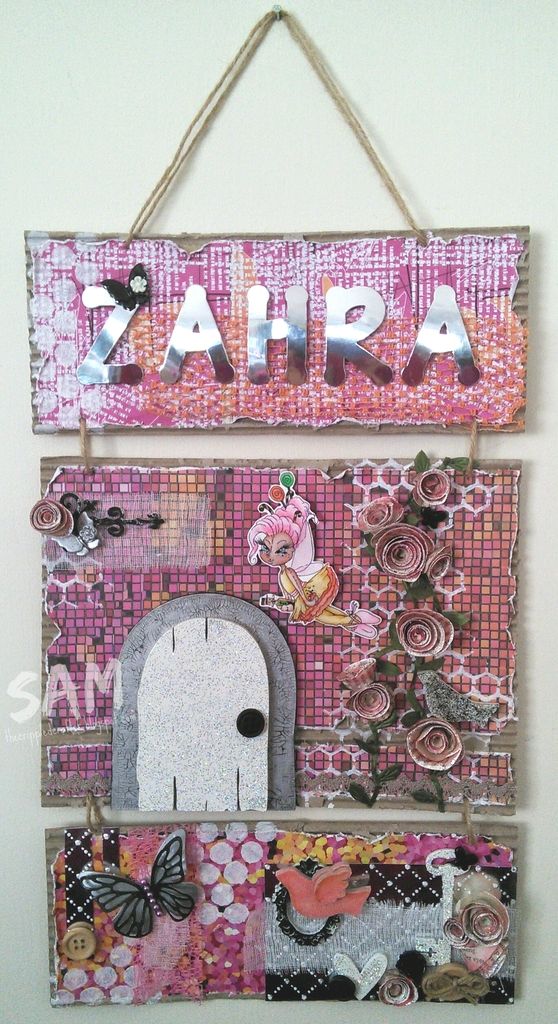

I read the theme when it launched on Sunday and knew straight away what I wanted to do! What's more it was the perfect opportunity to use more of the That Craft Place laser cut shapes and other goodies from their store!

I got in a bad fight with my glue gun during this project but still loving the results!
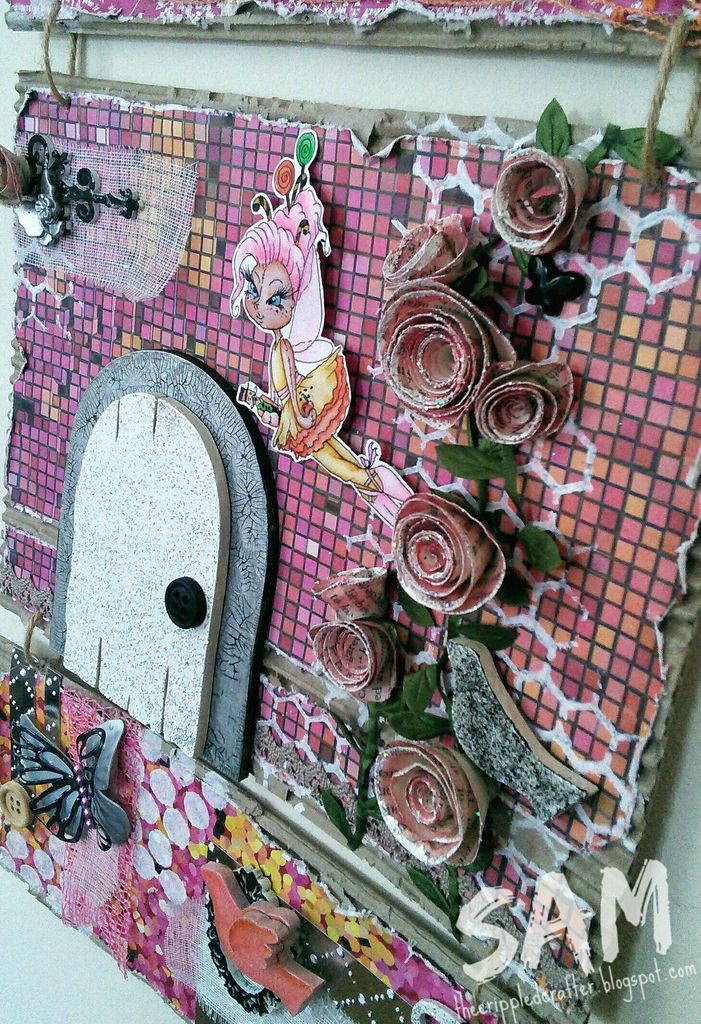

I used the following materials / steps:

SUBSTRATE: Brown corrugated cardboard from old packaging.

PAPERS: Cricut paper pad, stenciled with gesso.

FAIRY DOOR: Back piece gesso'd and painted silver. Then a coat of Crackle Accents was added. Front door piece gesso'd then given 2 coats of Ranger Embossing Tinsel in Snowflake.

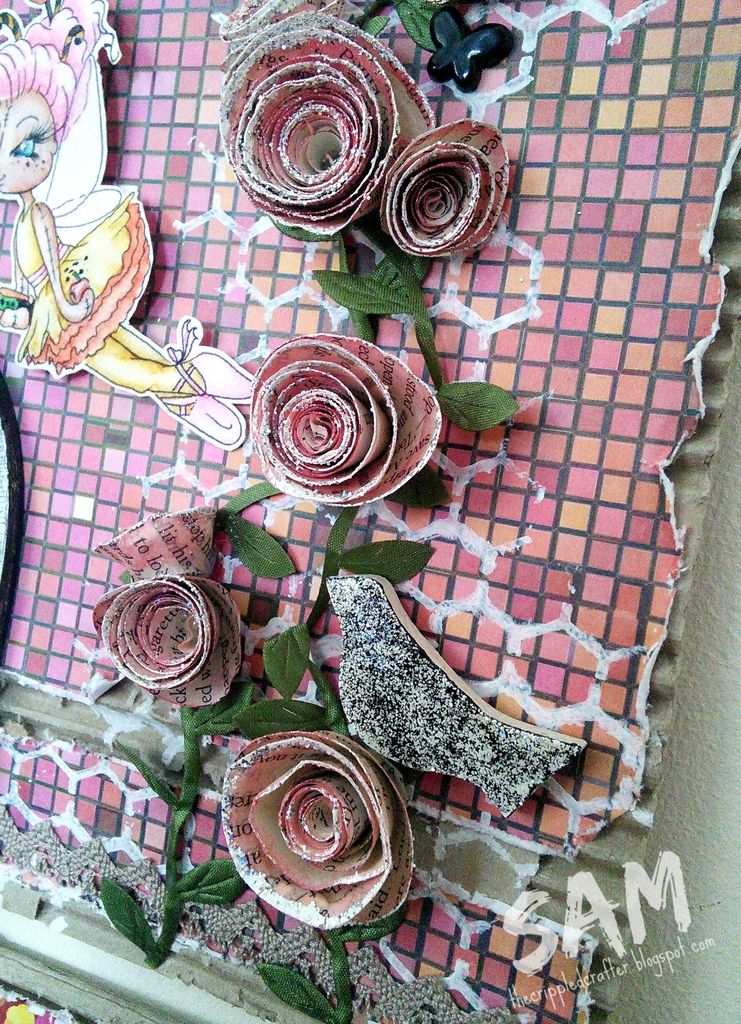
BIRDS: Black/white bird gesso'd, stippled with black paint, then given a stippled coast of the Embossing Tinsel. Pink bird gesso'd, inked with Distress Ink in Worn Lipstick then given a coat of Crackle Accents.

FLOURISH: Gesso'd then some with black paint.

KEY: Gesso'd then given 2 coats of the Embossing Tinsel.

Greyboard hinge and key, and MDF fairy door, birds and mini frame designed and sold by That Craft Place (love Lisa's MDF and greyboard!).  

IMAGE: Called "Sugar Plum" and is part of the Sugar and Spice range from That Craft Place. I coloured her with DoCrafts Watercolour Pens.

ZAHRA: Letters cut from silver mirror card using Sizzix Bigz "Lollipop" dies.

PAPER FLOWERS: Old book pages cut and rolled up before inking with distress ink and embossing with the Embossing Tinsel.

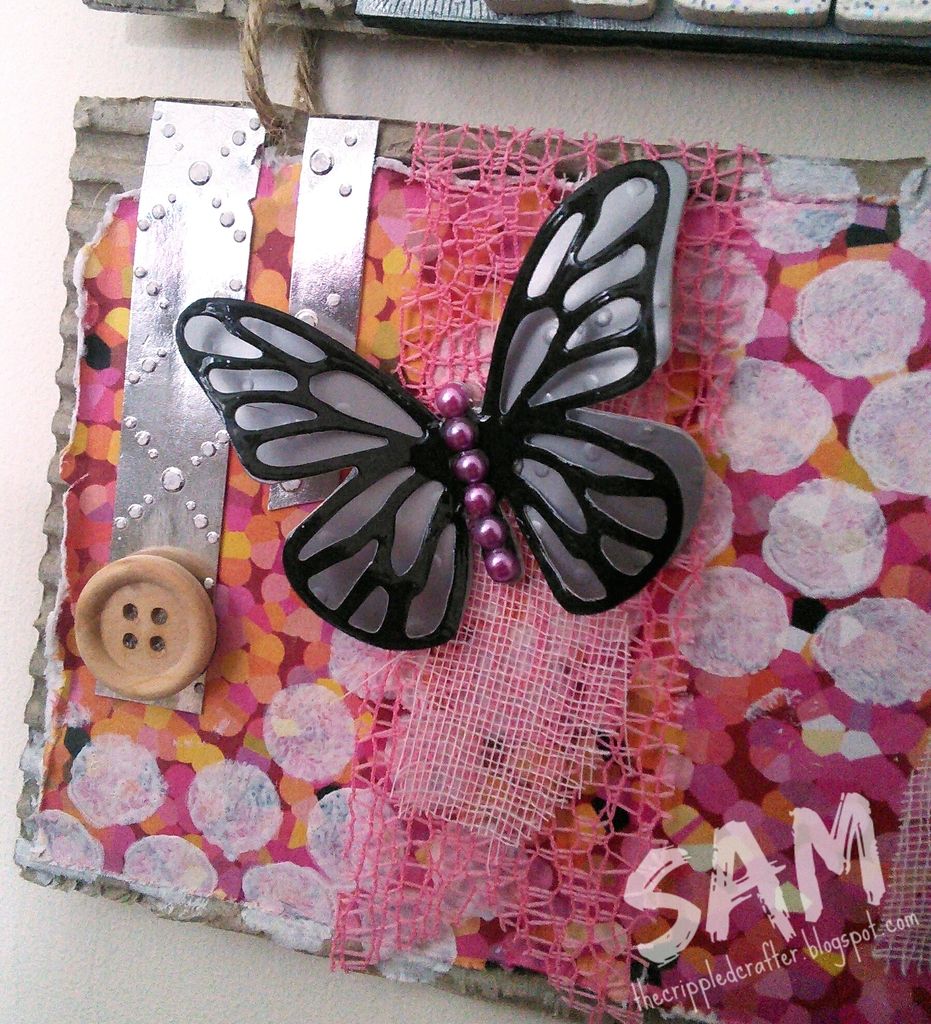
EMBOSSED MIRROR CARD: Silver mirror card dry embossed used a Sizzix embossing folder.

Mirror card, cheesecloth and ribbons, paints, Glossy Accents, Crackle Accents, Pinflair glue gel, distress ink and watercolour pens all from That Craft Place!

- - - - - - - - - - - - - - -

Here's some more photos:


- - - - - - - - - - - - - - -

Thankyou as always for popping by. Please do take a look back at my home page as I've posted 2 other projects earlier today.

xxSAMxx

Please can I enter this project until the following challenge(s):

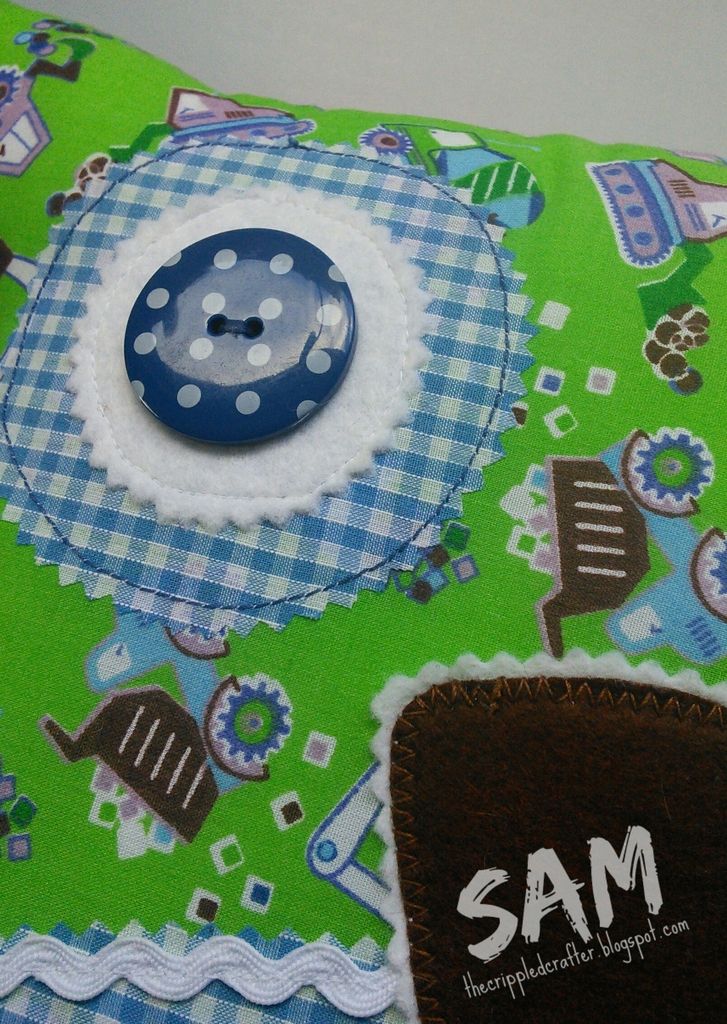
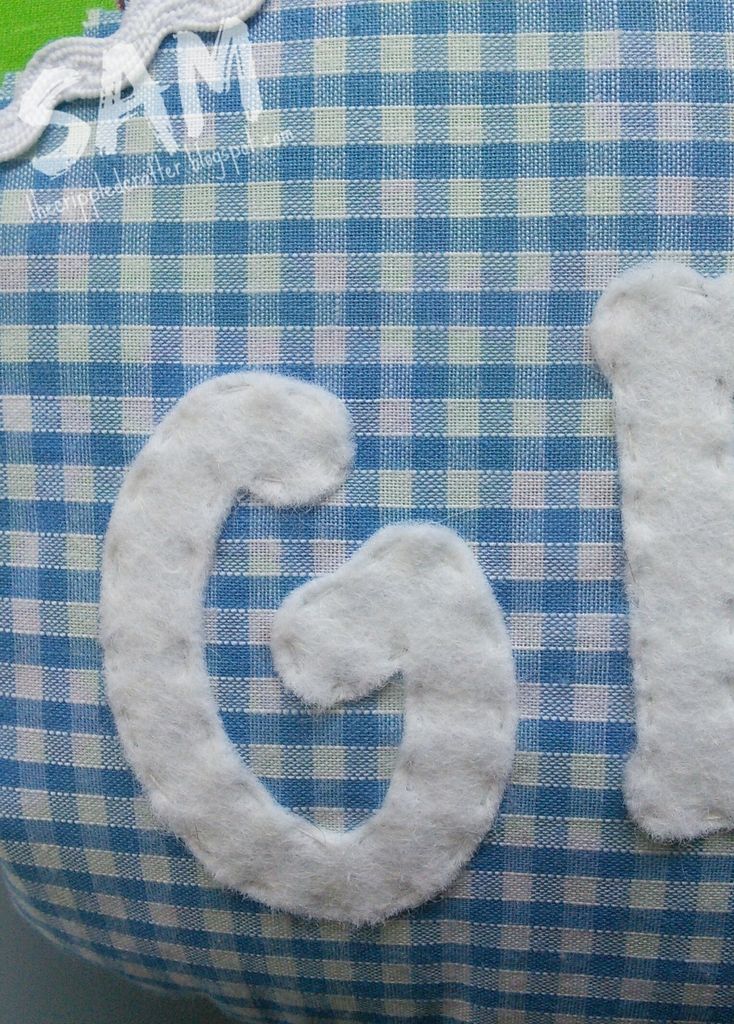
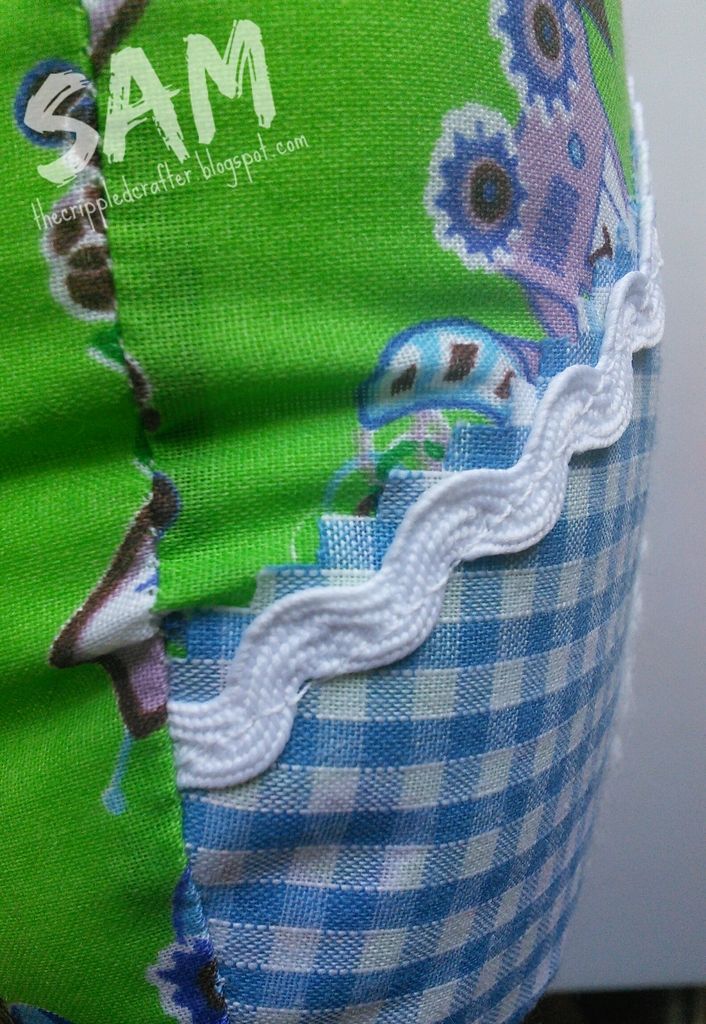
Personalised Owl Cushions

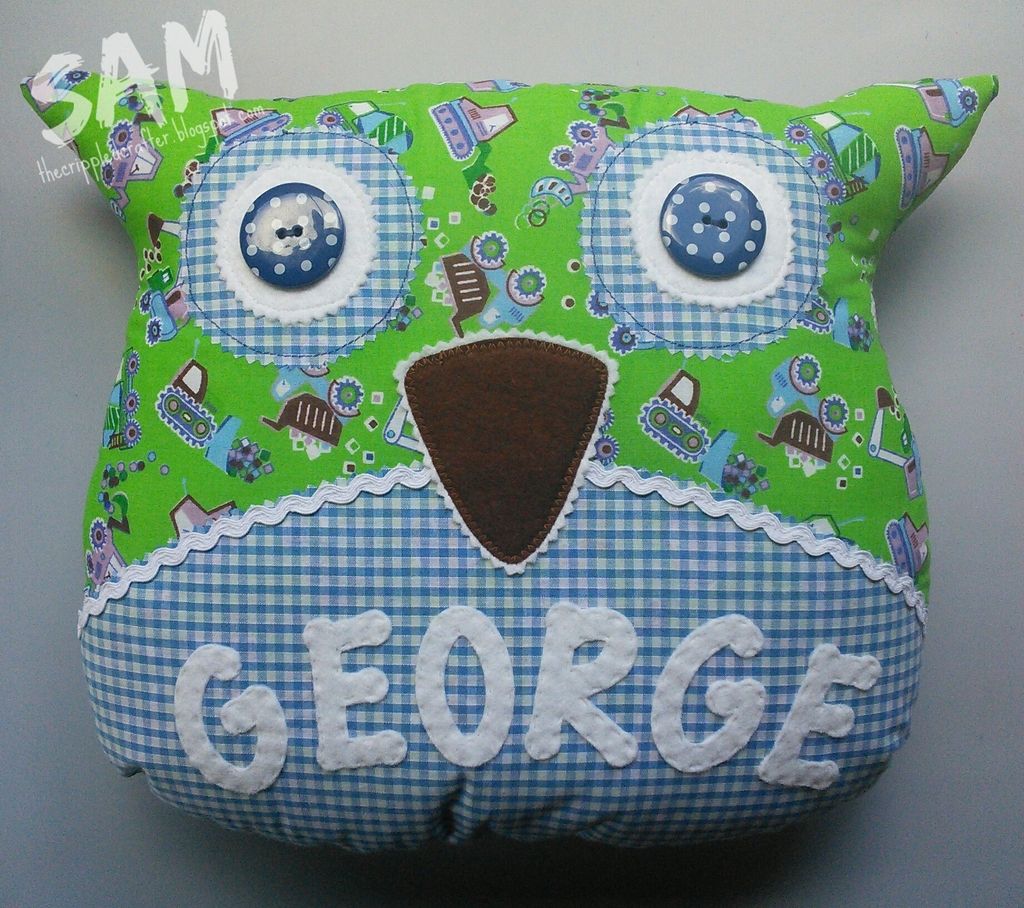
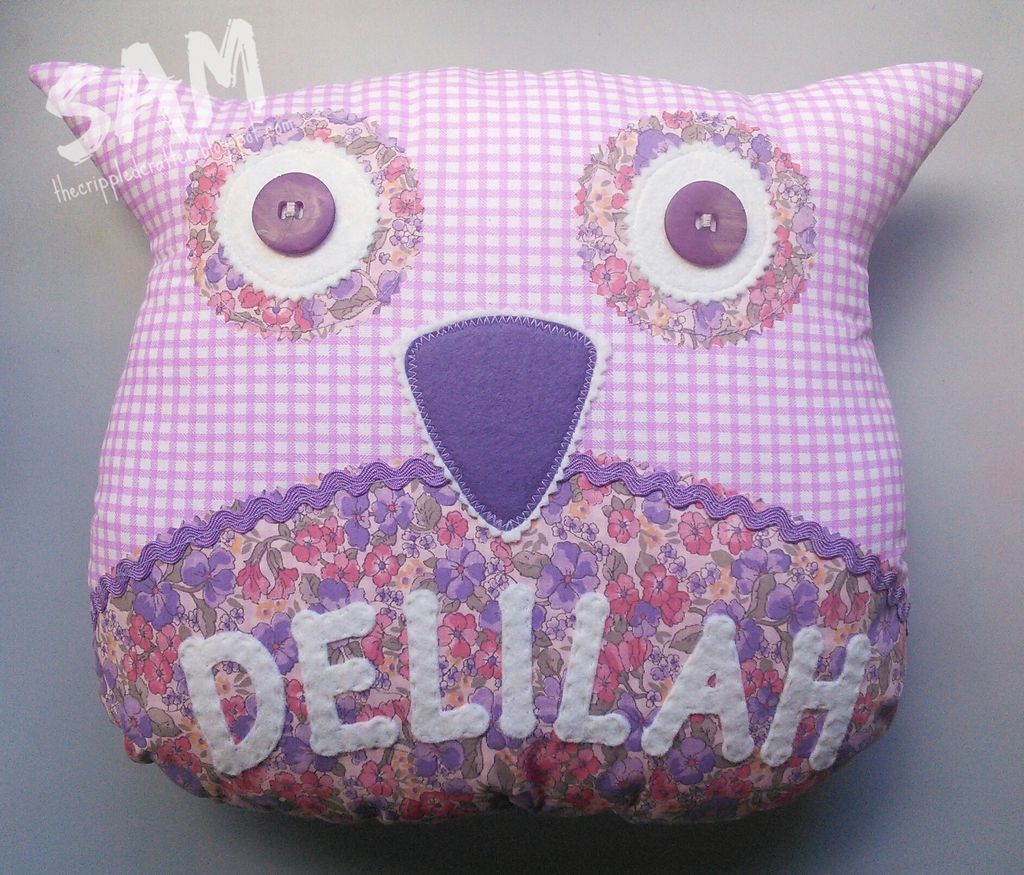
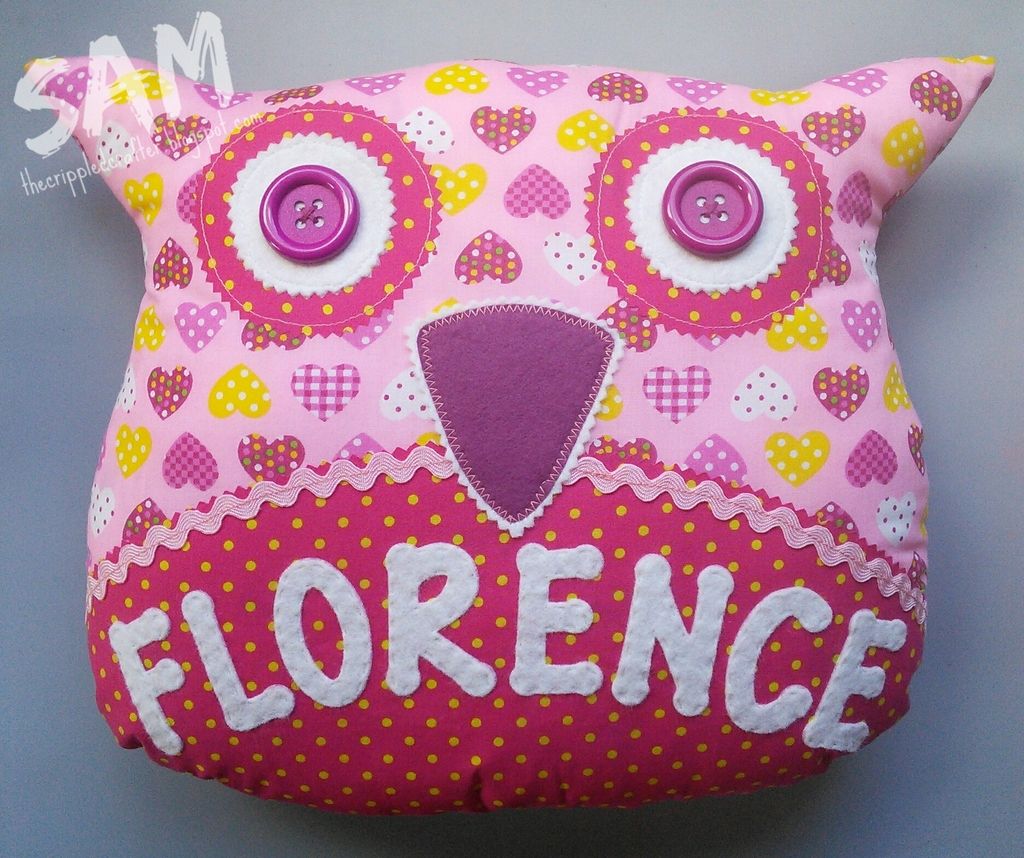
Hello again.  I back to share with you a sewing project this time, 3 cushions for a customer order.

These owls are my own pattern.


I used the following materials / steps:

Fabric from my rather substantial stash!

Ric Rac, blue buttons, pink buttons and felt from Felted Fancies Supplies.

Letters cut from Sizzix Bigz dies and hand stitched onto the cushion.

Finally, the purple buttons is from my local sewing shop Cottontail Crafts

- - - - - - - - - - - - - - -

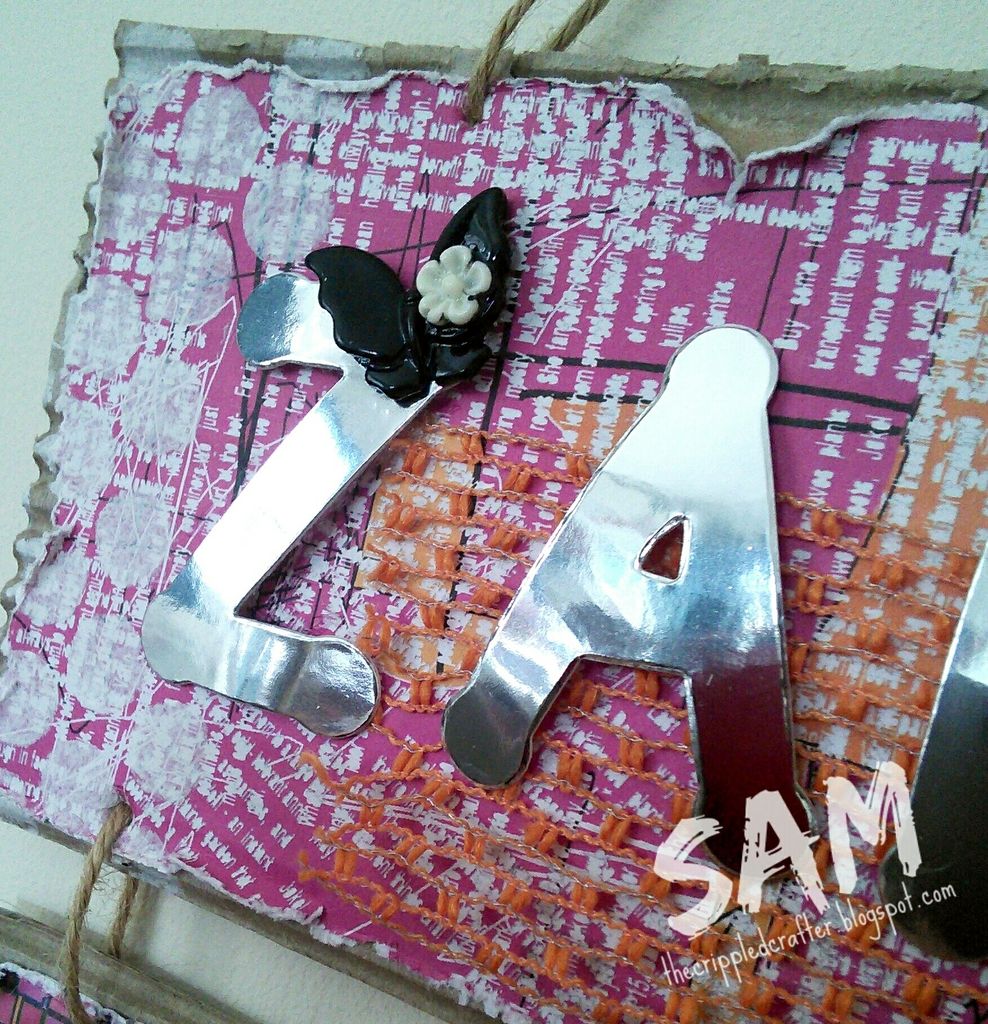
Here's some more photos:


- - - - - - - - - - - - - - -

Thankyou as always for popping by. Please hang around as I still have 1 more project to share with you today.

xxSAMxx

Please can I enter this project until the following challenge(s):


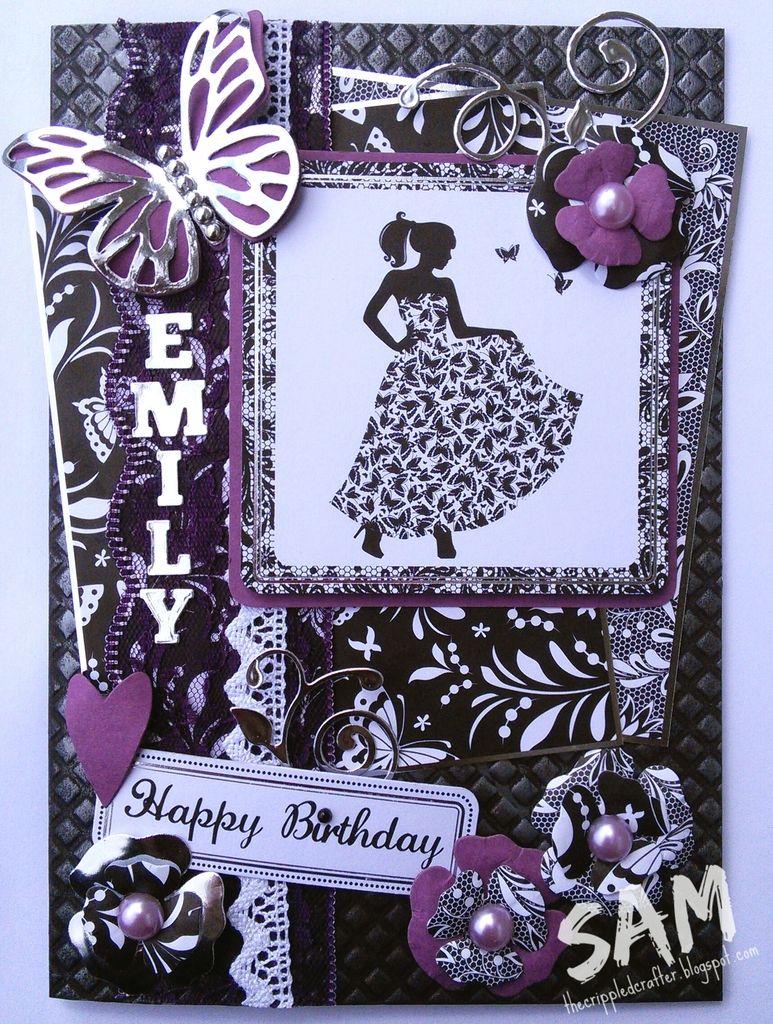
Monochrome teen birthday

Hi folks. Well it's been a few days since my last blog post so thought I'd better have a catch up.  

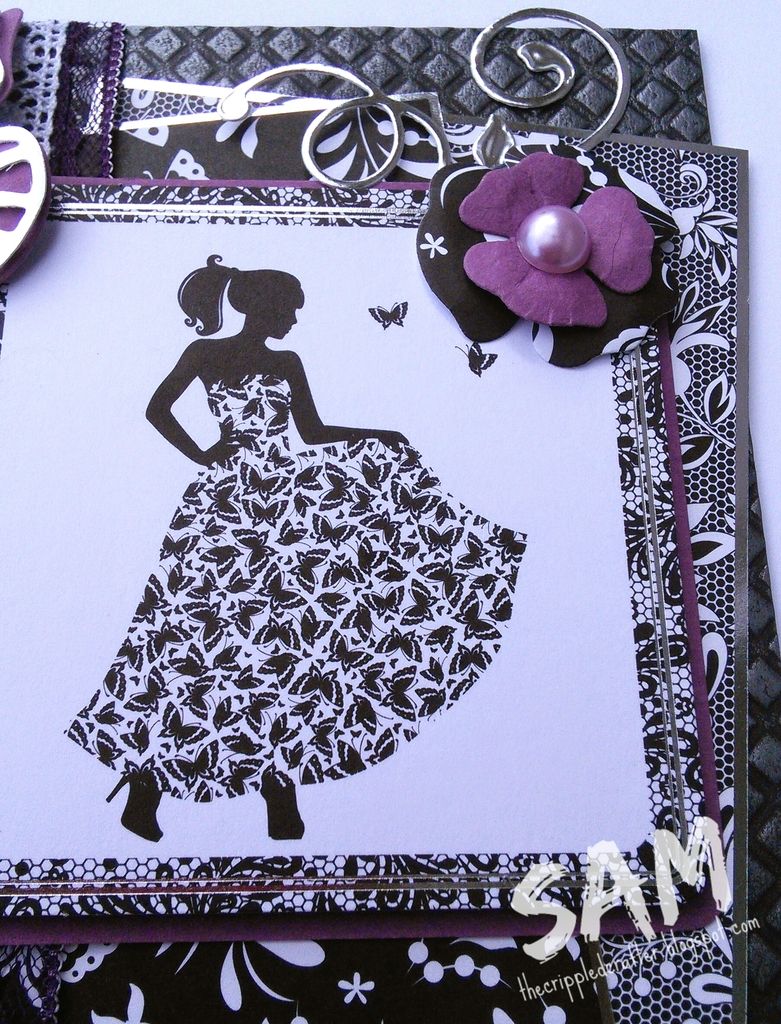
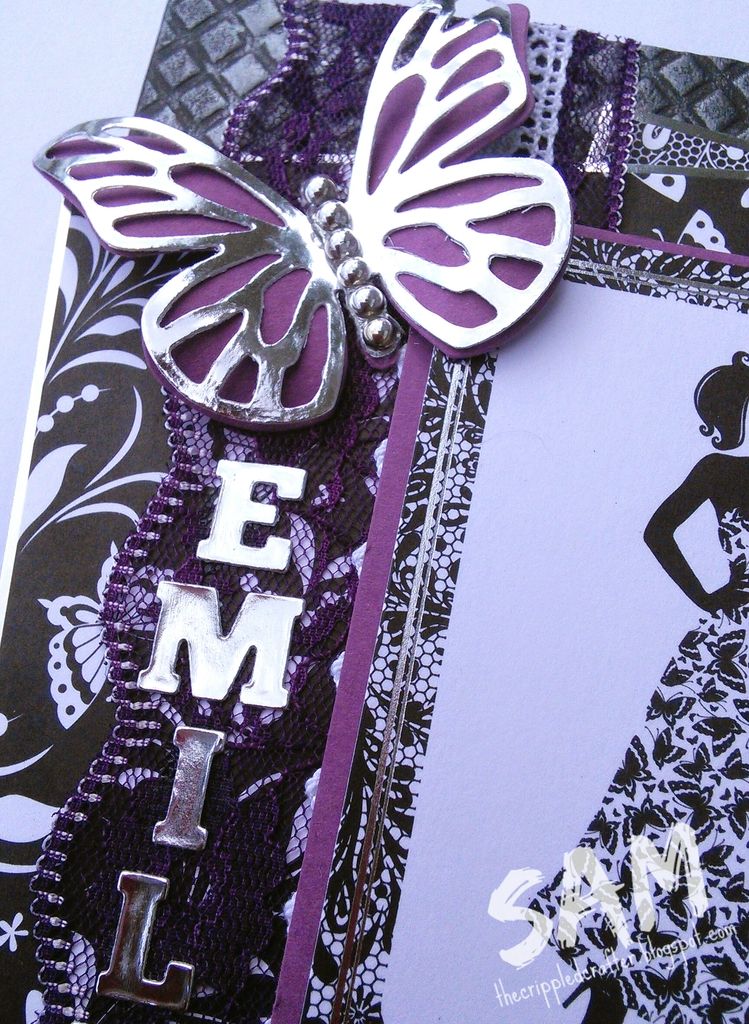
First up is a card I made for an order and as it is the recipients birthday today, I can now share it with you!


I used the following materials / steps:

Topper and papers from Lelli-Bot Crafts. Black embossed cardstock also from Lelli-Bot Crafts.

Silver mirror card from That Craft Place.

Black cardstock guilded with Pinflair Buff-It from That Craft Place. 

Alphabet dies (by First Edition Craft) also from That Craft Place. 

Flower die by LeaneCreatief, flourish by Tonic, and butterfly by Sizzix.

Finally, the lace is from my local sewing shop Cottontail Crafts

- - - - - - - - - - - - - - -

Here's some more photos:


- - - - - - - - - - - - - - -

Thankyou as always for popping by. Please hang around as I have 2 more projects to share with you today.

xxSAMxx


Saturday, 4 April 2015

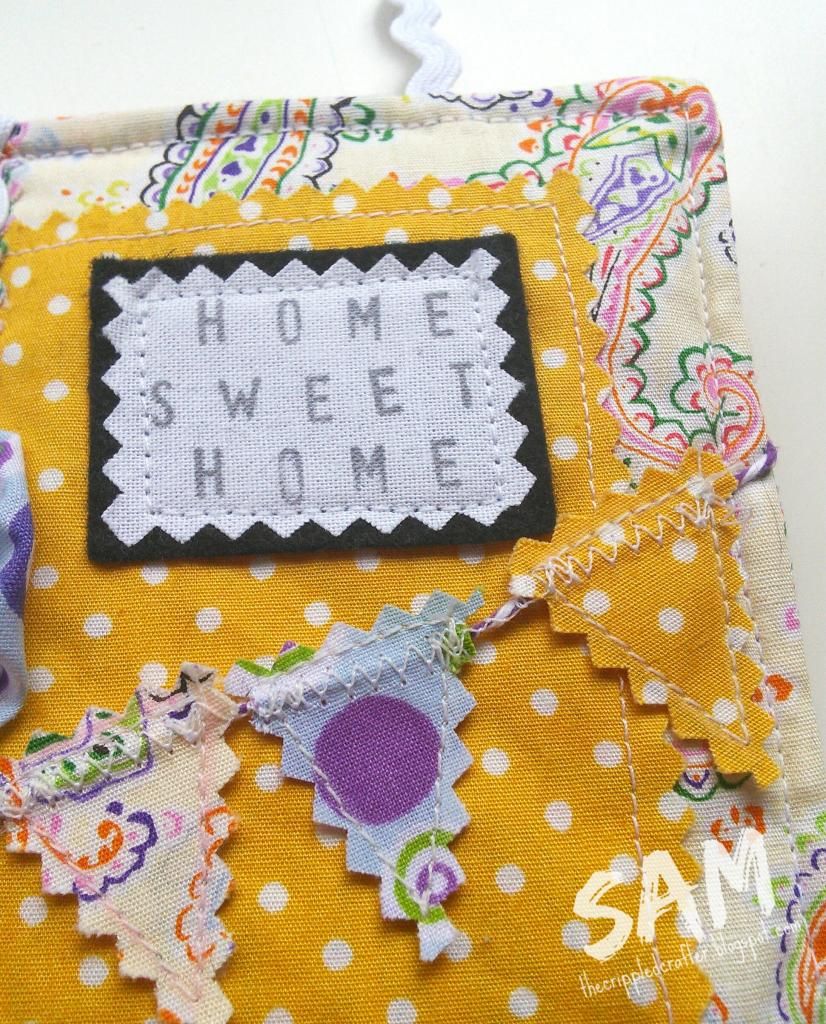
Home Sweet Home - Wall Hangers

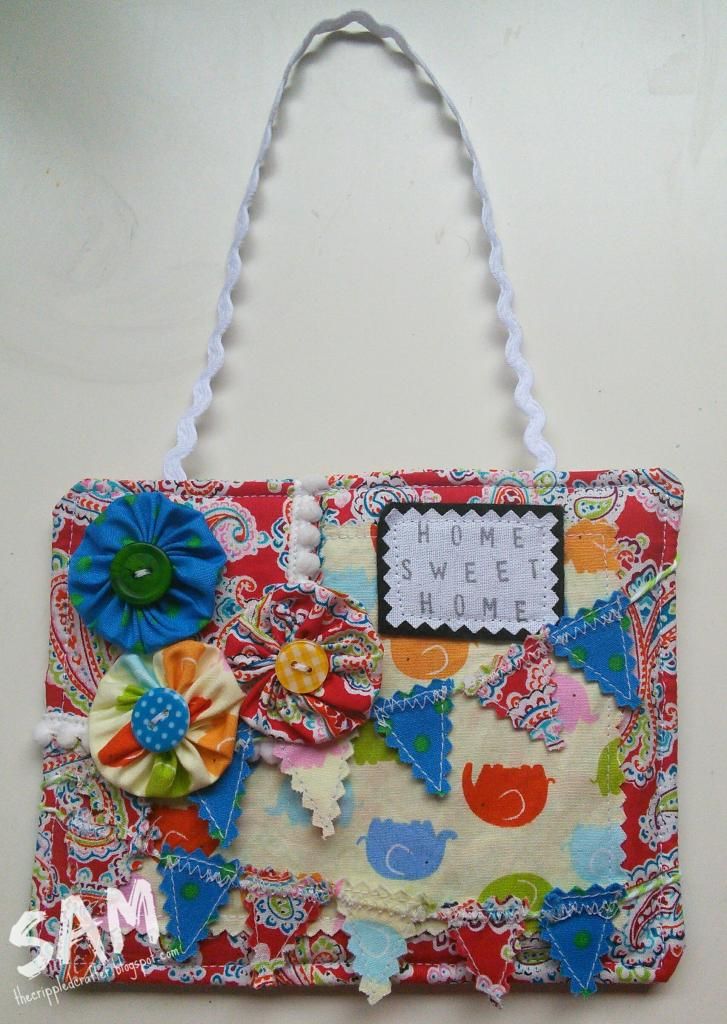
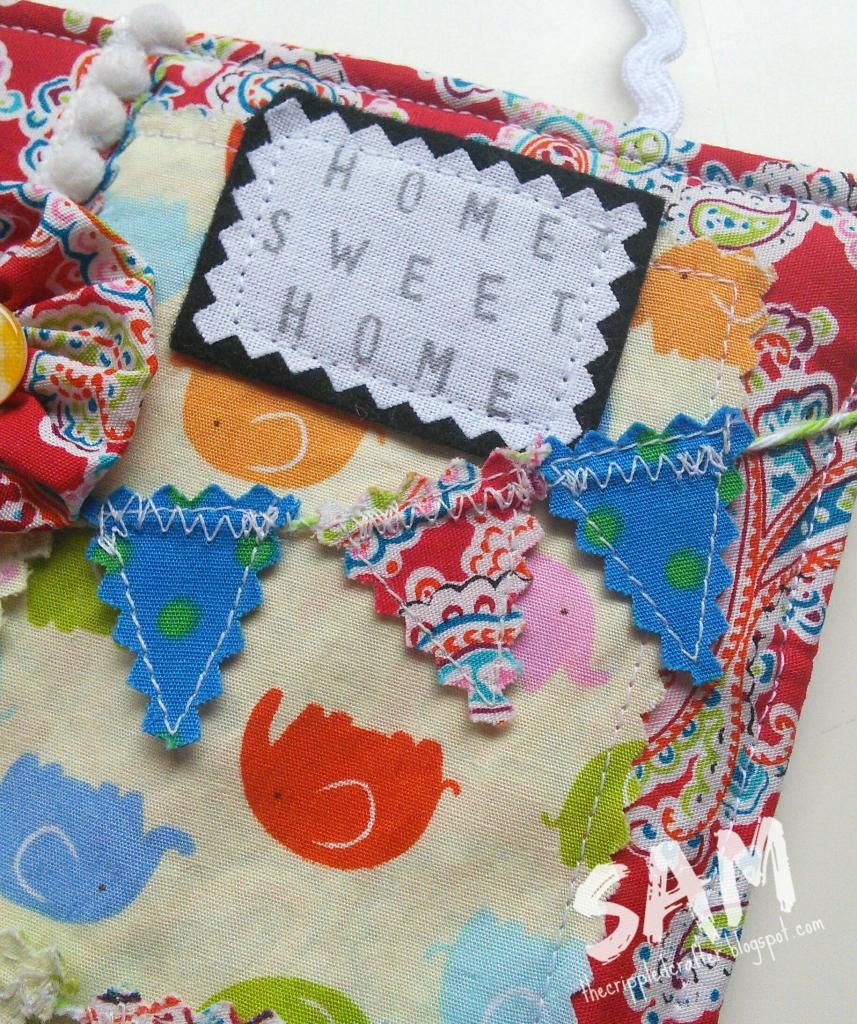
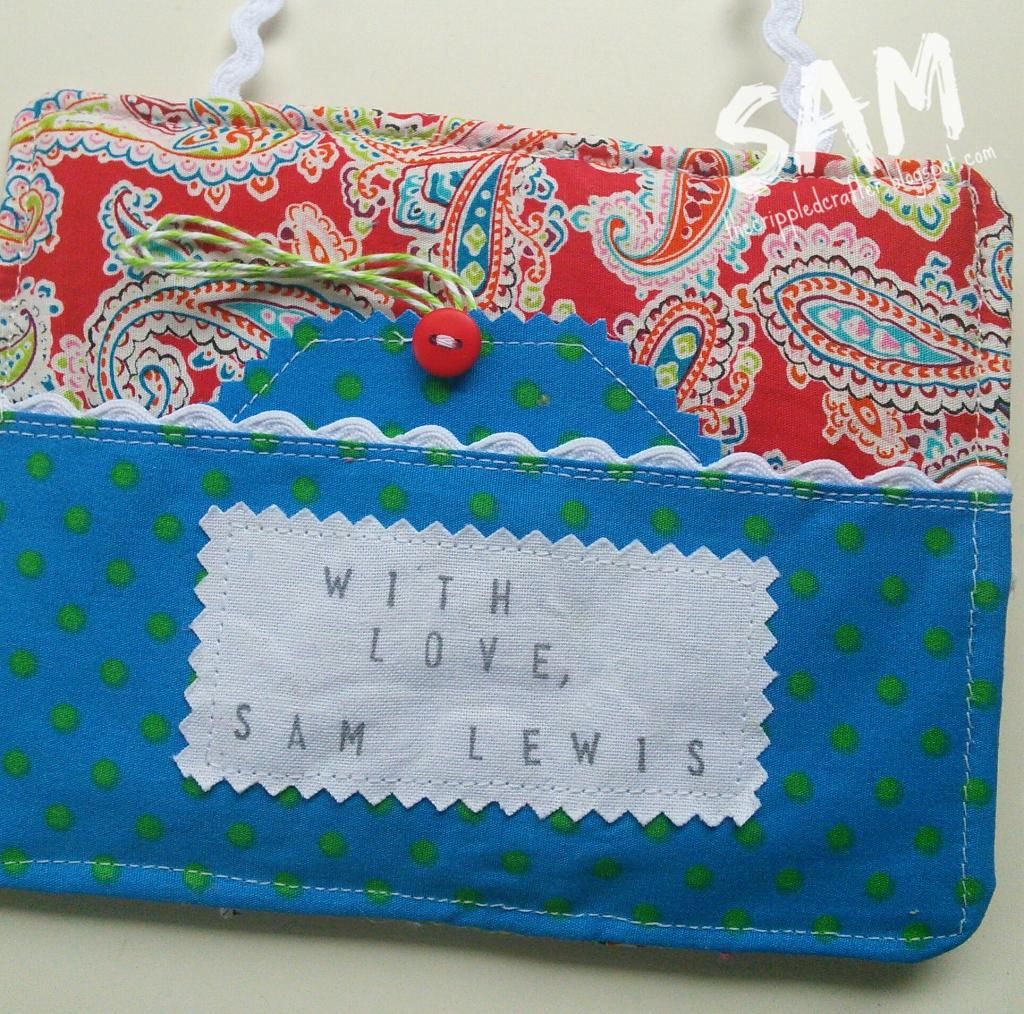
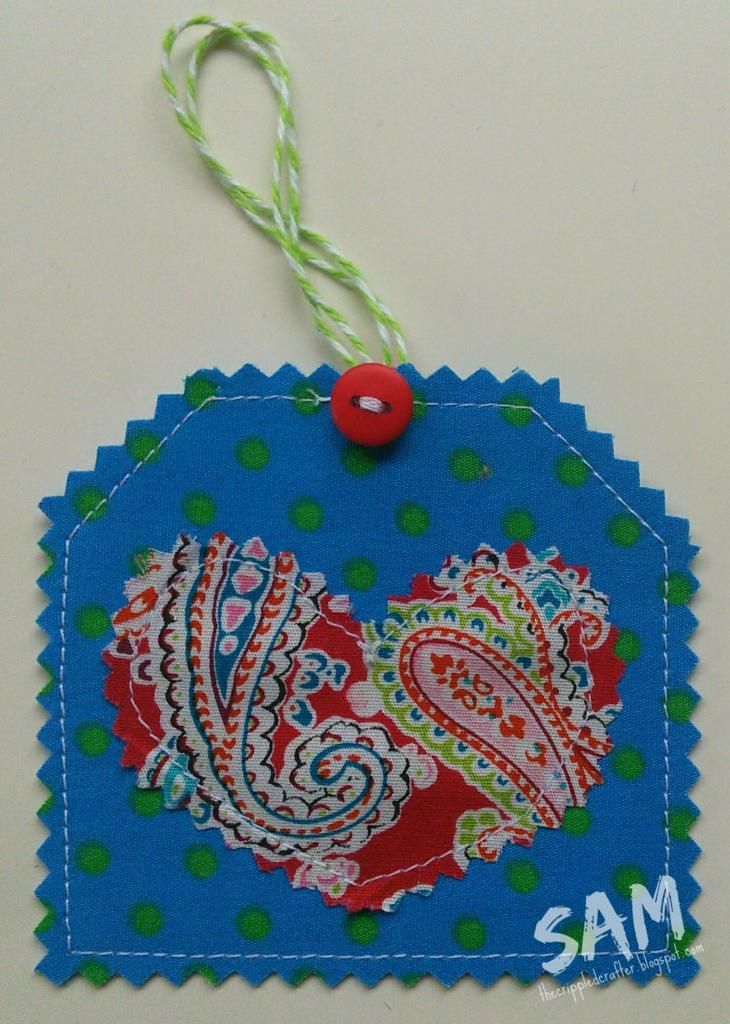
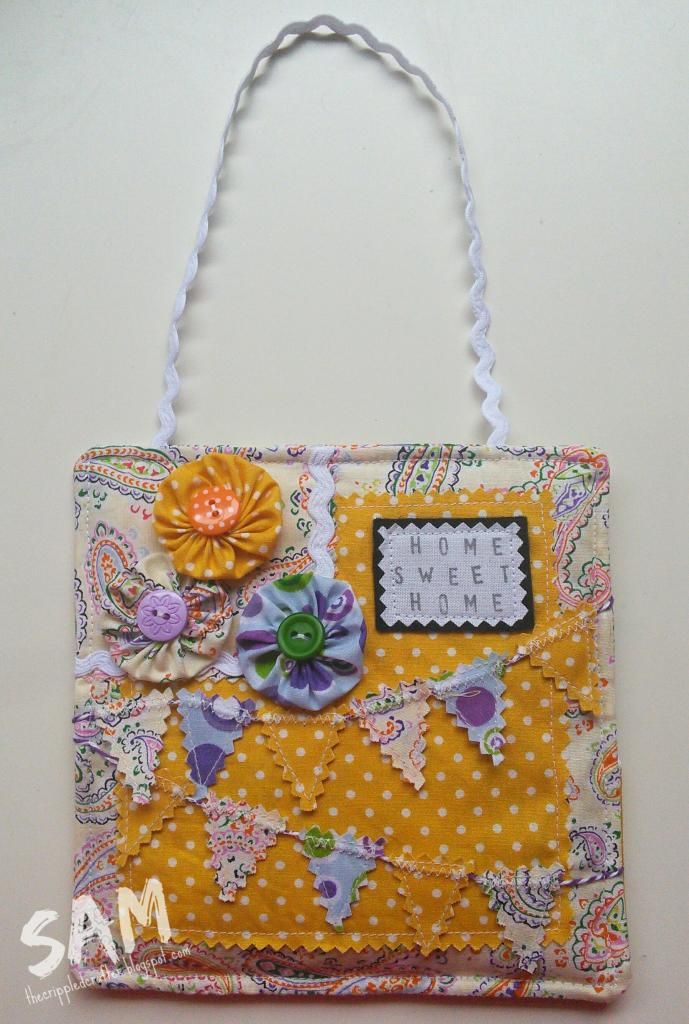
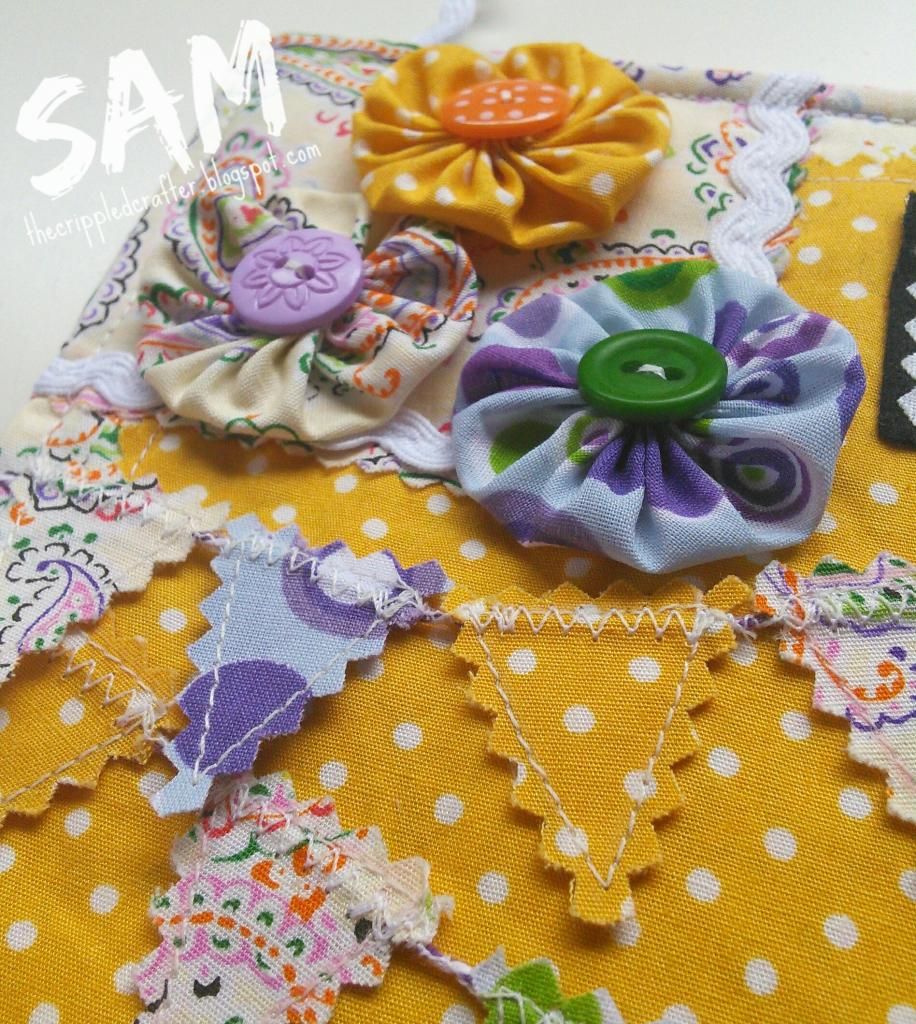
As a change from the series of book page swap posts I've been sharing with you I thought I'd add in a quick post about these two wall hangers I made recently.
 
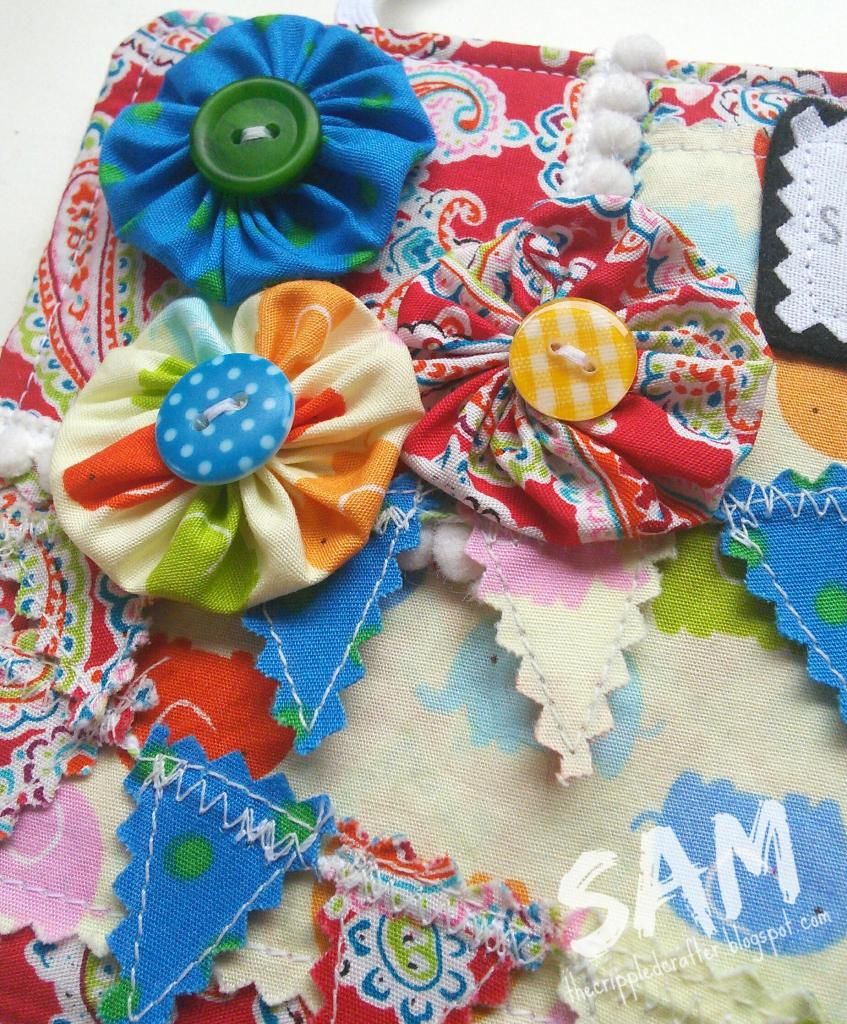
On my blog earlier today I showed you the book page I made for May, with the theme of Sewing.  Well I enjoyed getting Sally (my old faithful Brother!) out for a spin so much that I cut out and made 2 more similar.  This time though, the sizes varied as I just made them as large as the fabric allowed, and I also added a loop to hang them by.
 
I've included the details of how it was made, so won't be repeating that again here.
 
Here is the first of the two hangers:


And here is the second:


Bakers twine, ric rac, pom pom trim and buttons all from Felted Fancies Supplies on Facebook.
 
I really enjoyed this completely free, unpatterned way of sewing!  Much more in keeping with my current preferred way of crafting!
 
- - - - - - - - - - - -
 
Thank you as always for allowing me to share my creations with you.  Do please consider following my blog.
 
xxSAMxx

Monday, 23 March 2015

Fantastically Spiffing!

Well hello folks! Thankyou once again for stopping by. Today's post was written a couple of weeks ago and scheduled to post on the recipients birthday.


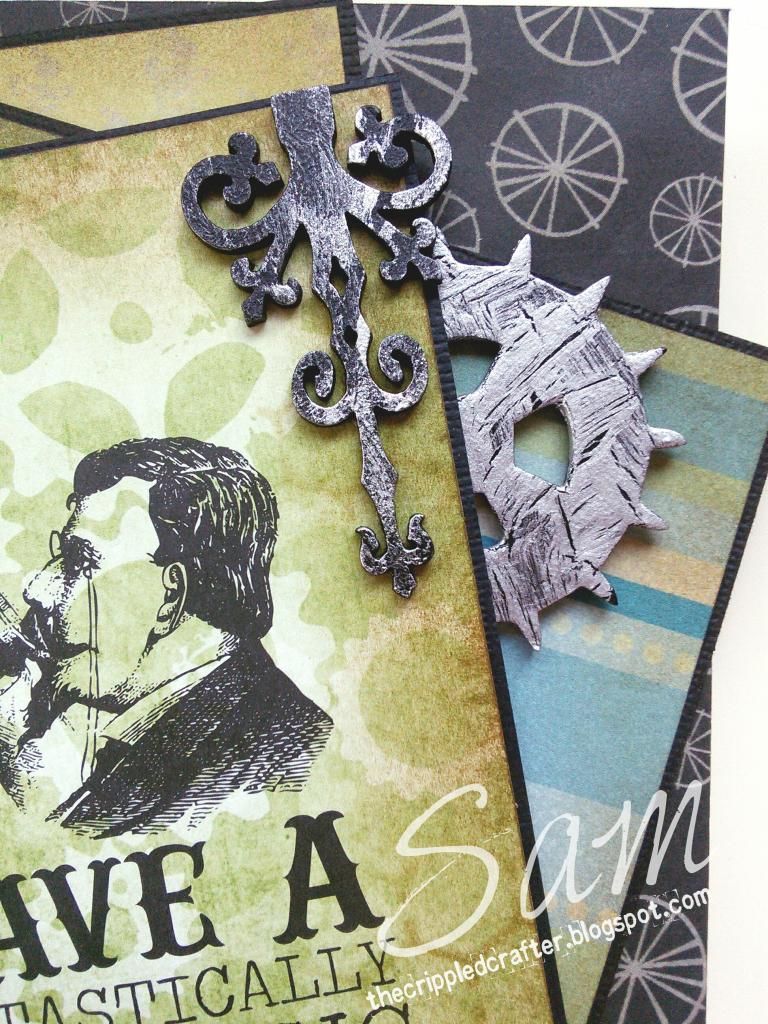
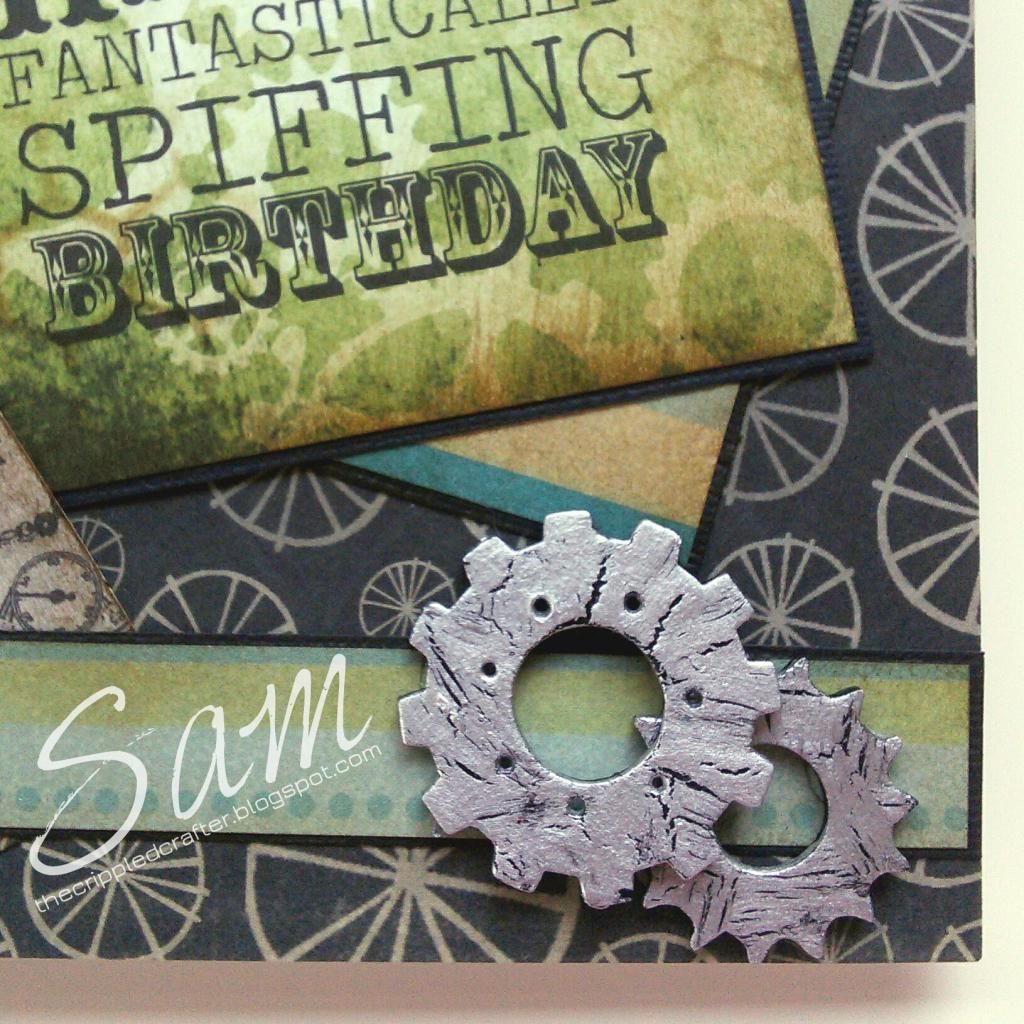
This fantastically spiffing topper is from the Chronology range by Docrafts and was gifted to me in a swap just after Christmas. I combined the topper with papers from my stash and gently distressed the edges of both papers and topper with distress ink.


Both the book hinge flourish and cog greyboard lasercuts are by That Craft Place and I firstly painted these with black gesso and dried. I then did the PVA glue crackle technique using DecoArt Silver metallic paint as my final coat. This was my first time trying this technique using just regular PVA and I love it!

I've linked to Kelly Donovan's video below:


As you can see, this technique gives wonderful results!


Thanks again and hope to see you back soon!

xxSAMxx

Sunday, 22 March 2015

Owl Tag - Wrinkle distress technique

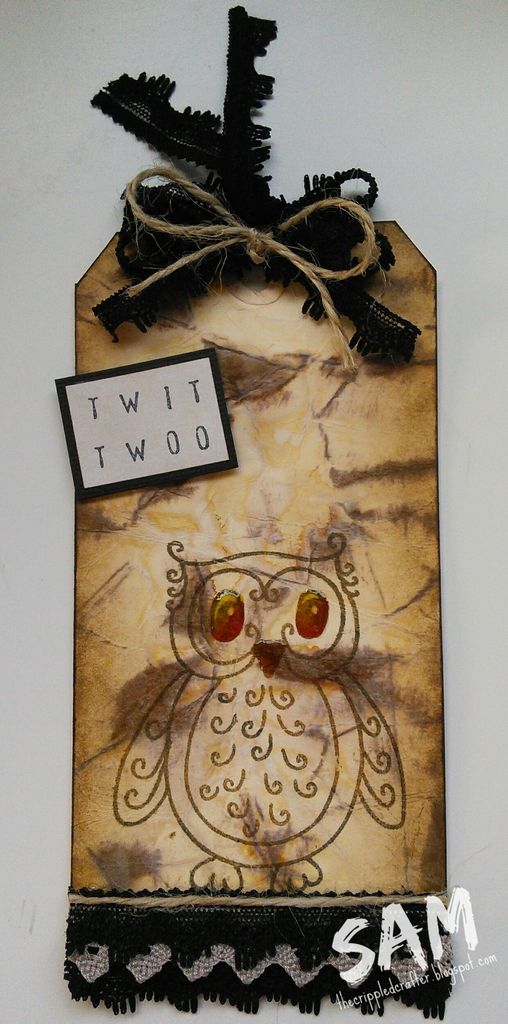
This evening I would like to share with you a tag I made this week using the Tim Holtz Wrinkle Distress technique. 


This tag was made using a #8 Manila Tag by Ranger alongside my Gathered Twigs Distress Ink Pad. 

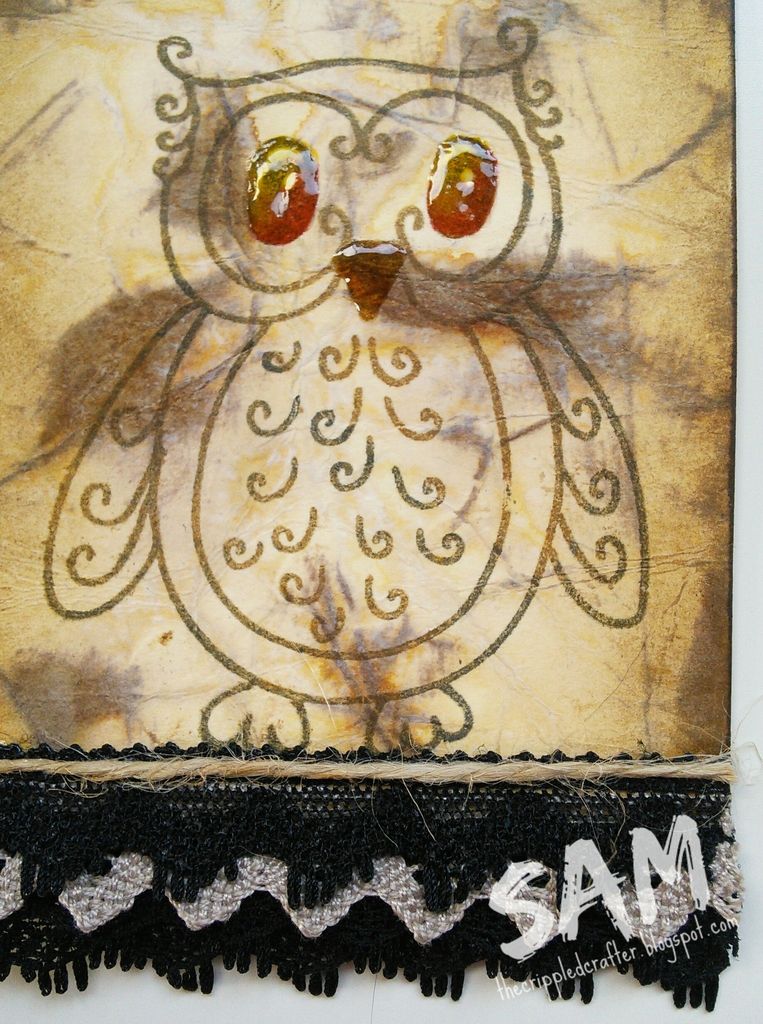
After drying I stamped the owl image in Gathered Twigs Distress Ink and Tuxedo Black Memento ink and coloured the eyes with Sharpies before adding Glossy Accent highlights to the eyes and beak.


I added lace and twine to the bottom of the tag as well as to the top and finished off with a Twit Twoo sentiment stamped in Archival Ink.


Here is a video showing various Distress Ink techniques including the Wrinkle Distress technique used for my tag 


Thankyou for stopping by. Please pop back tomorrow when I have more to show you!

xxSAMxx

Thursday, 19 March 2015

Merry Christmas... in March!

I'm a bit late in the day again folks but hope you manage to find me once you guys awake! 

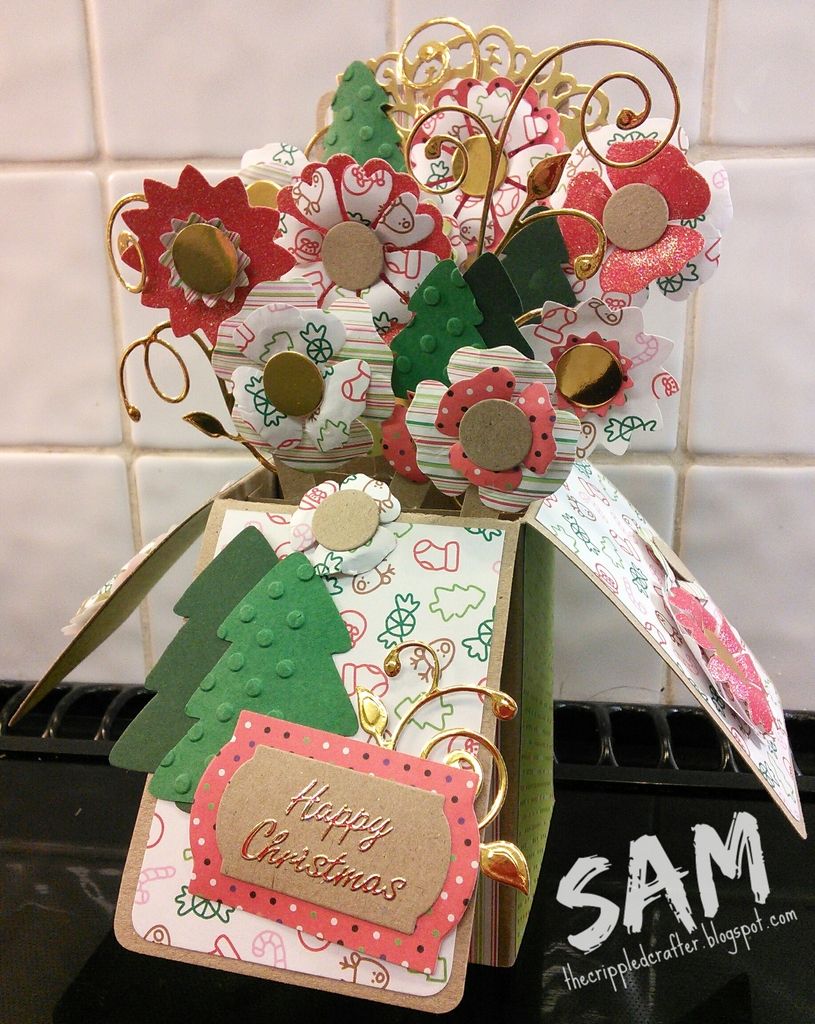
Today I have been continuing with the pop-up box cards, although this time I decided to make a couple of Christmas ones ready for the end of the year! I'm going on the theory that if I make a couple a month then I won't have as many to do come winter time!

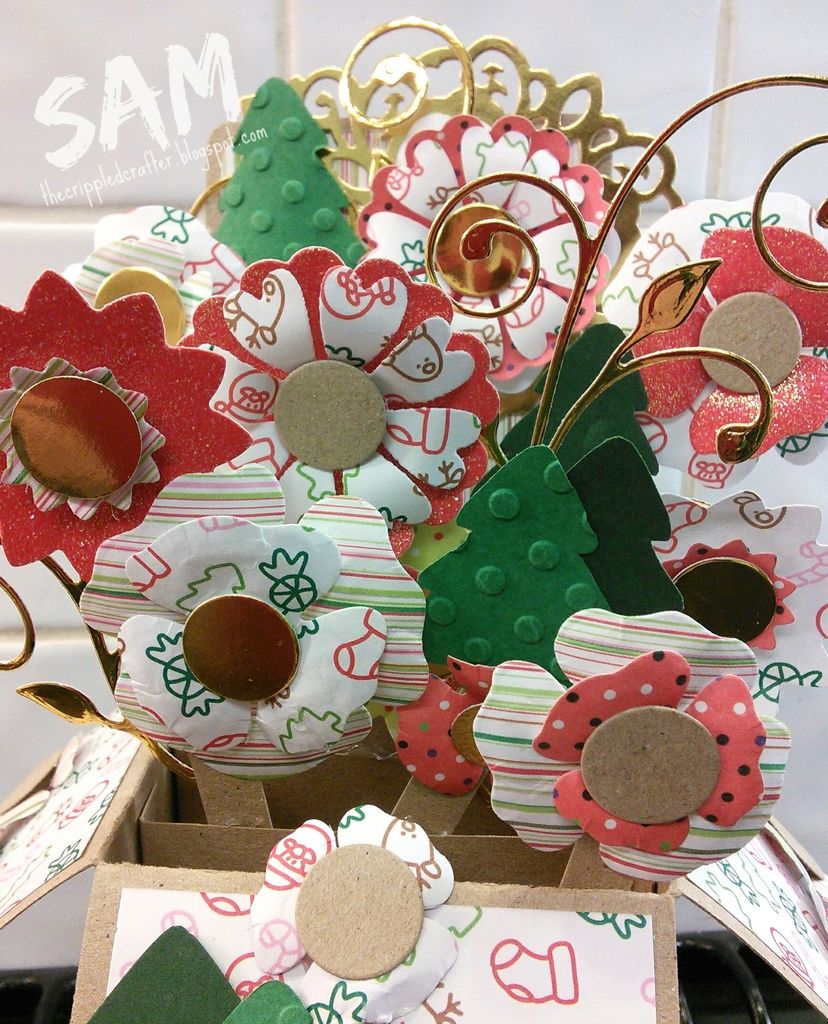
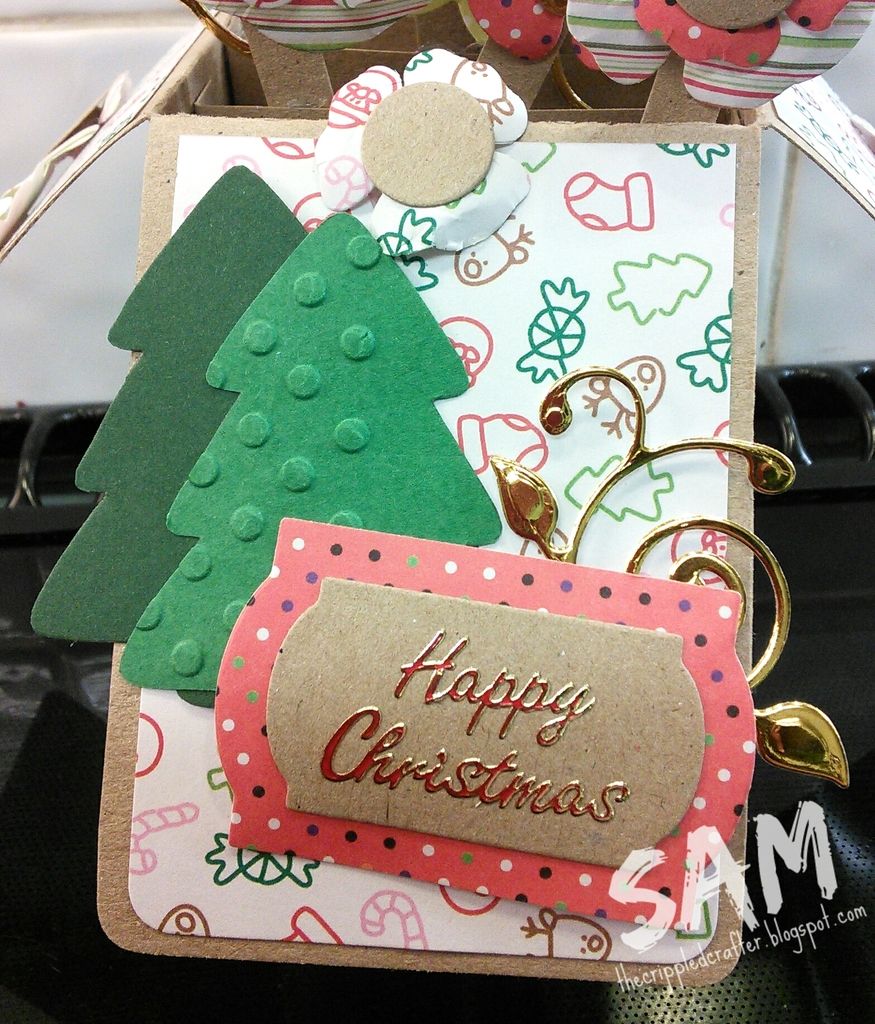
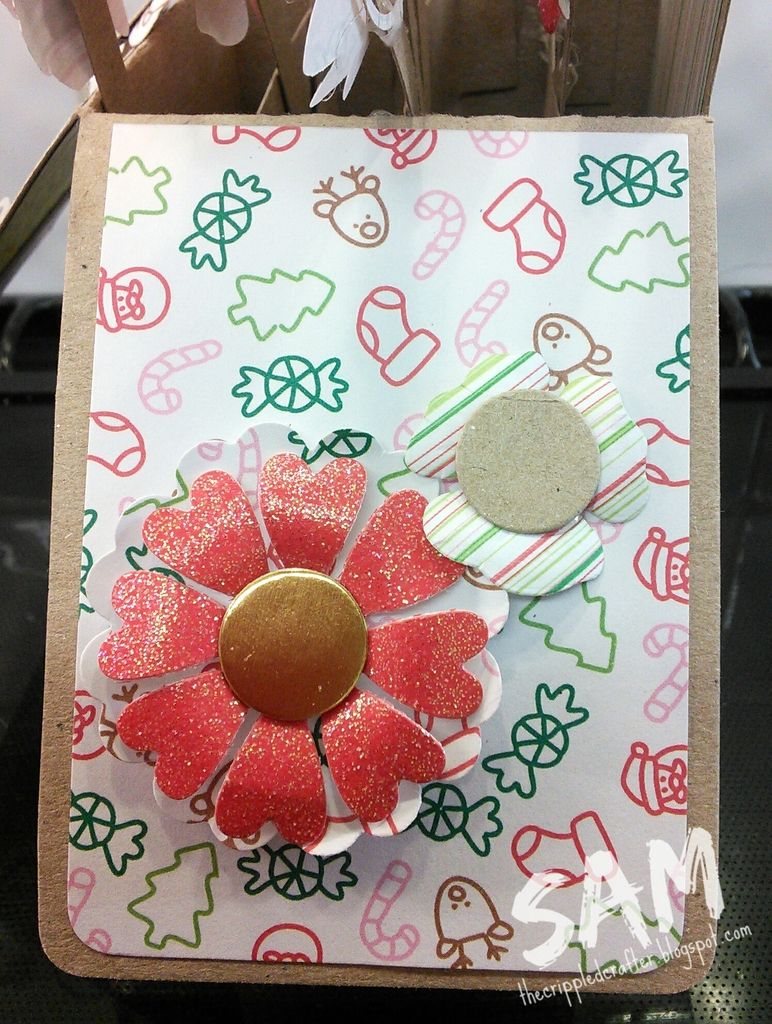
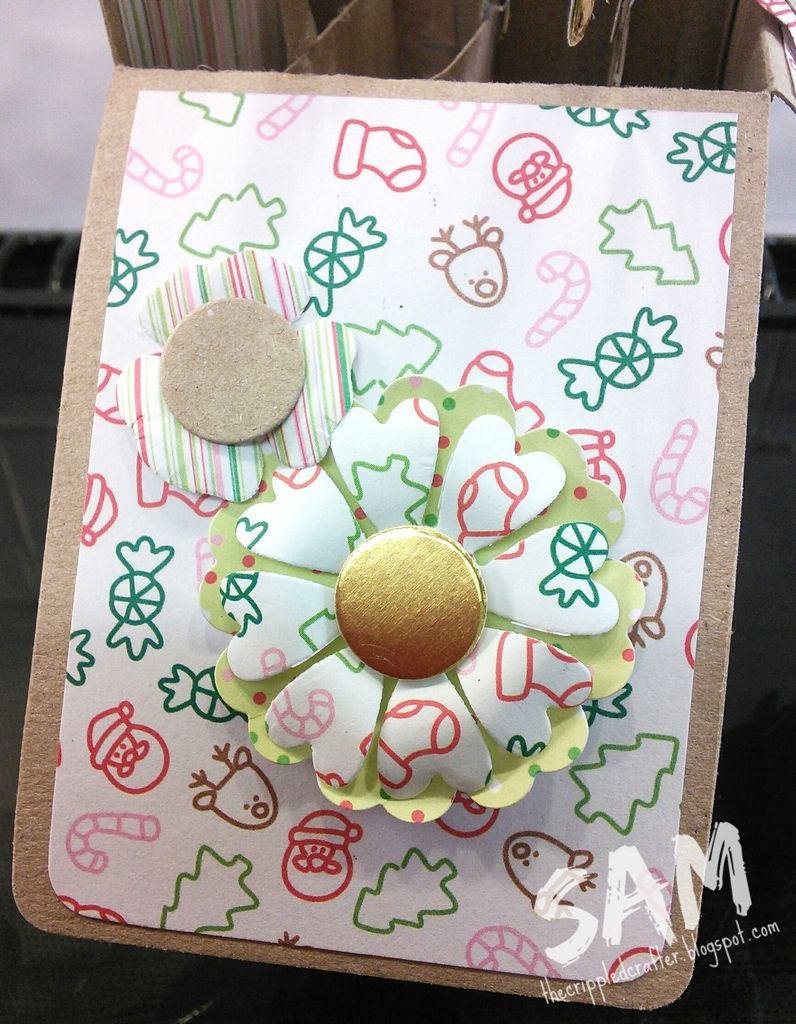
The first card I made using kraft card as the base of the box and covered with Christmas themed papers from my stash. 


I cut more flowers from matching paper using the same dies as mentioned in yesterday's blog post. I also cut more flourishes and tags using the same dies as yesterday. 

I drew a simple Christmas tree freehand and cut several of these in a couple of different sizes from 2 shades of green card stock. I embossed a simple dot design onto some of them using an embossing folder. 


Anyway, that's it for this blog post! I don't want to make it too picture heavy so pop back to the home page and check out today's other blog post about another Christmas themed pop-up box card, this time snowflakes and snowmen dominate! 

I would like to finish with a quote from one of my favourite YouTubers, Kelly Donovan. This simple statement always resonates with me each time Kelly finishes one of her wonderful videos with it. 

"Be kind to each other, you never know what battles someone is fighting"

I spend a lot of time on YouTube, sometimes searching for special topics but often I like to have my favourite you tubers keeping me company while I craft. So as my way of given back to them I am going to write a brief blog post soon giving a shout out to these wonderful people who let us into their craft rooms and their lives! So keep an eye out for that soon.

xxSAMxx

Wednesday, 18 March 2015

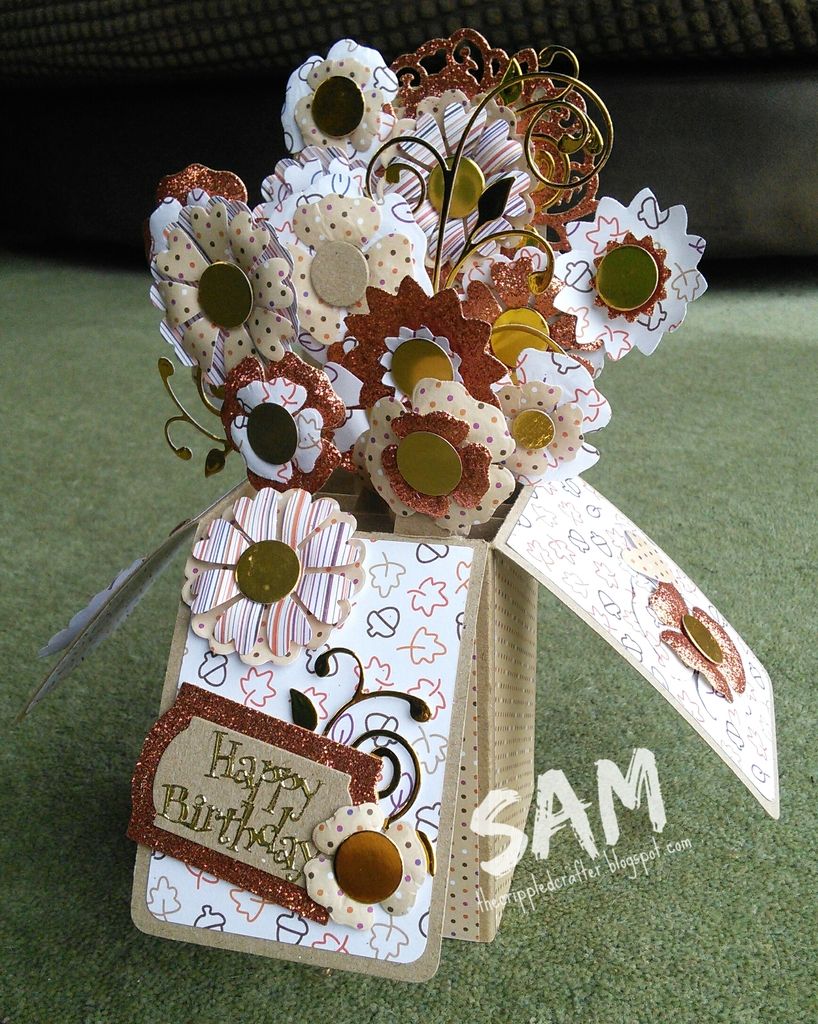
Pop-up box card 1 of ... however many I end up making this week!

Hi folks, this week I've been putting my mind to making a few pop-up box cards. 
 
It's been some time since I've made some so thought I'd make a few as they are always popular with customer and card recipient alike!
 
 
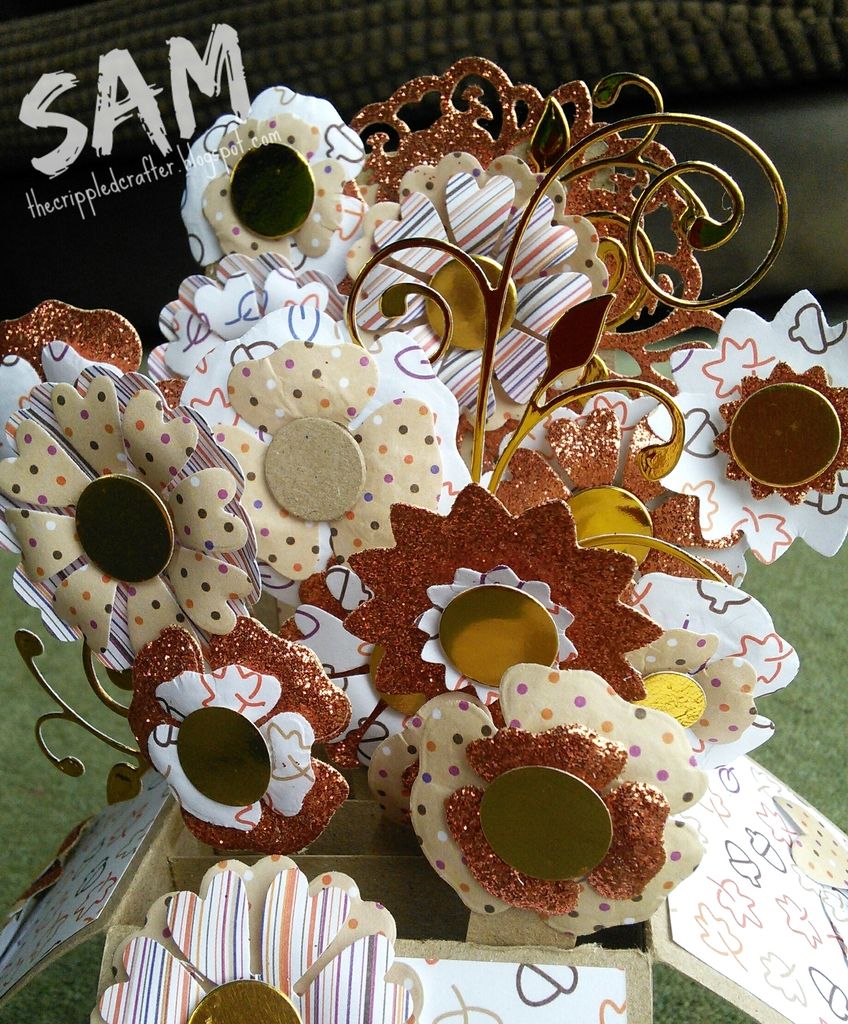
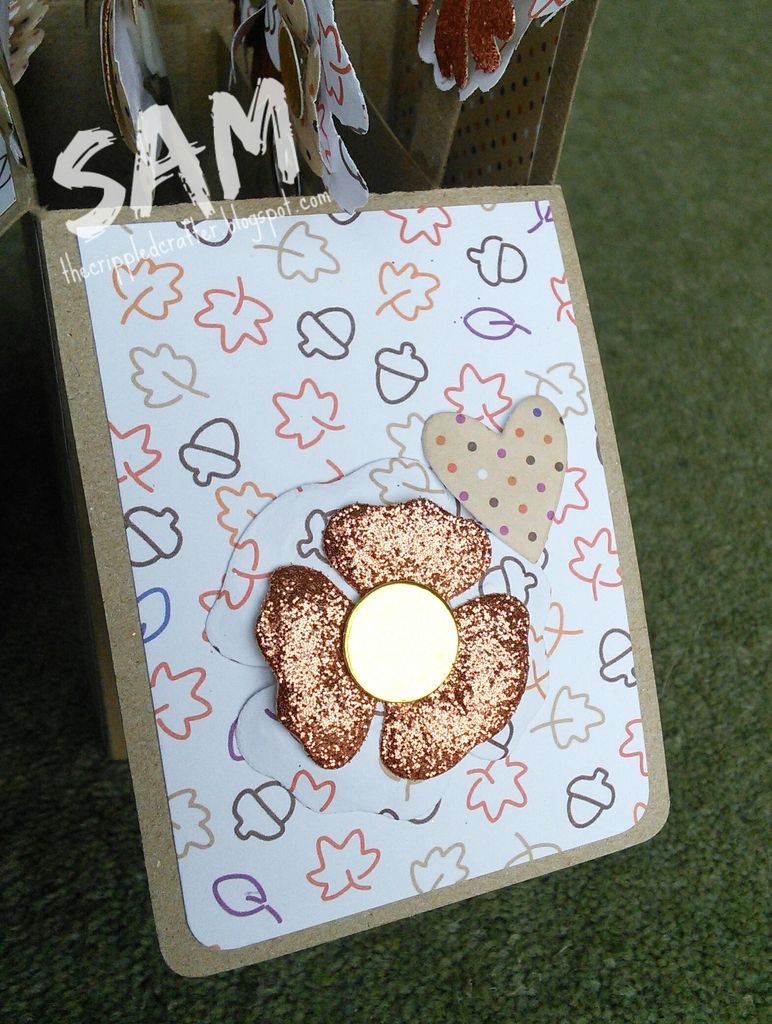
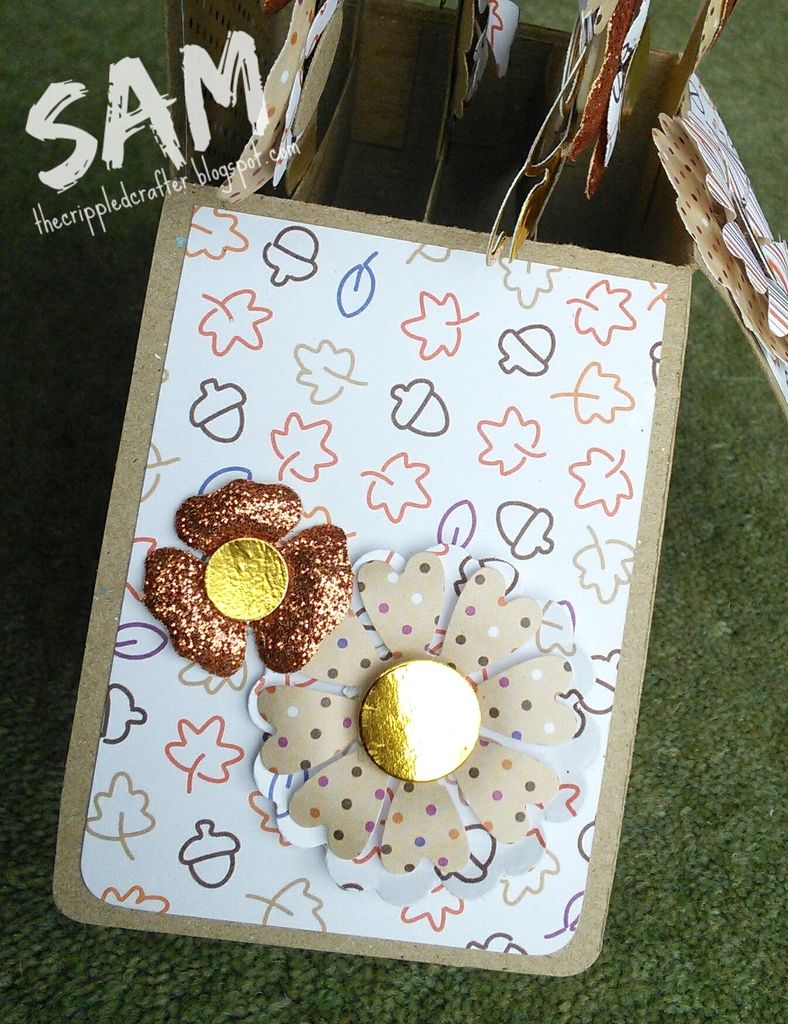
Yesterday's creation had an autumnal theme, I just love autumn colours at any time of year!
 
All the flowers were die cut using my Big Shot from Leanne Creatif, Sizzix and Xcut dies.  The flourishes and ornate tag by Tonic, and the simple tags by Sizzix.


The box card itself was made from kraft card and the papers were from my stash. 
 
 
Just before I go, 12th May will mark my 1 year Blogversary!
 
To celebrate I will be offering up some yummy tasty blog candy in the shape of one of my own canvases along with some goodies to be decided!  So keep an eye on this blog in the coming weeks so you don't miss out!
 
Thank you for stopping by! 
 
xxSAMxx