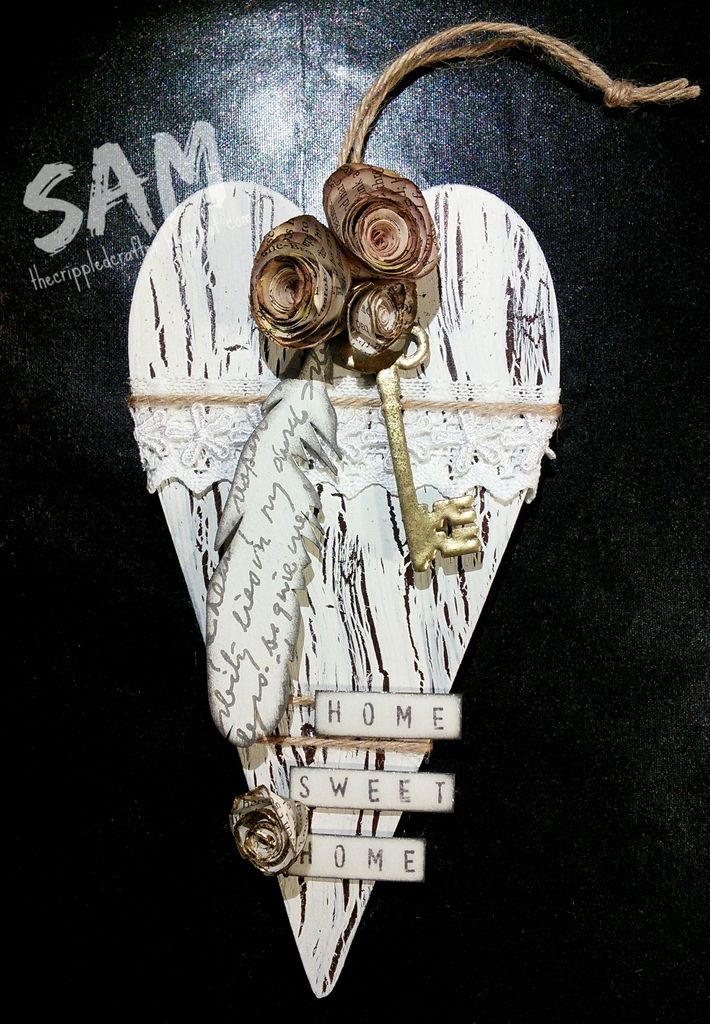
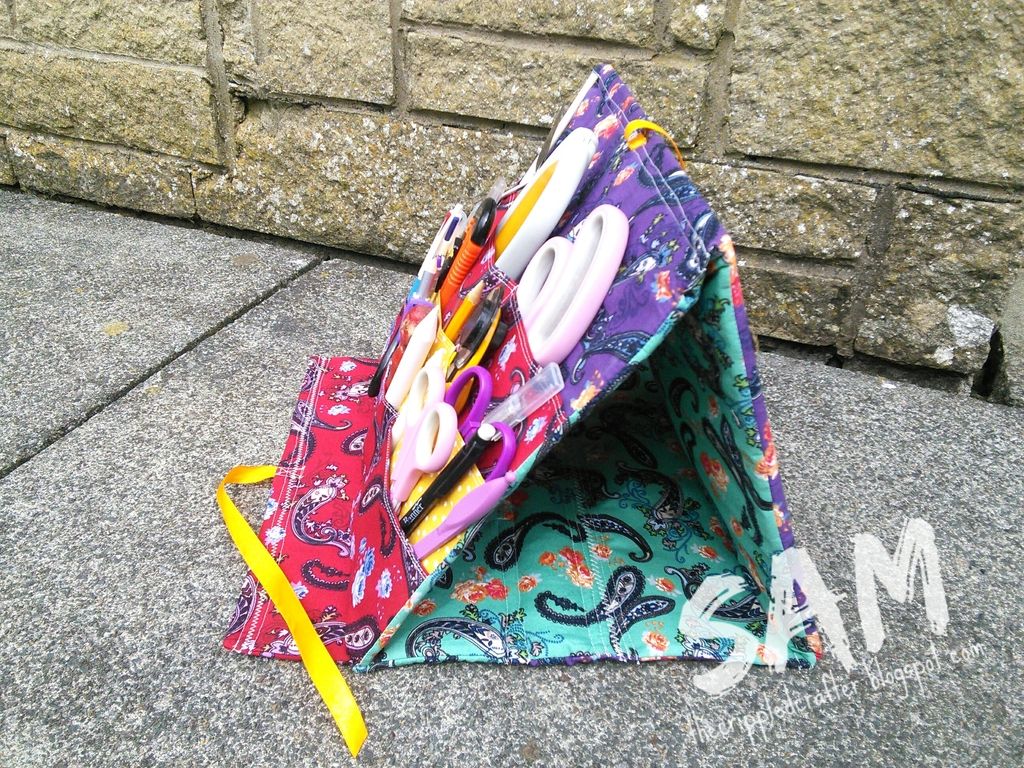
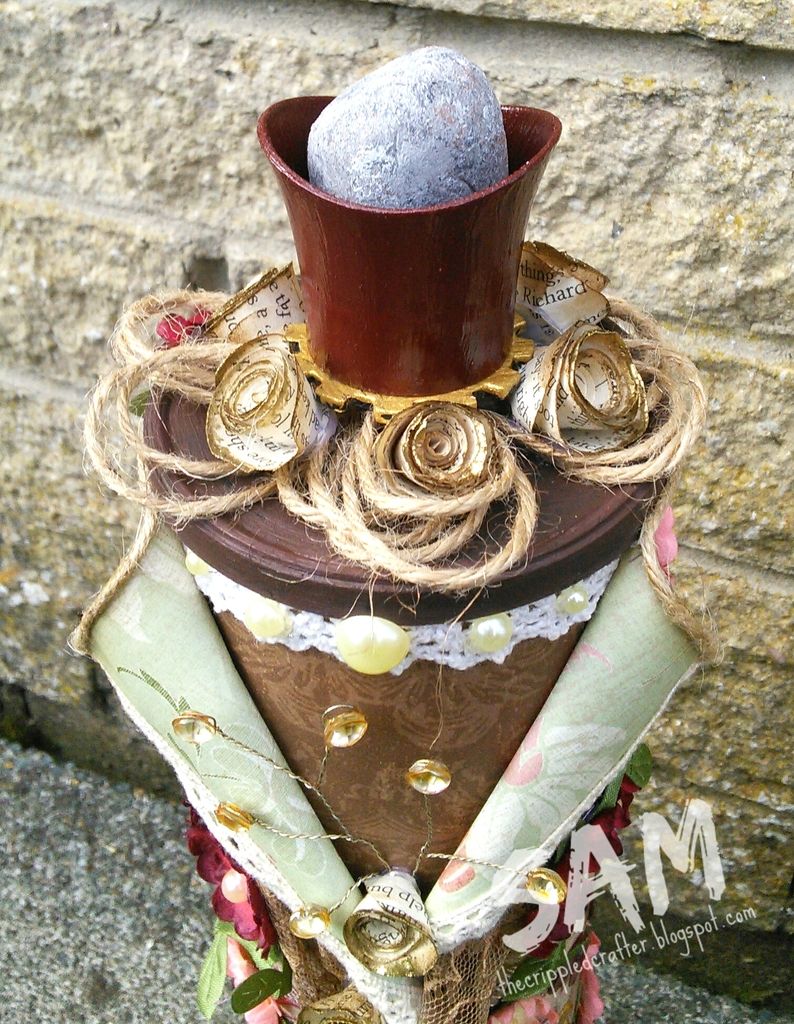
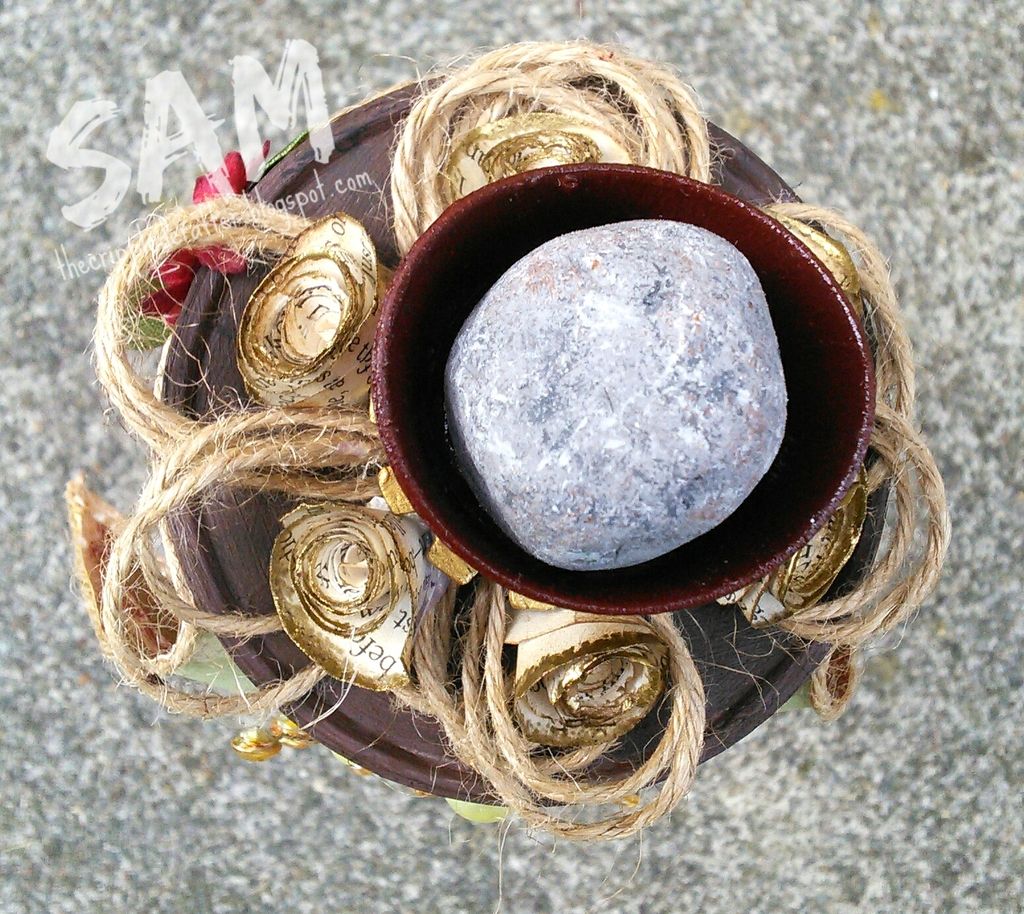
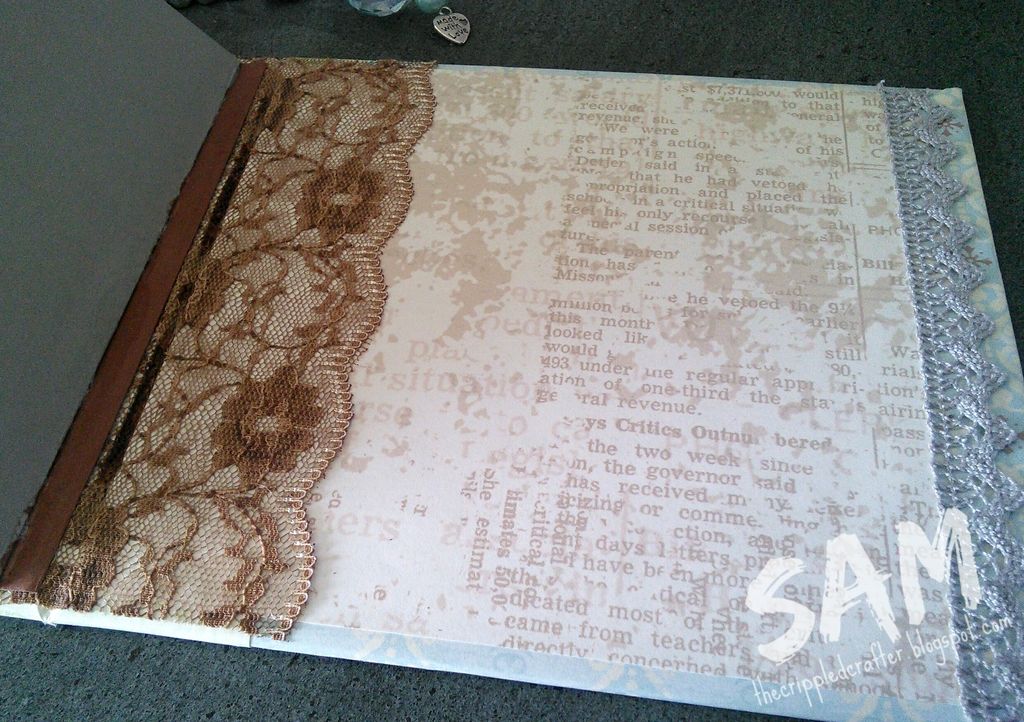
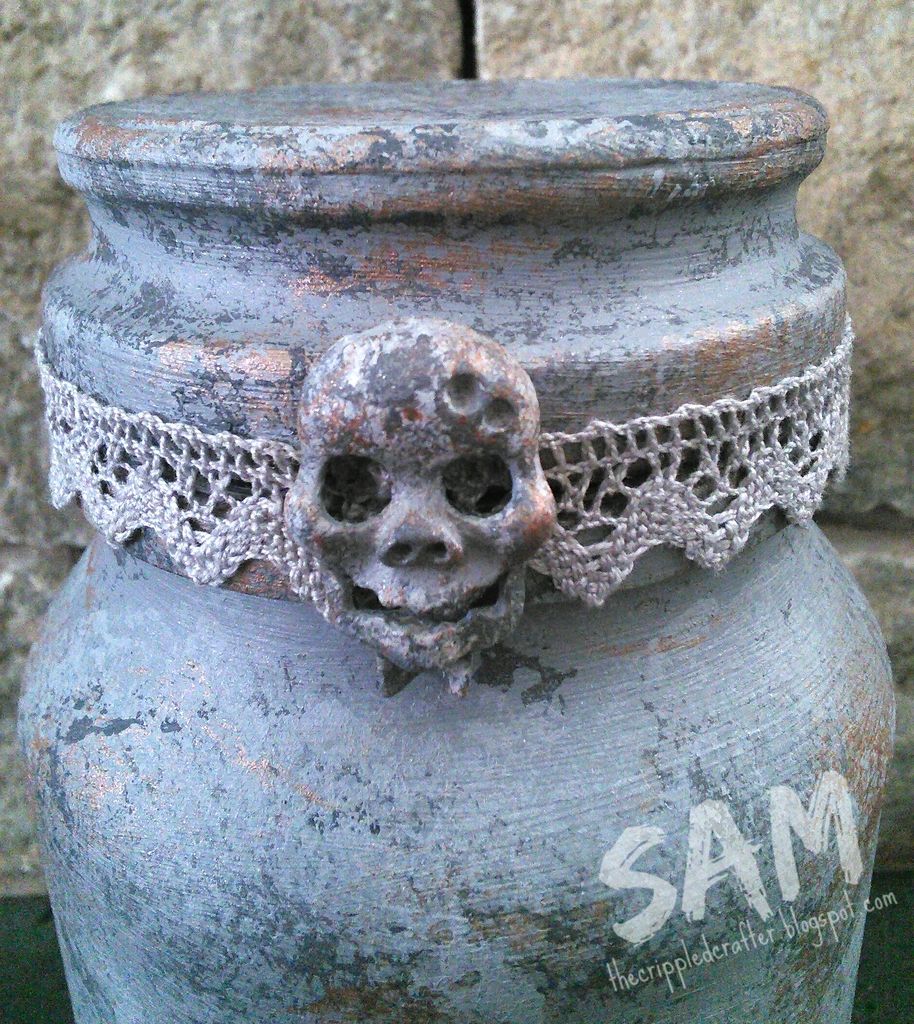
Good afternoon fellow crafters, and anyone else reading my blog! I just wanted to share with you a little wall plaque that I've made today.
- - - - - - - - - - - - - - -
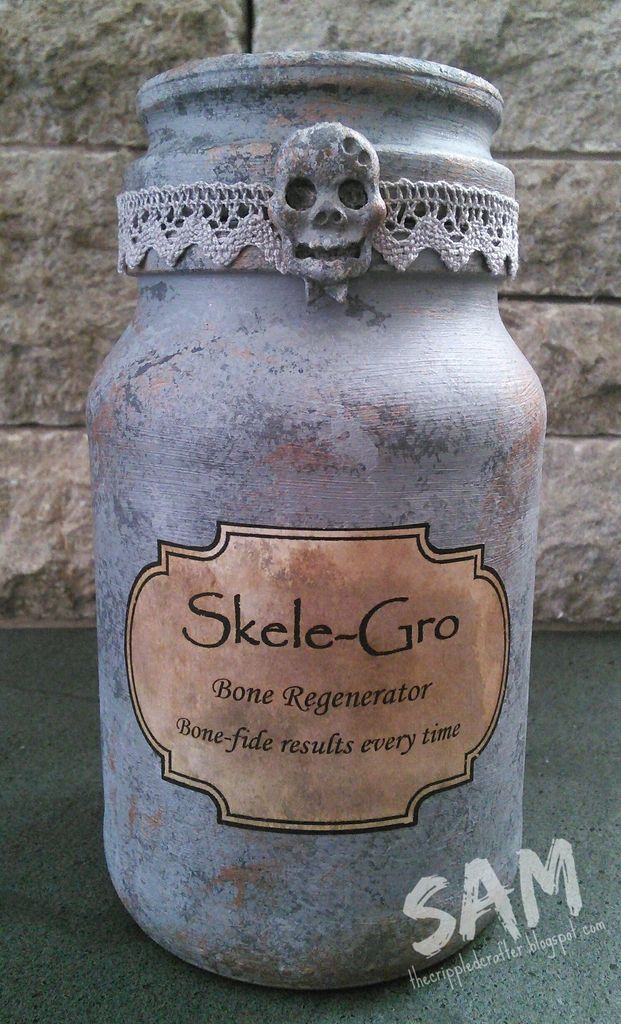
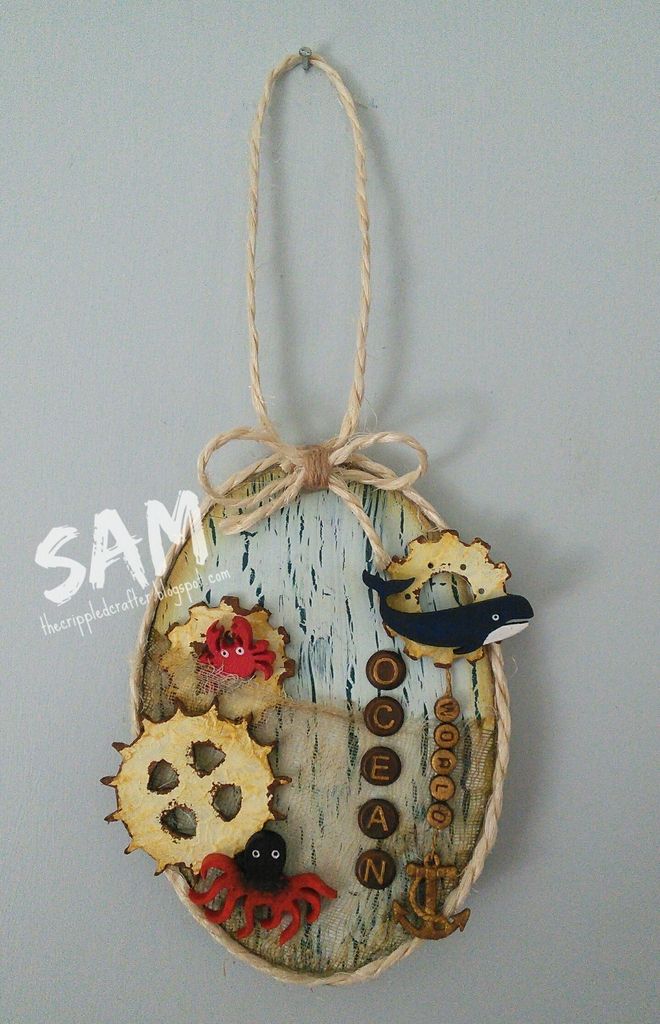
I used the following materials / steps:
THAT CRAFT PLACE MDF / GREYBOARD: MDF Oval (5 ½" tall). MDF Sea Life grab bag (set also contains 3 other ocean critters). Greyboard cogs.
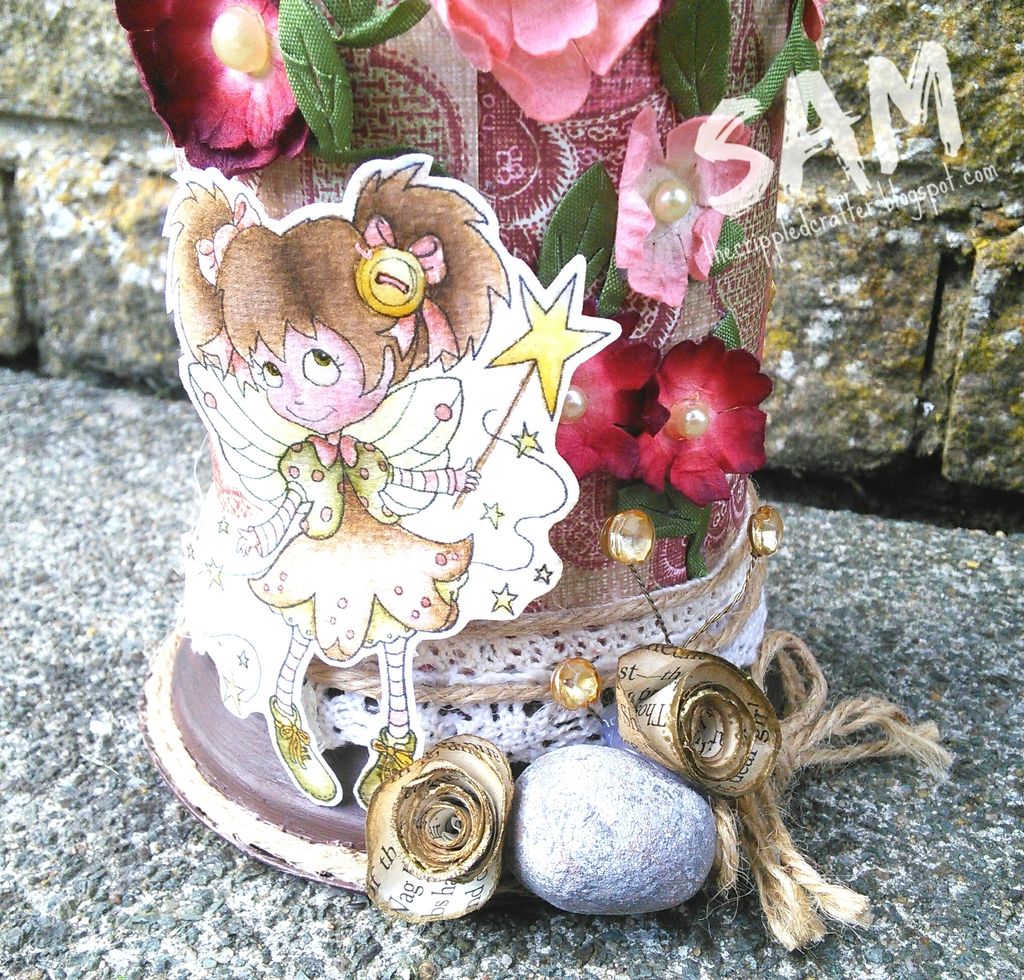
OTHER PRODUCTS USED: Acrylic paint, PVA glue, DecoArt Metallic paint, cheesecloth, spray ink, distress ink, archival ink, brads and charms.
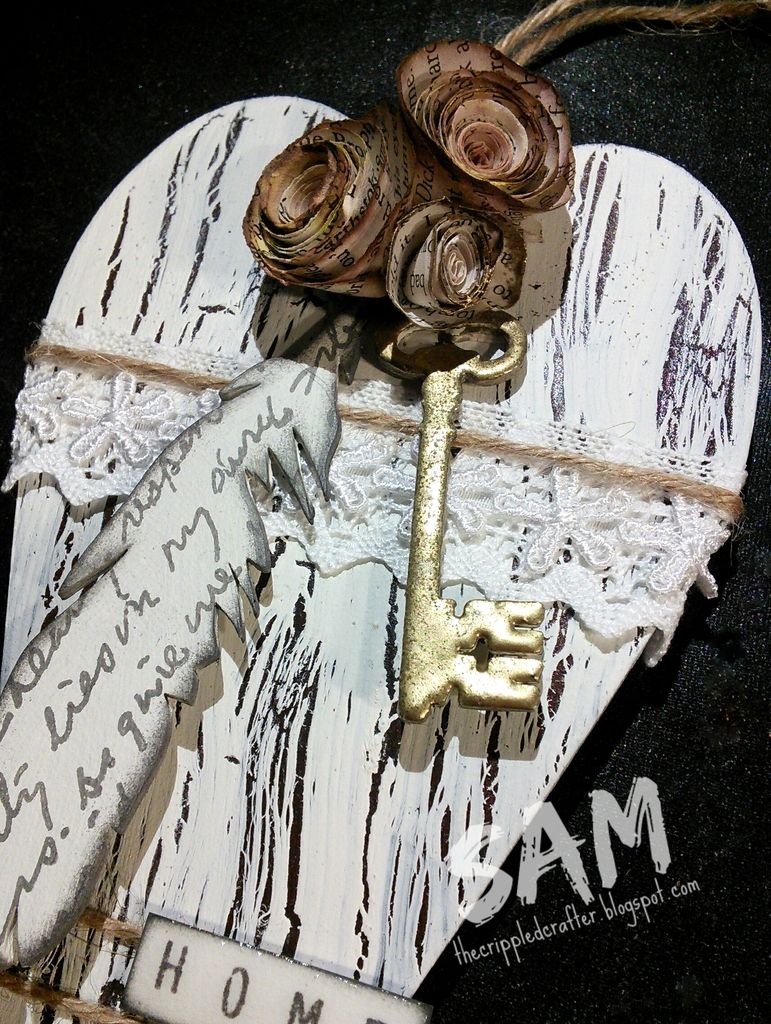
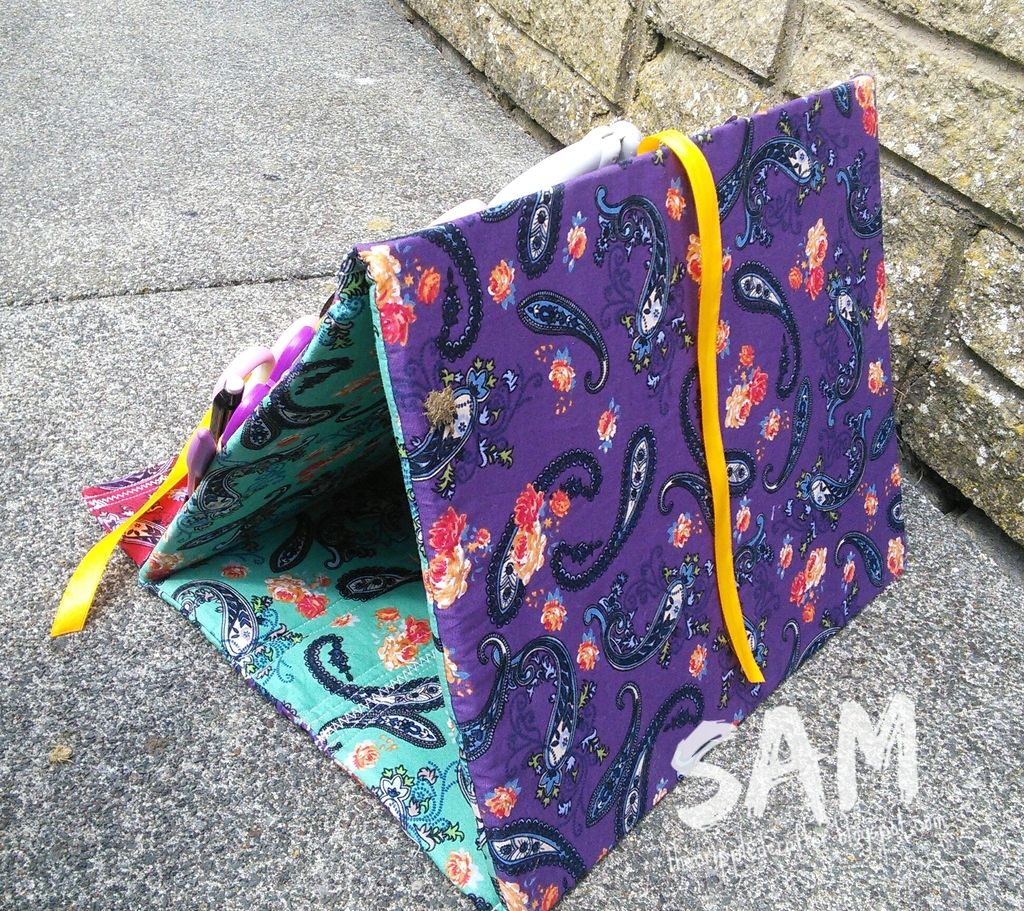
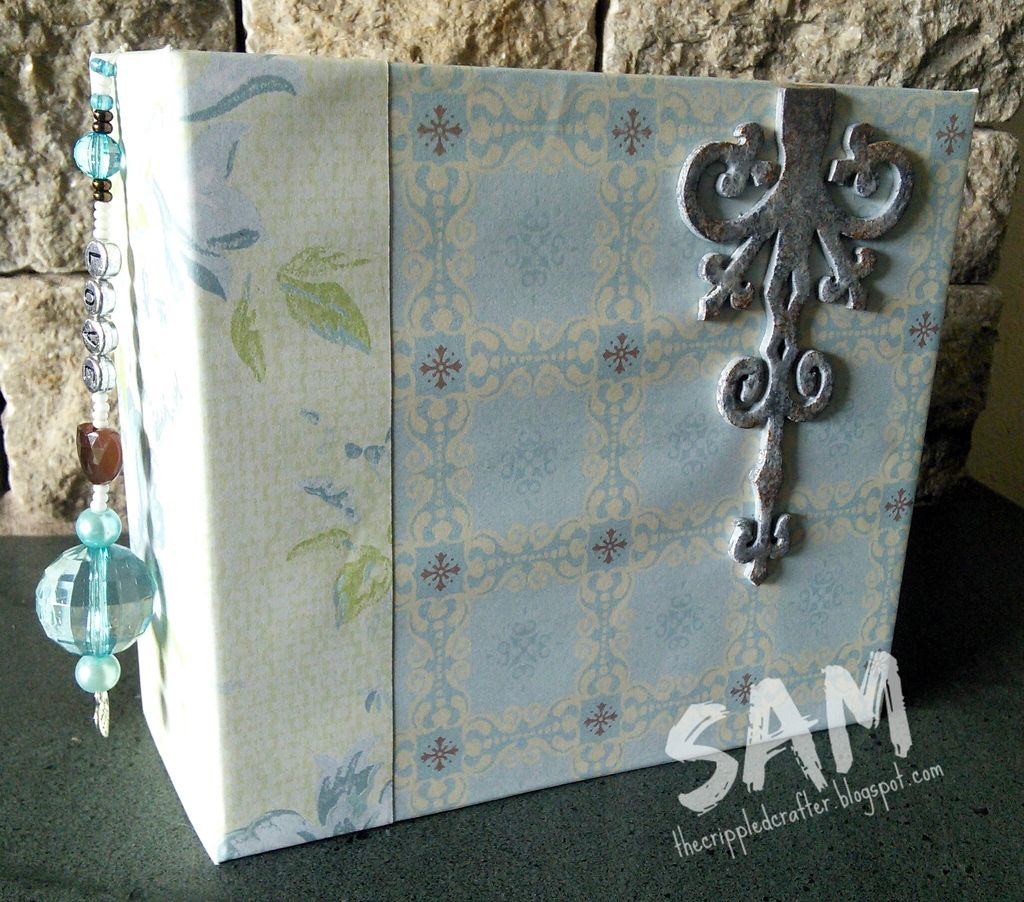
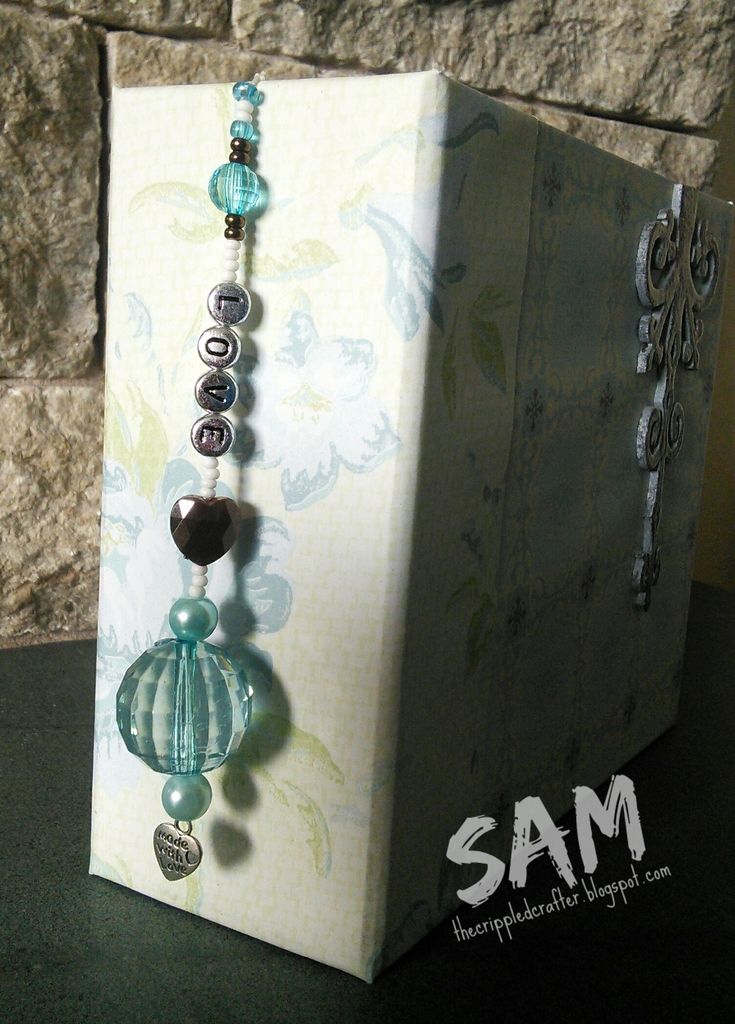
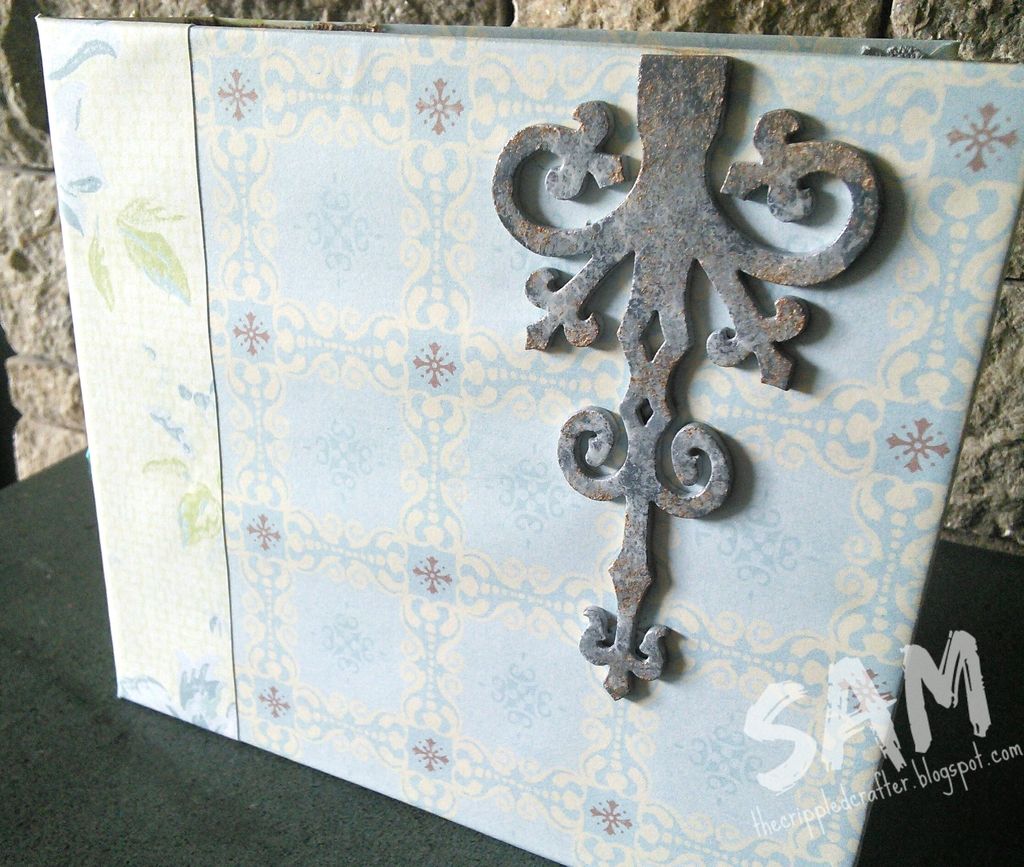
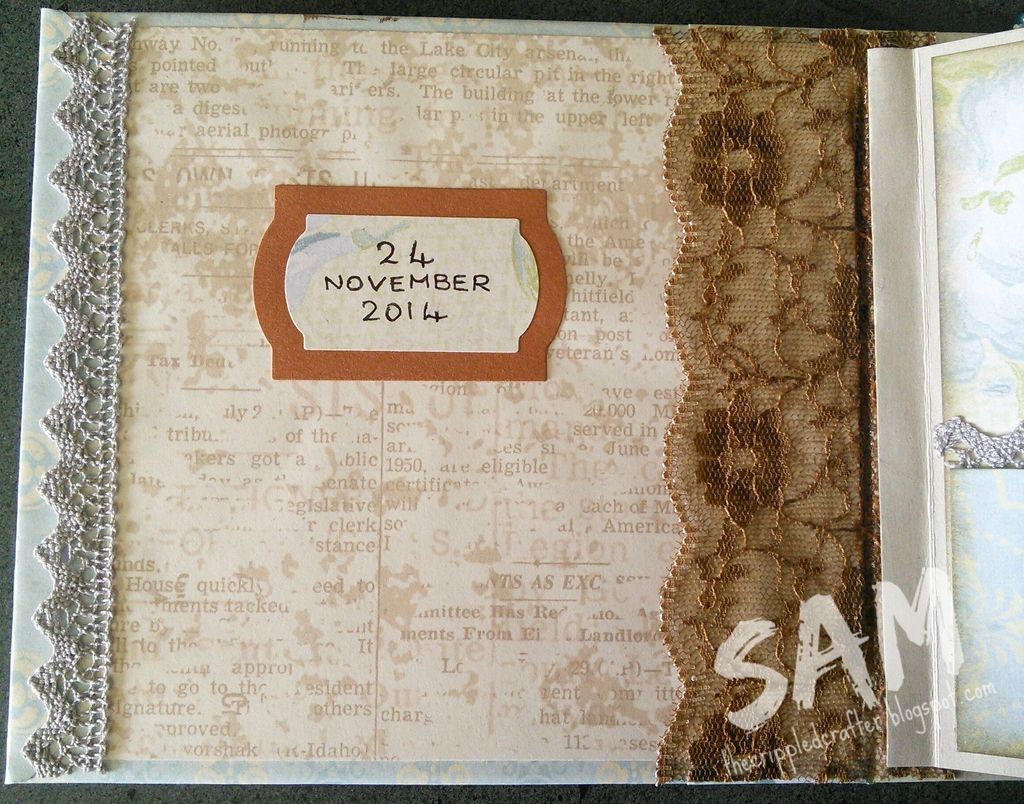
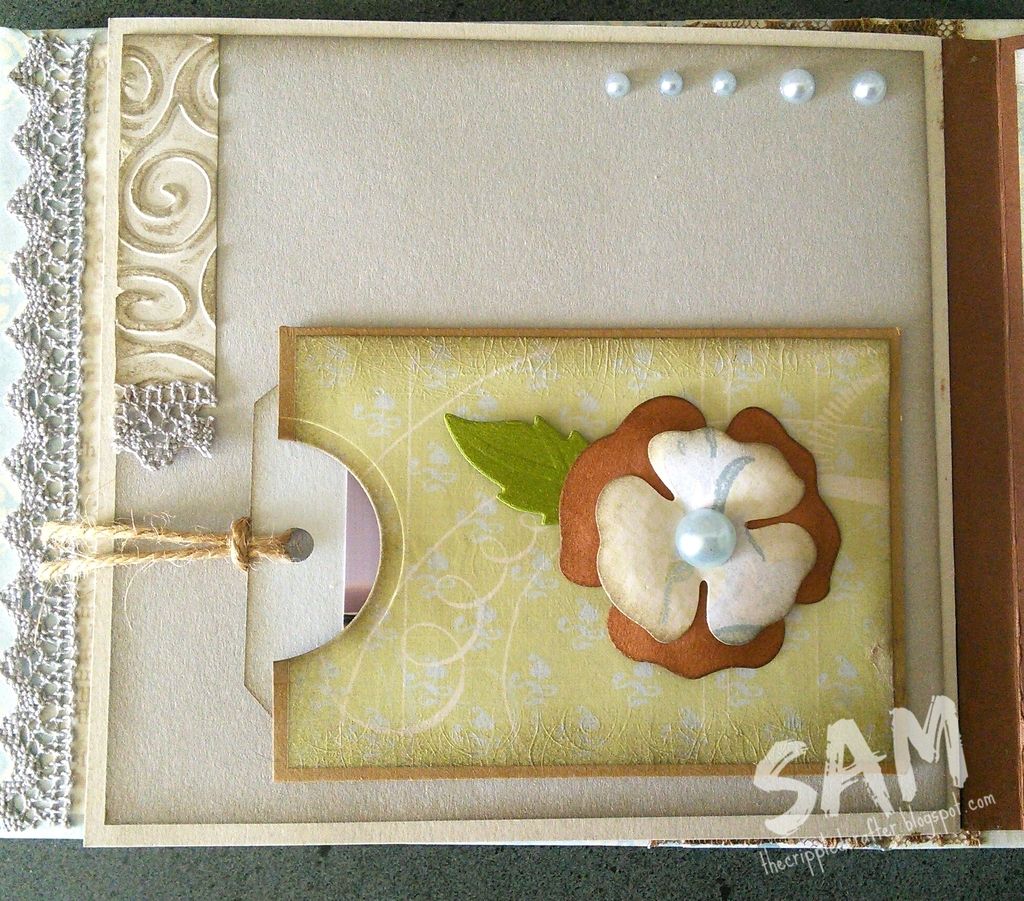
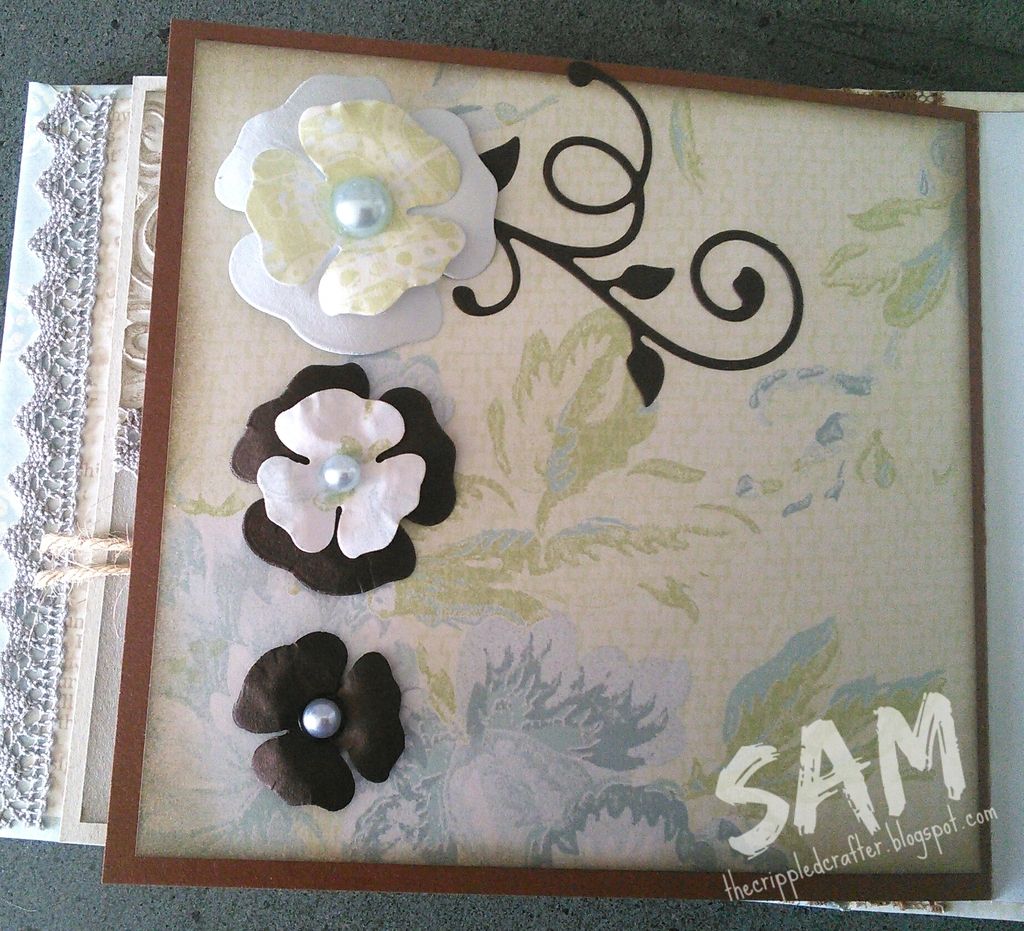
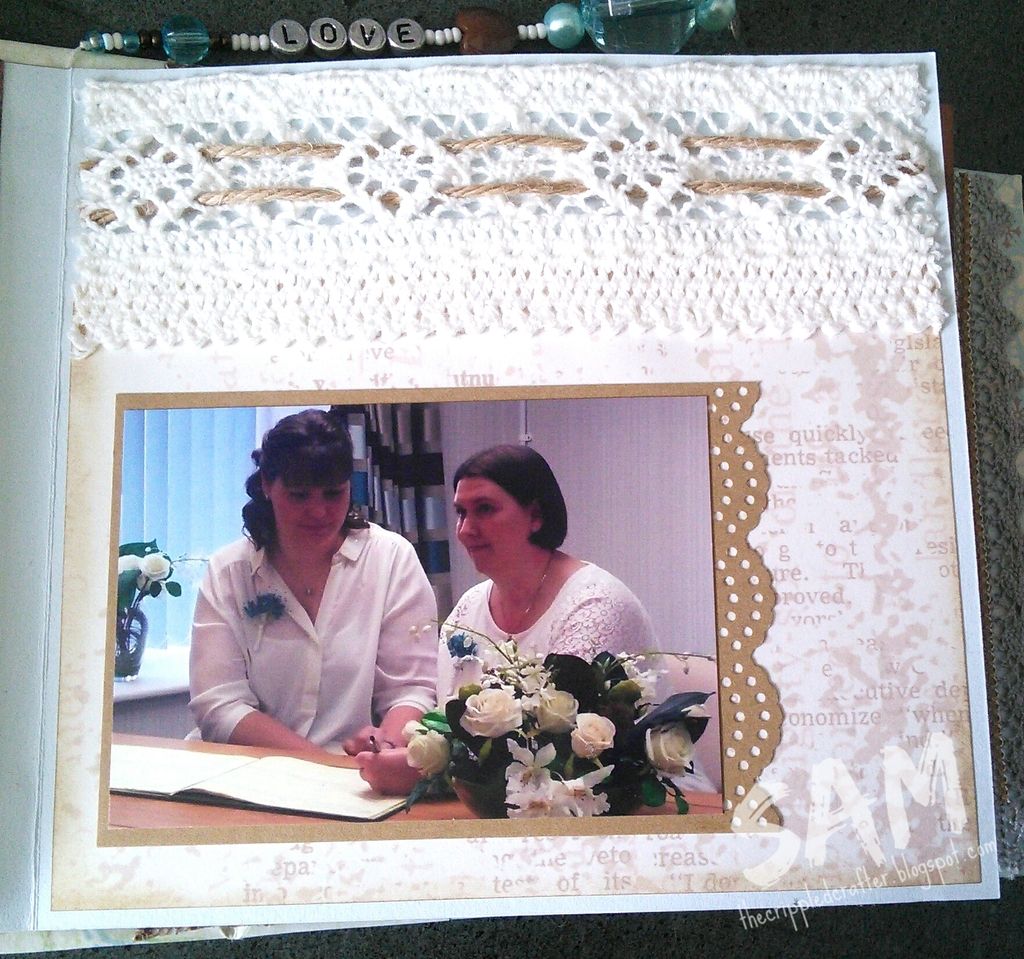
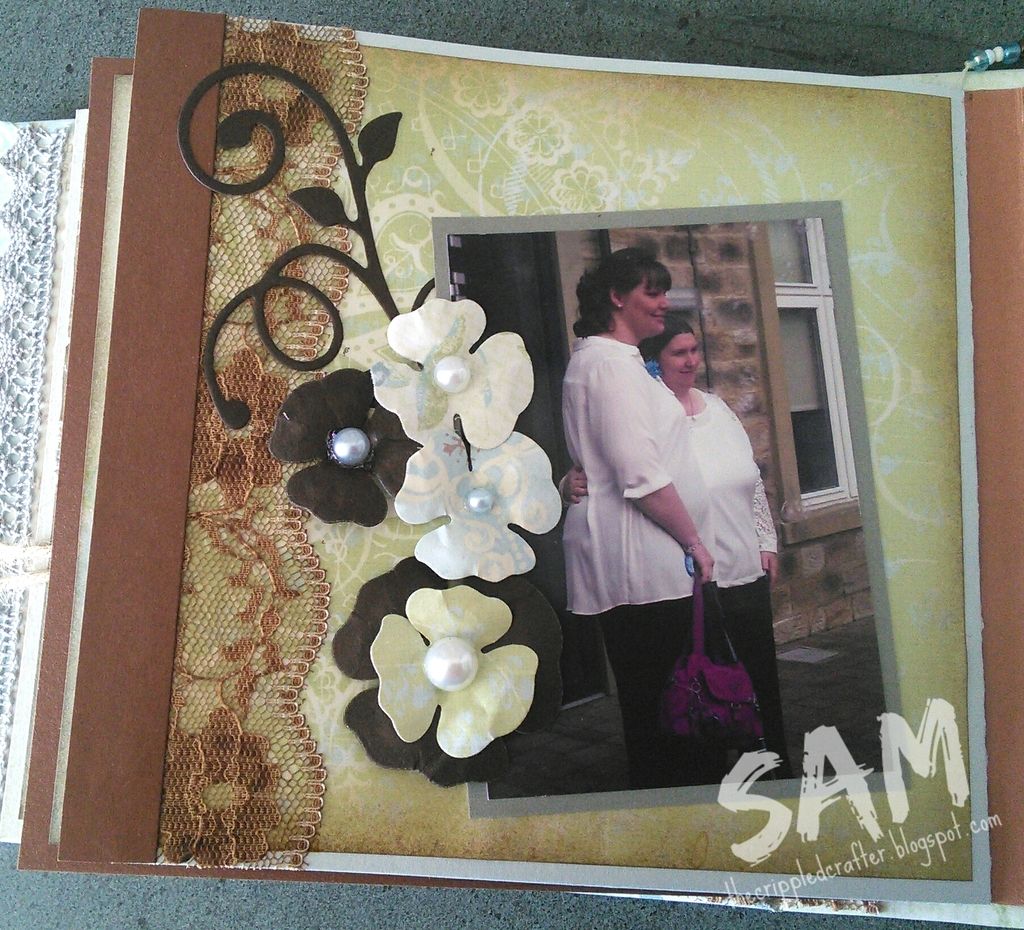
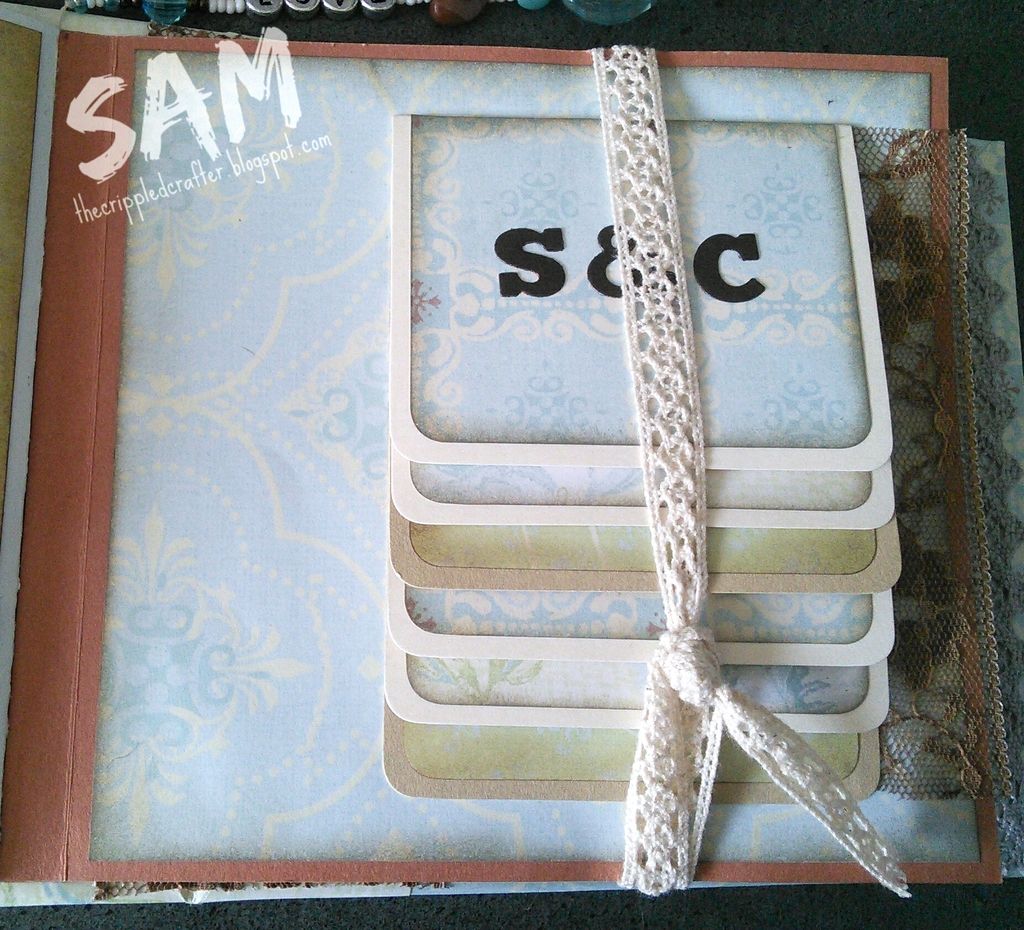
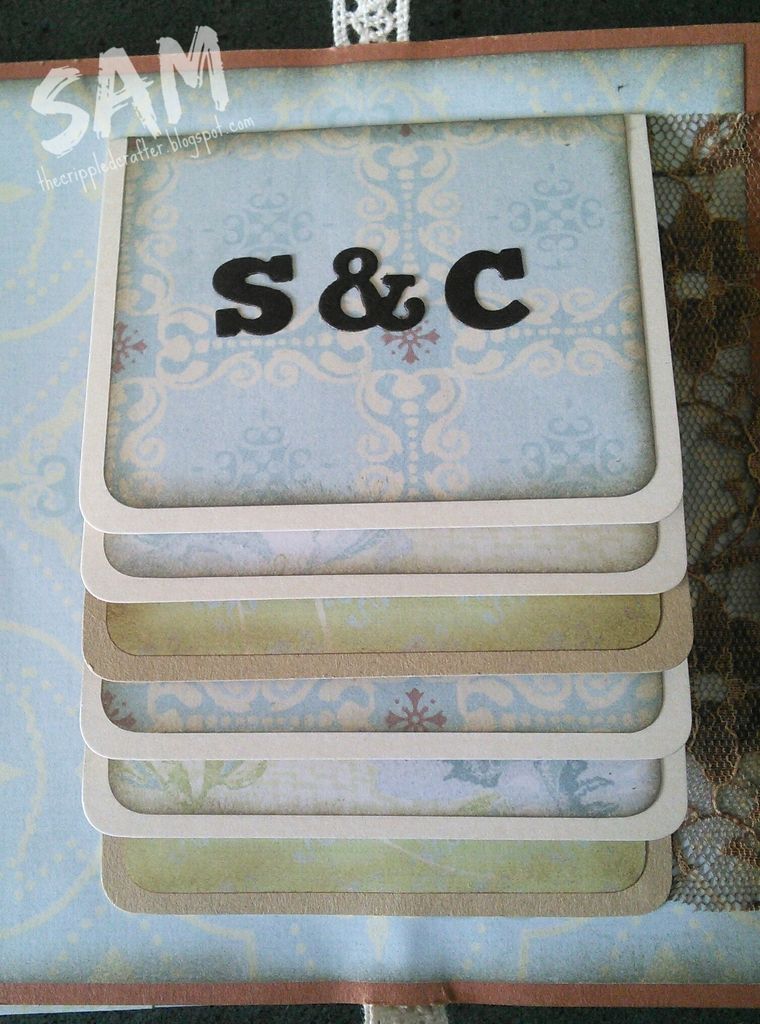
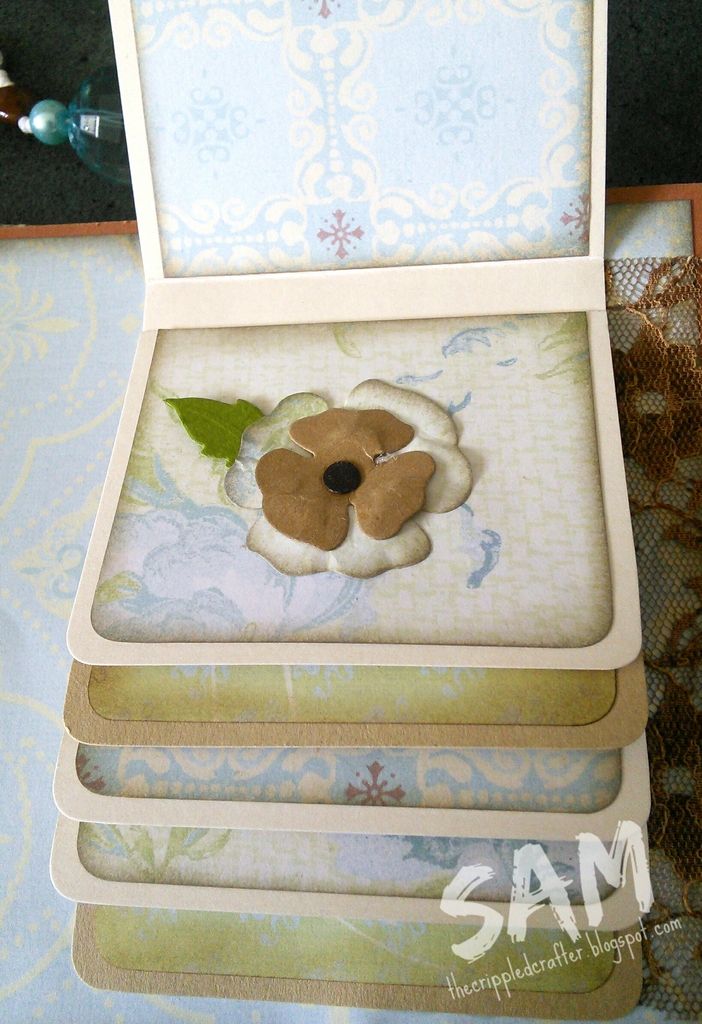
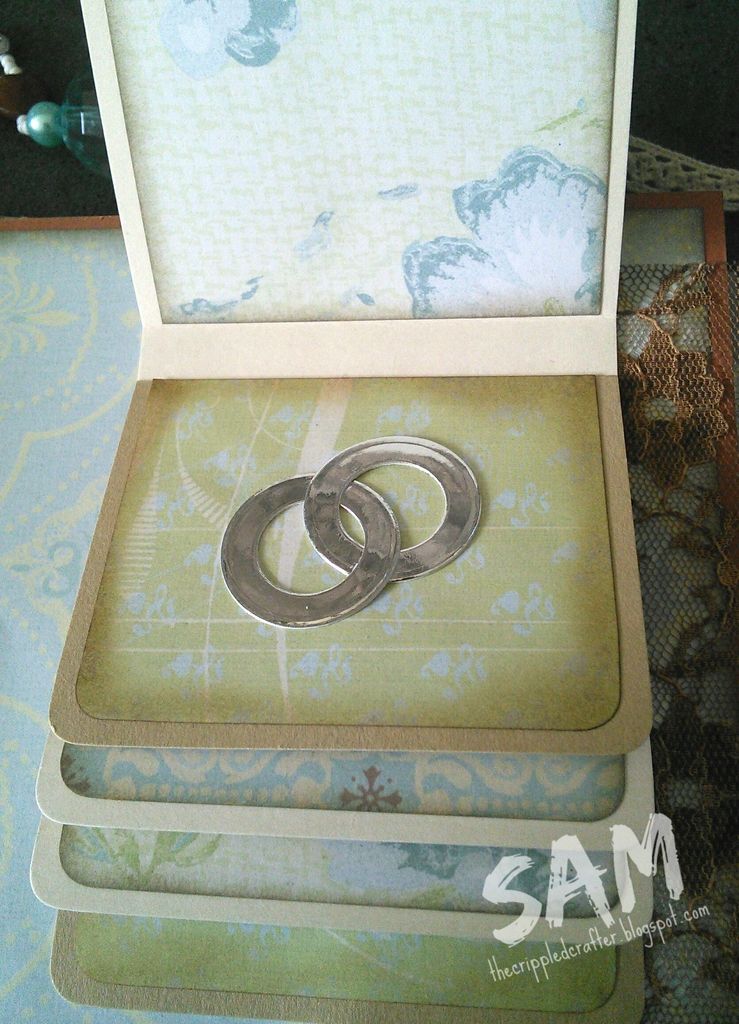
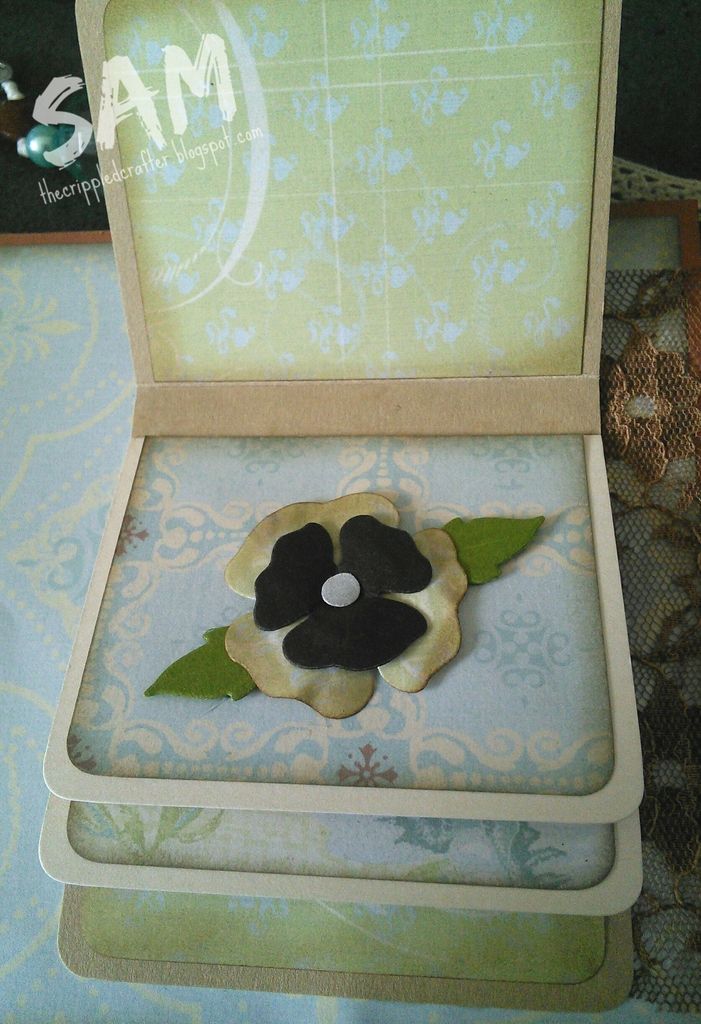
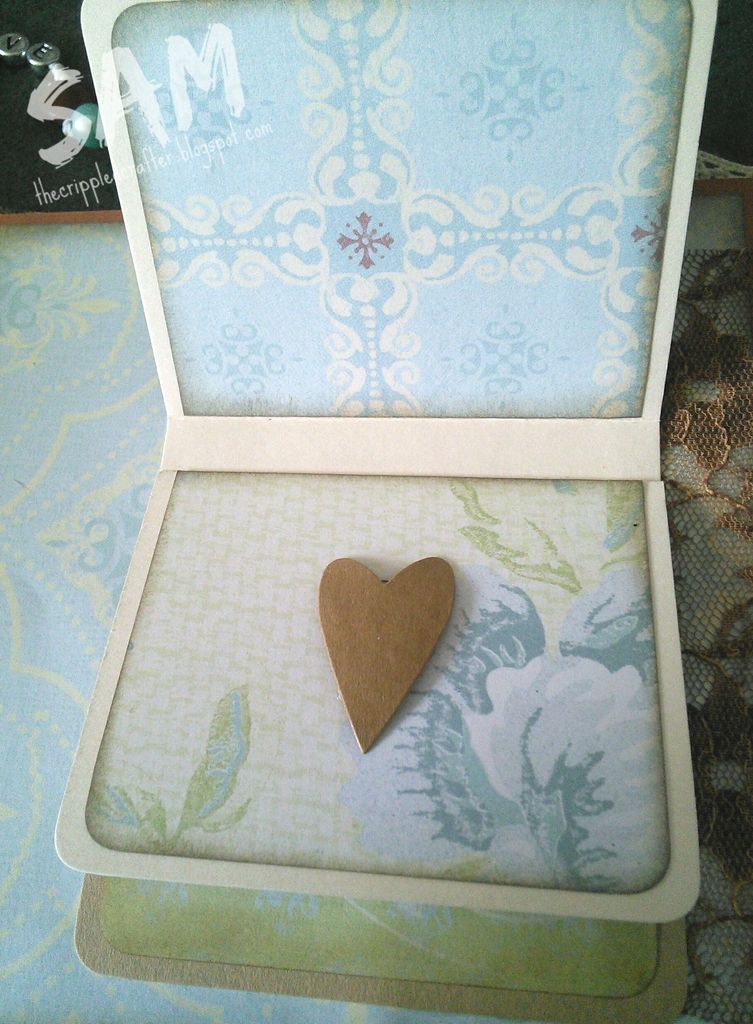
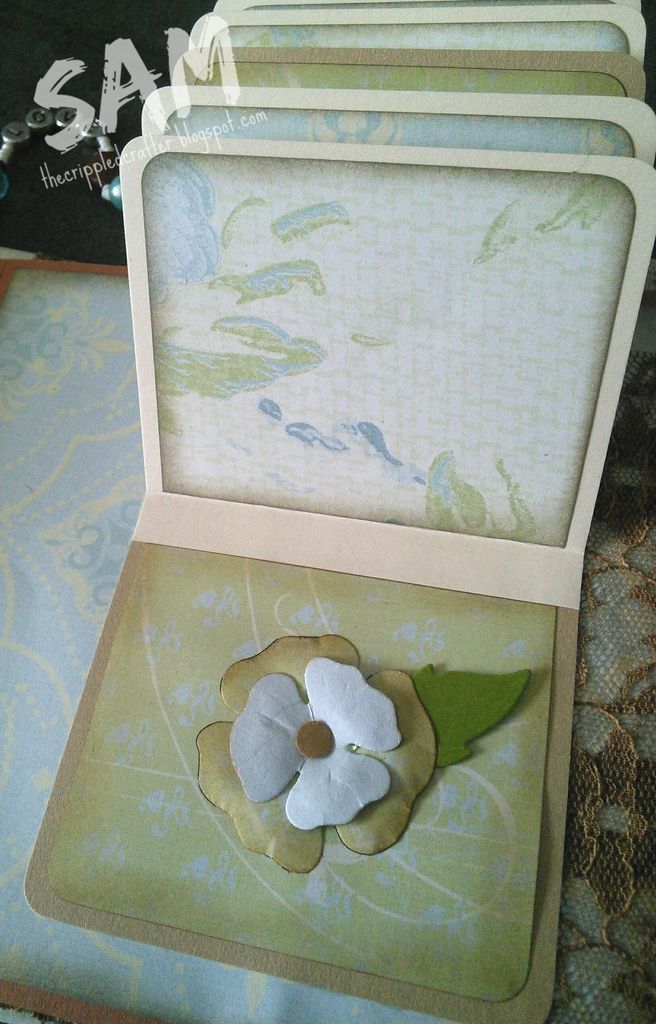
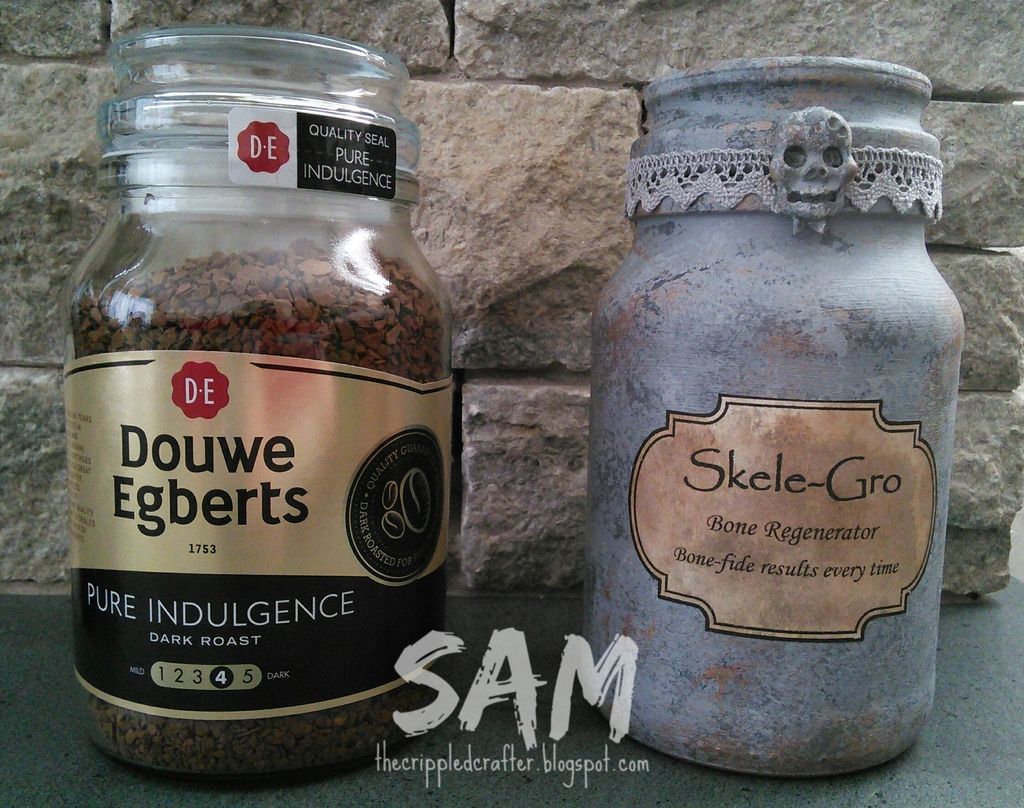
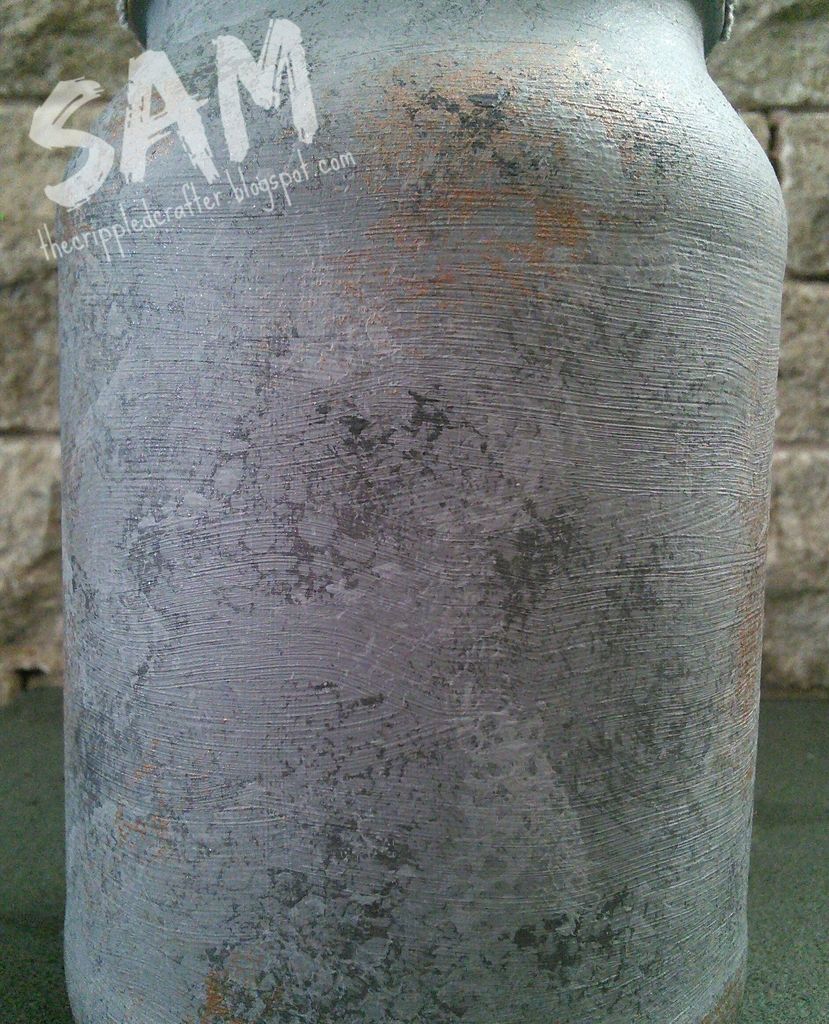
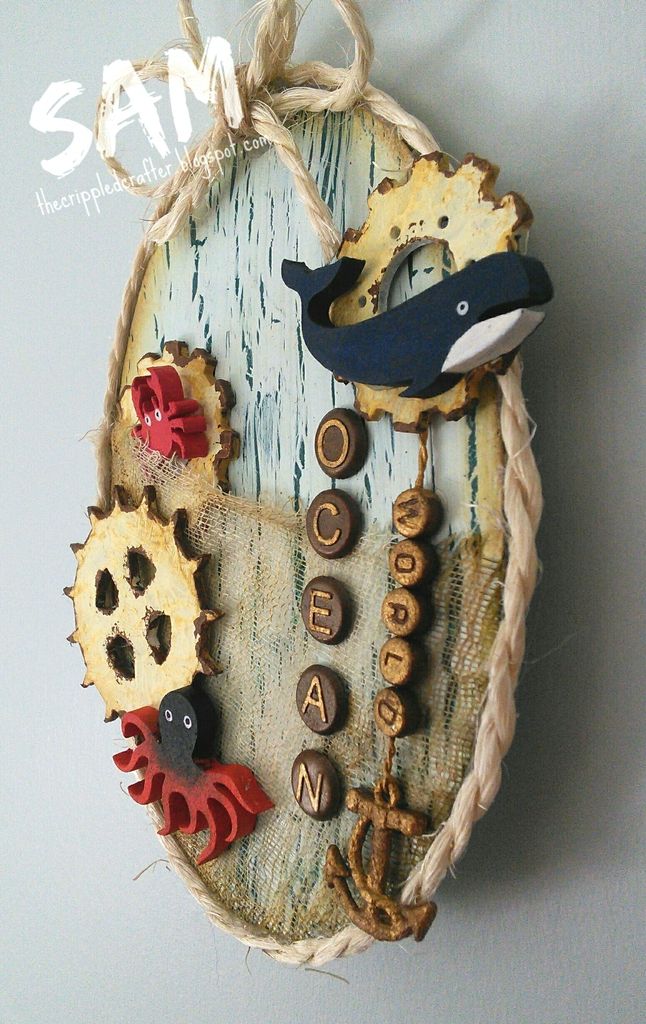
Here's another photo:

- - - - - - - - - - - - - - -
- - - - - - - - - - - - - - -
OTHER PRODUCTS USED: Acrylic paint, PVA glue, DecoArt Metallic paint, cheesecloth, spray ink, distress ink, archival ink, brads and charms.
All products available from That Craft Place.
- - - - - - - - - - - - - - -
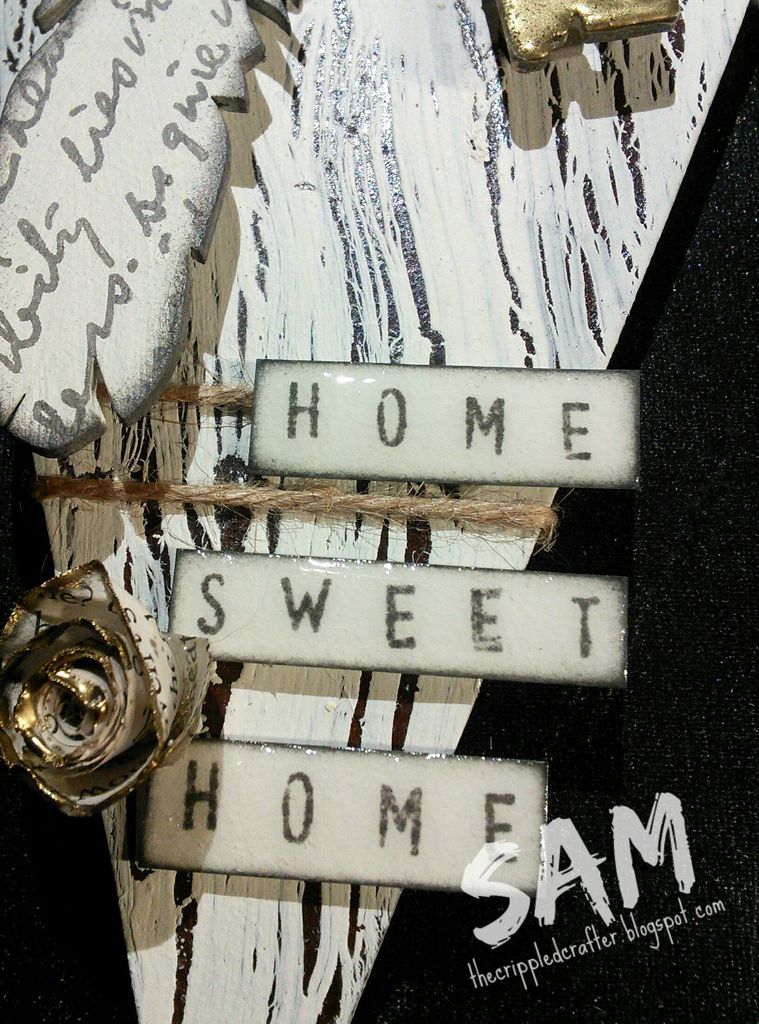
Here's another photo:
- - - - - - - - - - - - - - -
- - - - - - - - - - - - - - -
Thank you as always for popping by.
xxSAMxx
Please can I enter this project into the following challenge(s):