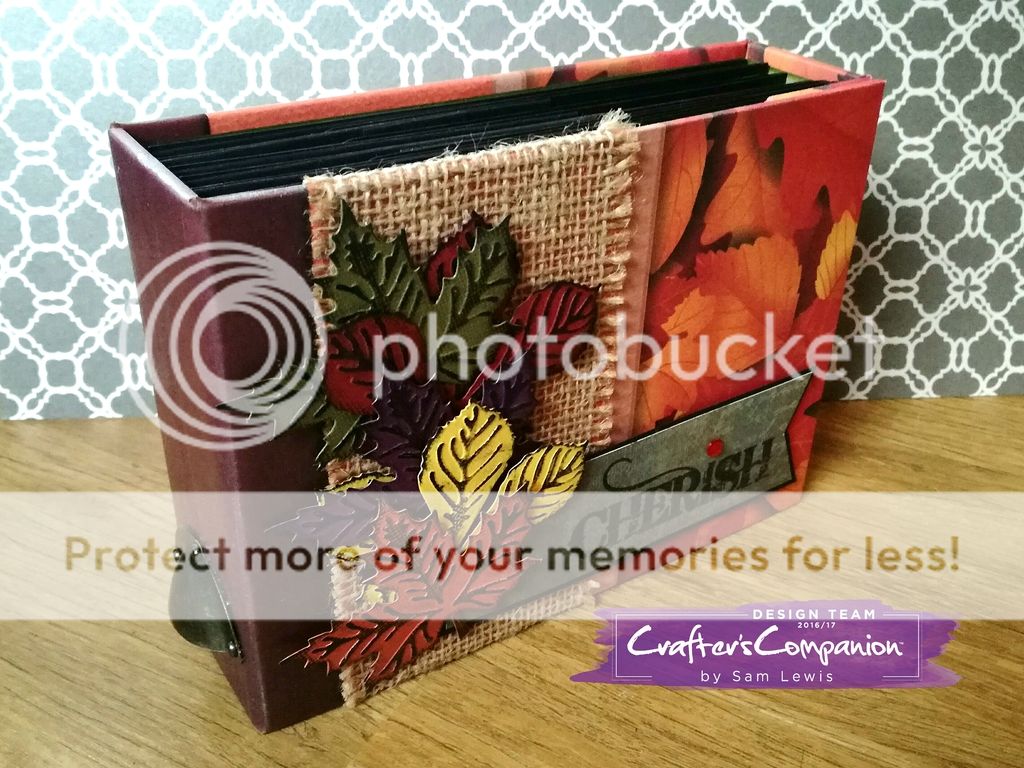
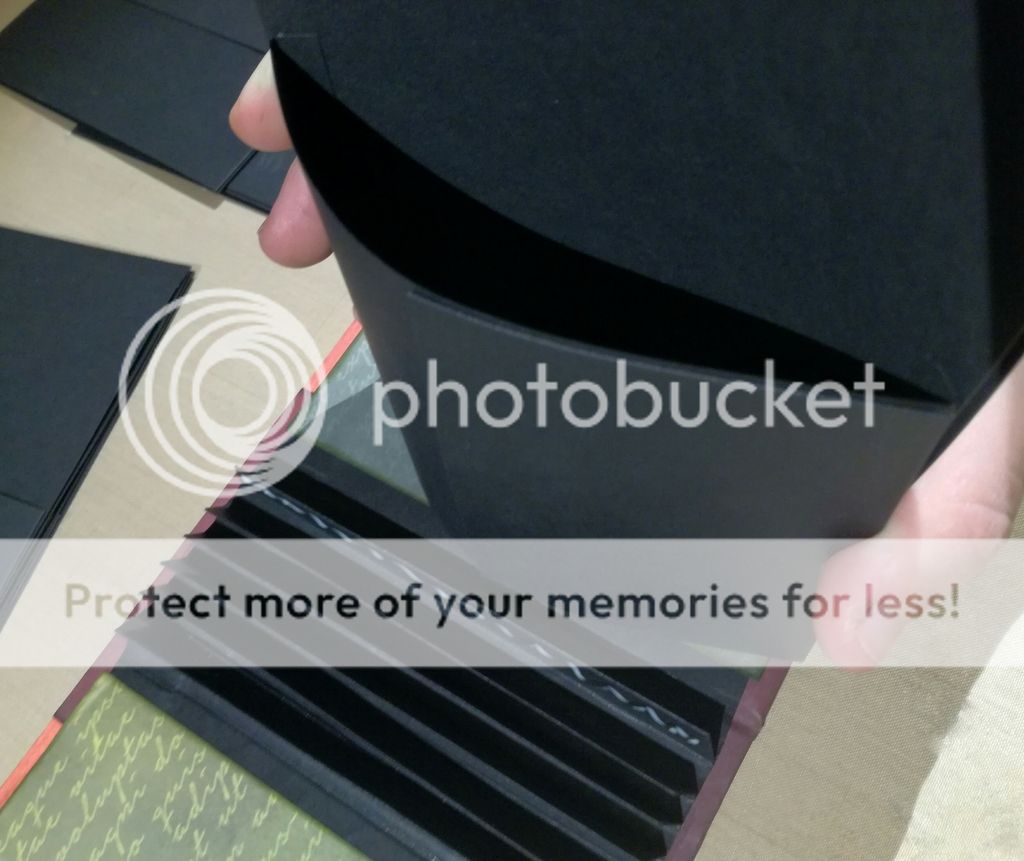
Welcome to this 3 part TUTORIAL showing you how to make this mini album.
Made using the Autumn Morning Collection from Crafter's Companion, it is perfect for your autumn and winter memories!
Gather all your materials together if you haven't already! ... you can find the supply list HERE.
Today we make the 6 pages for the album, plus the hinge system that holds the pages in place.
=======================================
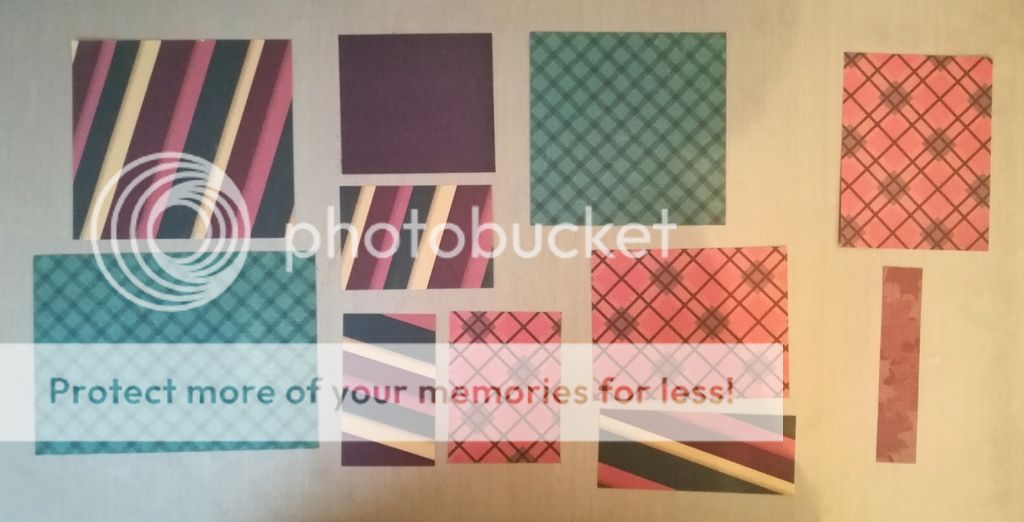
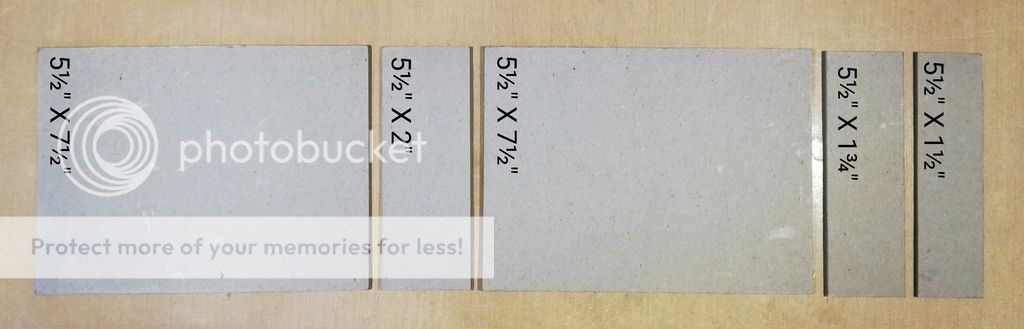
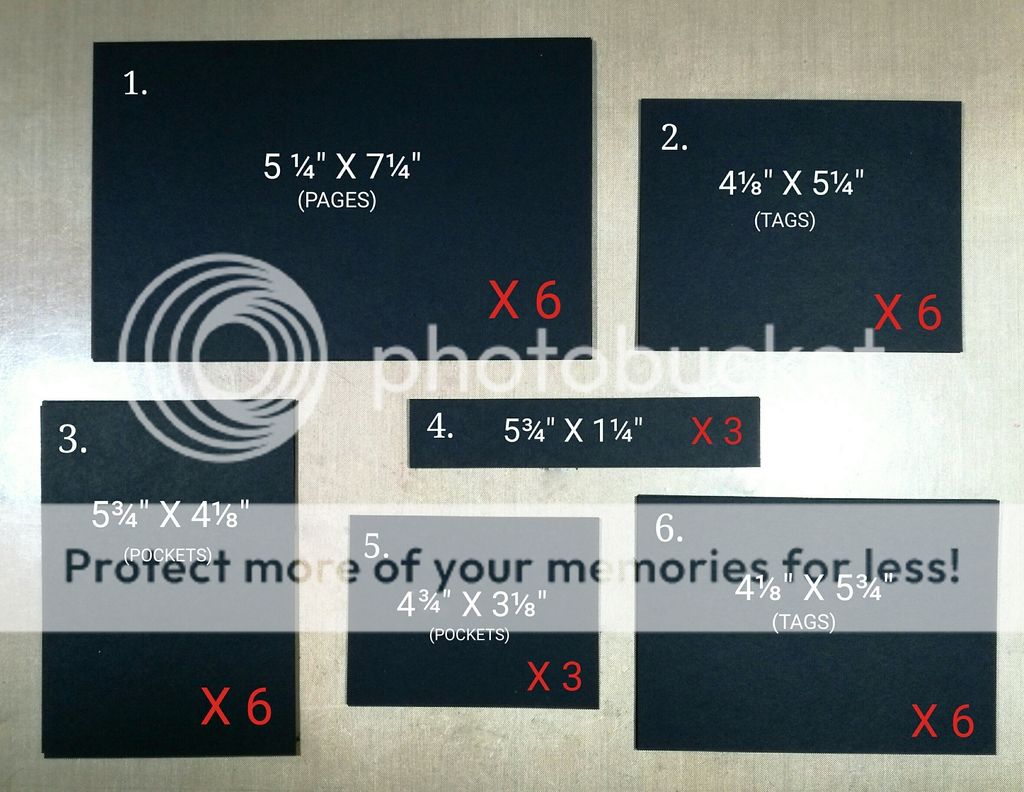
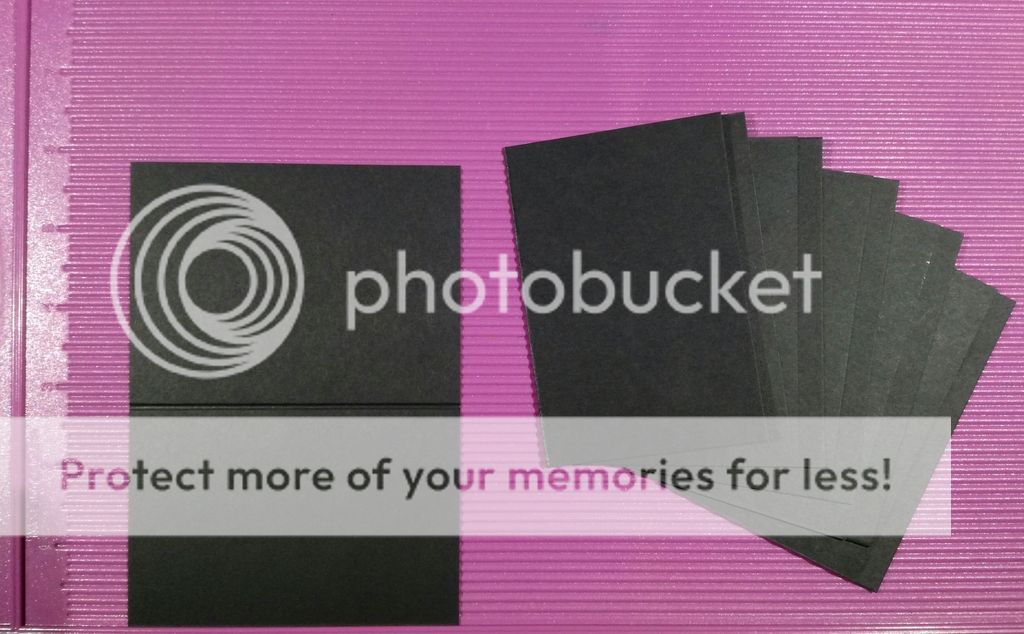
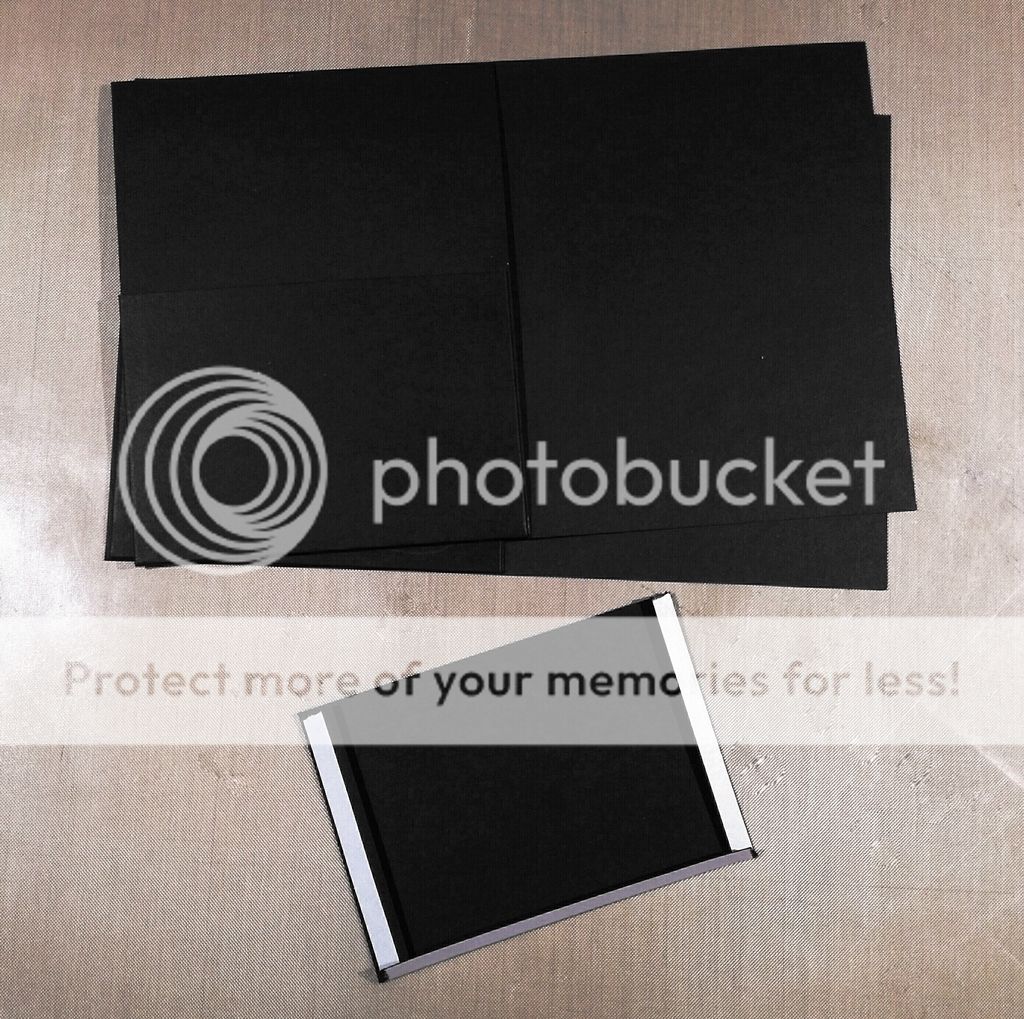
Cut the following pieces from
Matt Black Cardstock
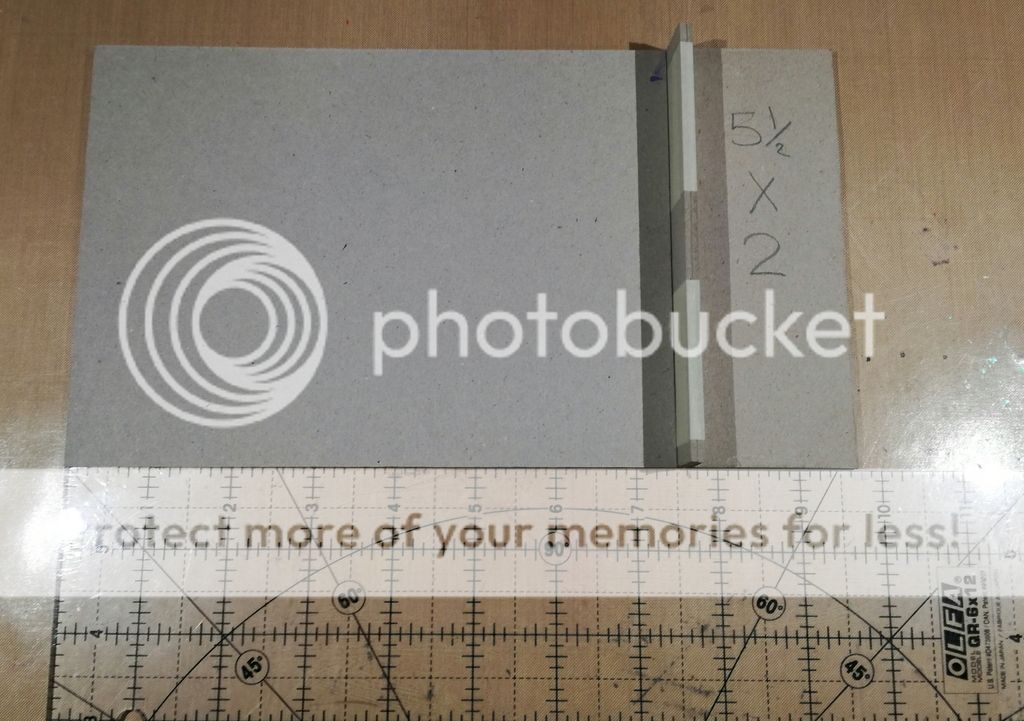
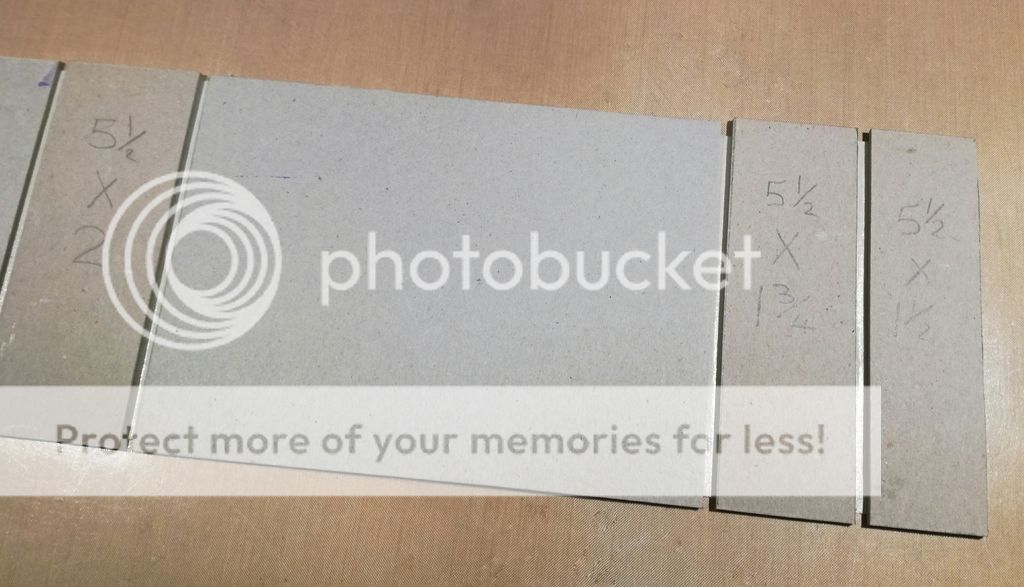
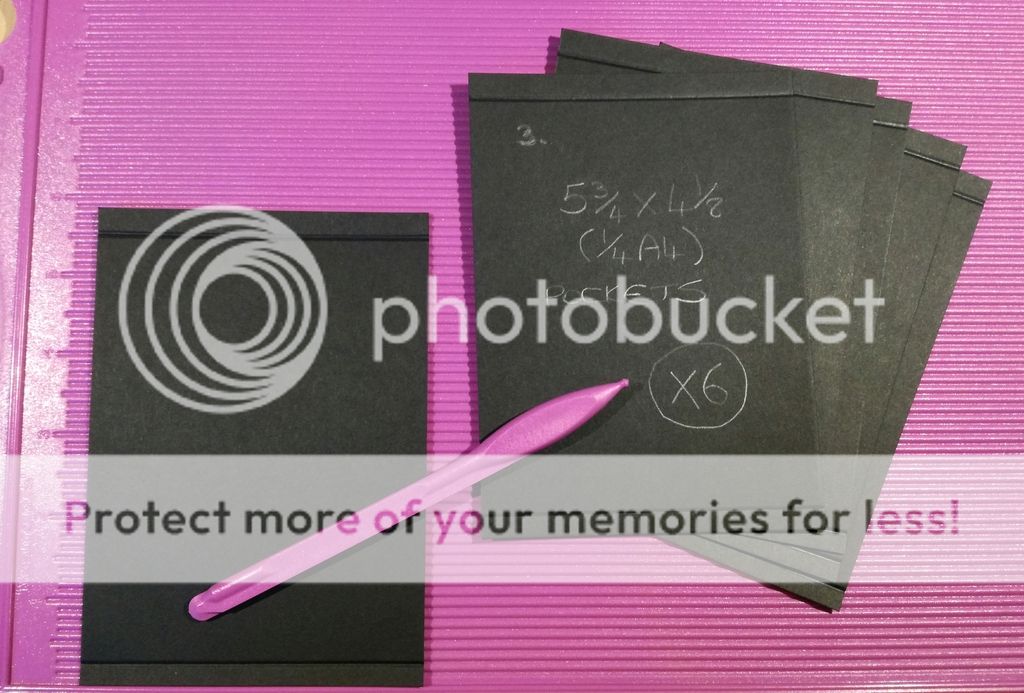
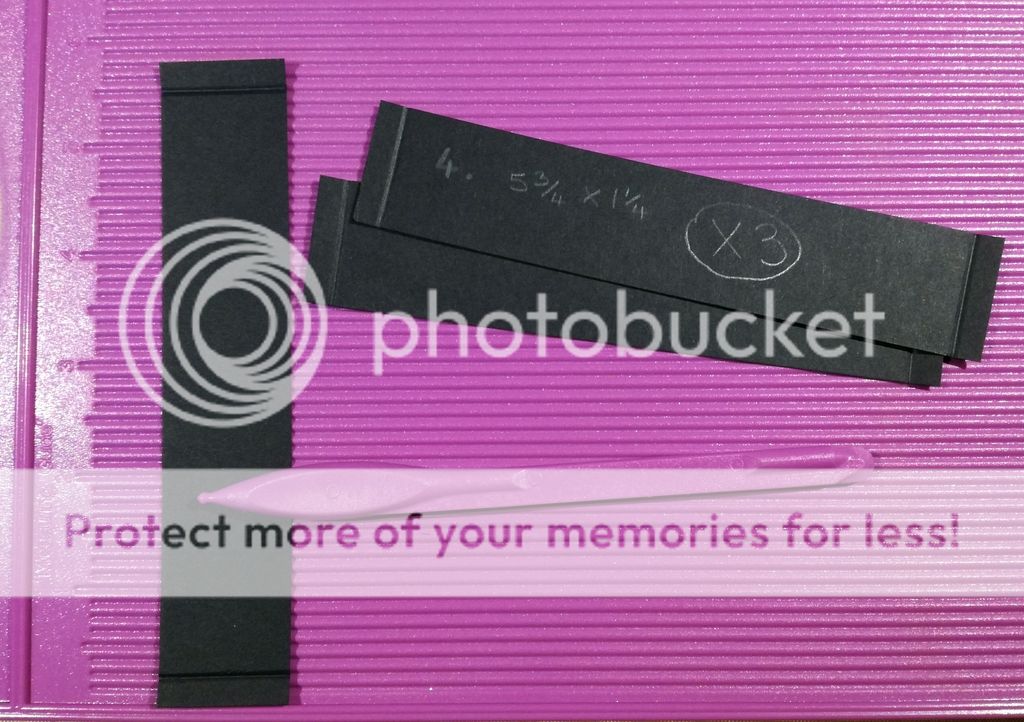
( TIP: It helps to write the number on each piece in pencil to avoid confusion later! )
Piece 1..... CUT 6 x 5¼” X 7¼” (PAGES)
Piece 2..... CUT 6 x 4⅛” X 5¼” (TAGS)
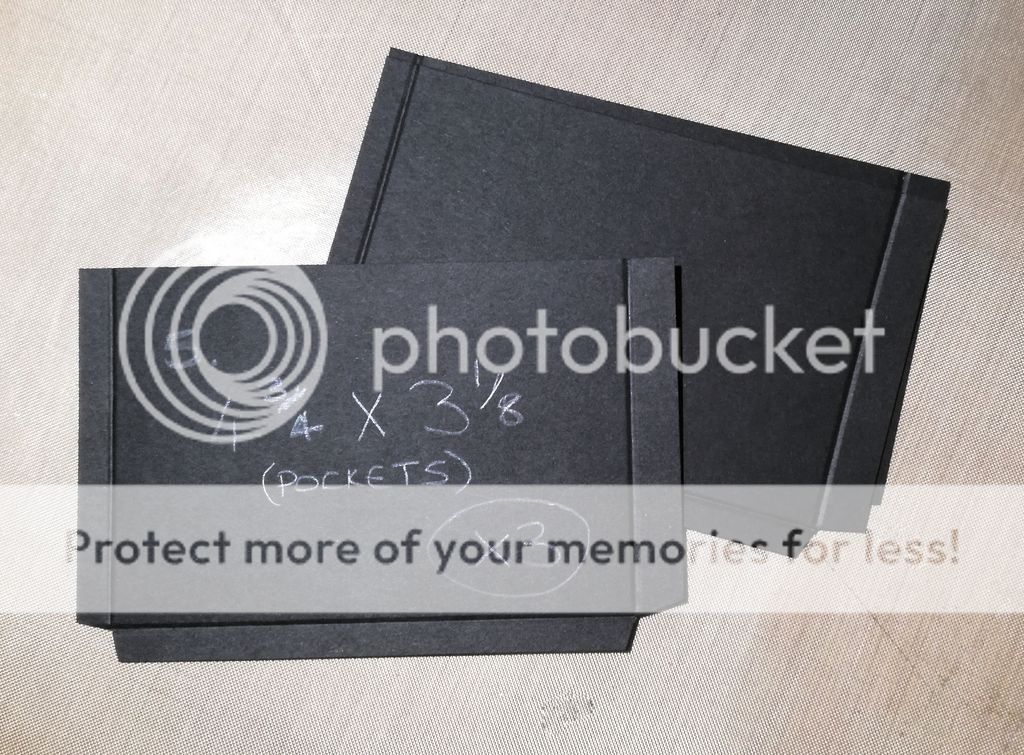
Piece 3..... CUT 6 x 5¾” X 4⅛” (POCKETS)
Piece 4..... CUT 3 x 5¾” X 1¼” (BELLY BANDS)
Piece 5..... CUT 3 x 4¾” X 3⅛” (POCKETS)
Piece 6..... CUT 6 x 4⅛” X 5¾” (TAGS)
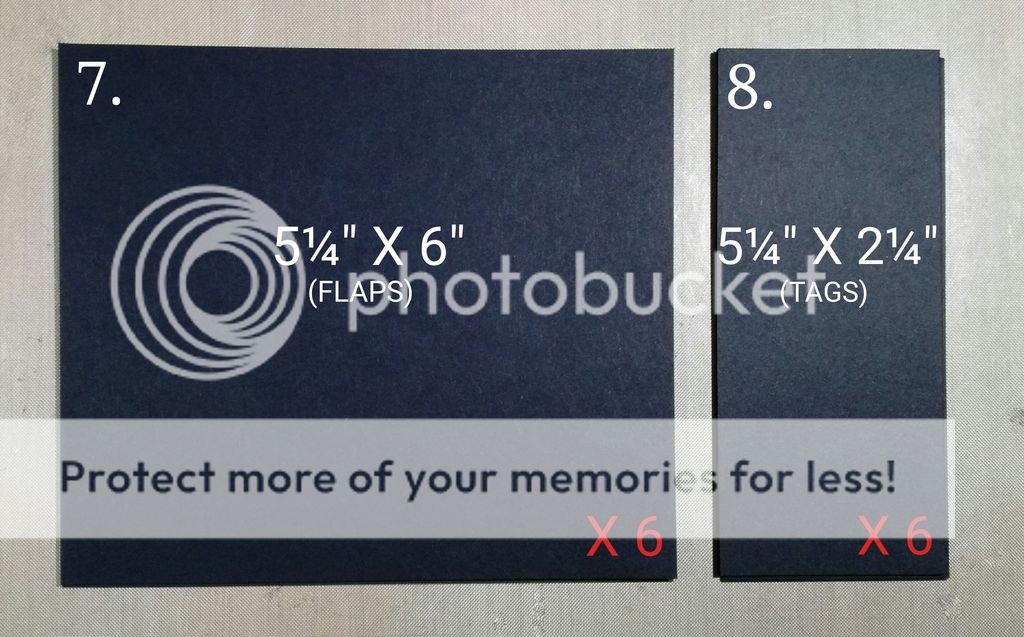
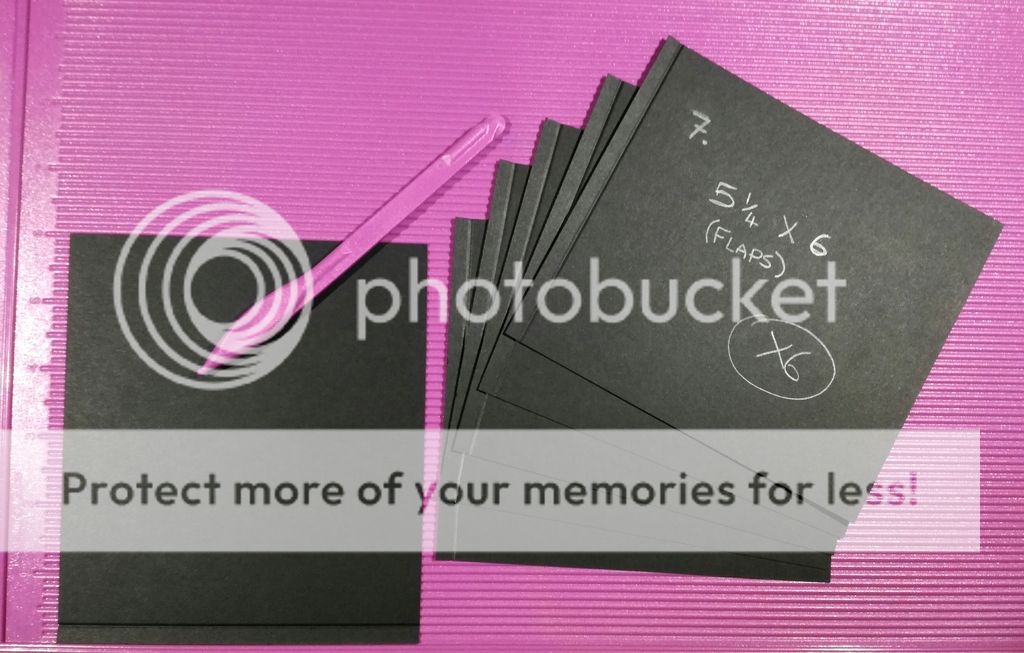
Piece 7….. CUT 6 x 5¼” X 6” (FLAPS)
Piece 8….. CUT 6 x 5¼” X 2¼” (TAGS)
=======================================
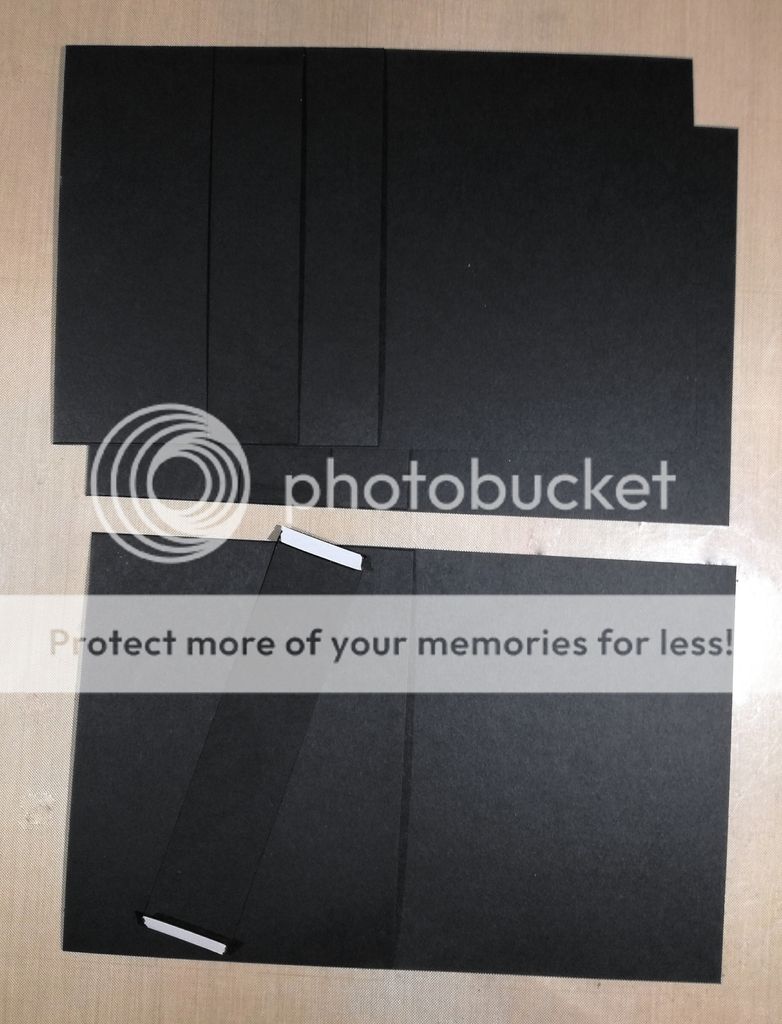
Piece 3..... SCORE at ¼” and 5½” (Long side against the top of the scoreboard)
Piece 4..... SCORE at ¼” and 5½” (Long side against the top of the scoreboard)
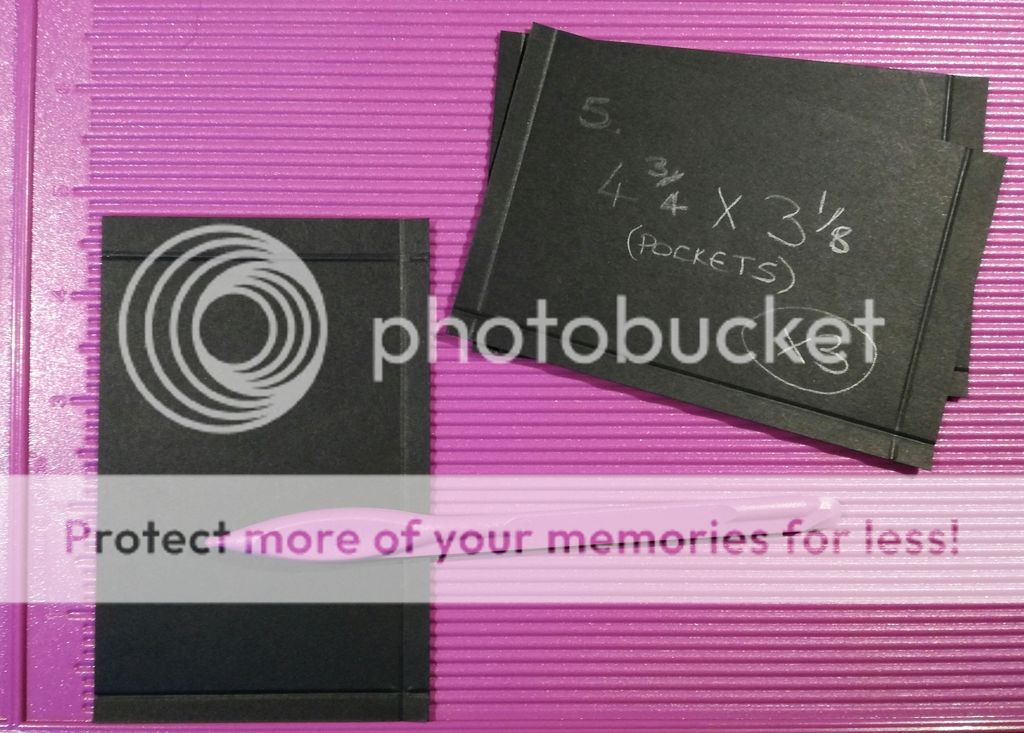
 Piece 5..... SCORE at ¼” and 4⅜” (Long side against the top of the scoreboard)
Piece 5..... SCORE at ¼” (Short side against the top of the scoreboard)
Piece 5..... CUT out the corners at an angle where the score lines overlap.
Piece 6..... SCORE at 2¾” (Long side against the top of the scoreboard)
Piece 7..... SCORE at ¼” (Long side against the top of the scoreboard)
=======================================
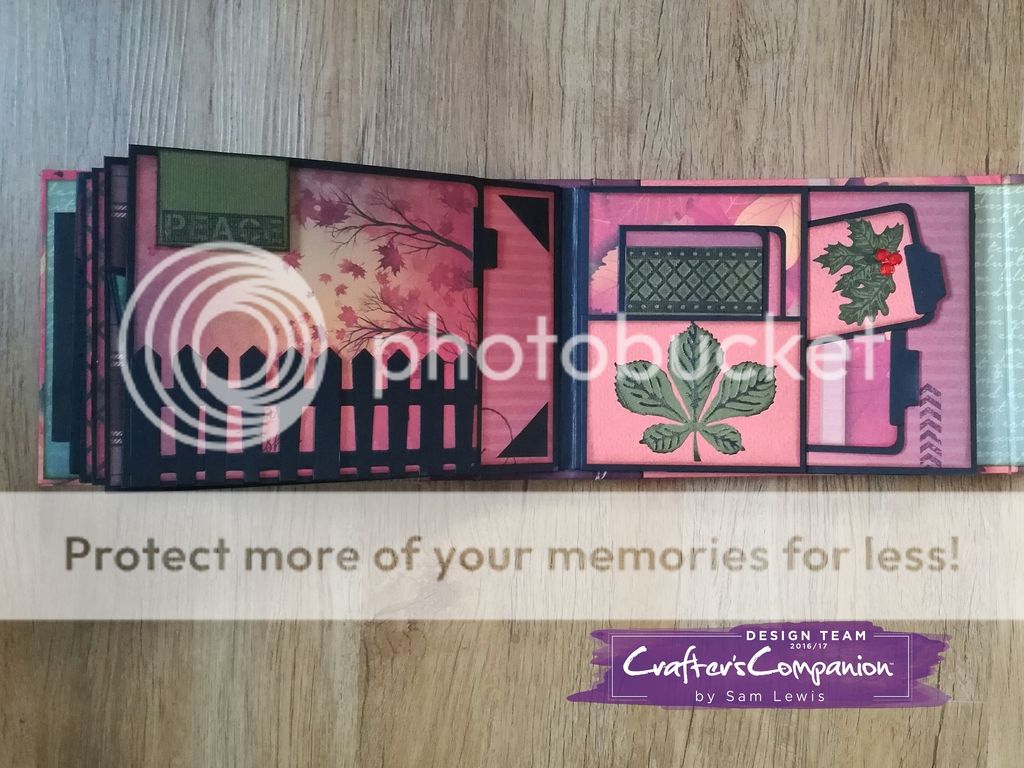
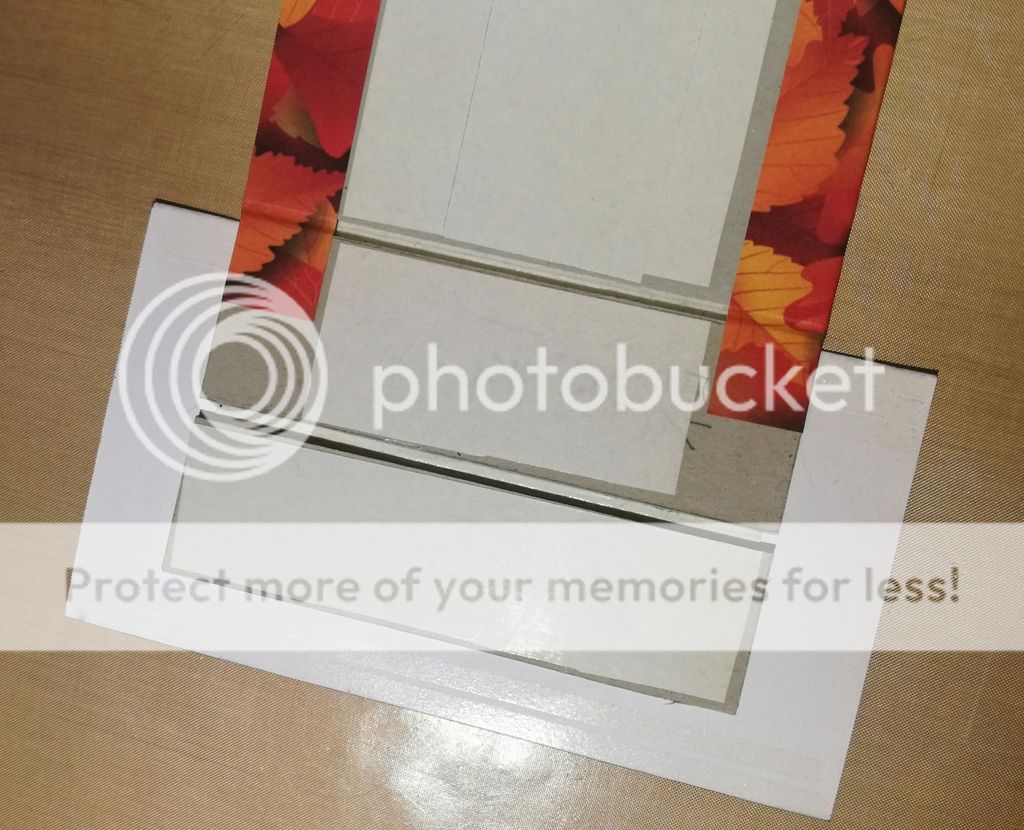
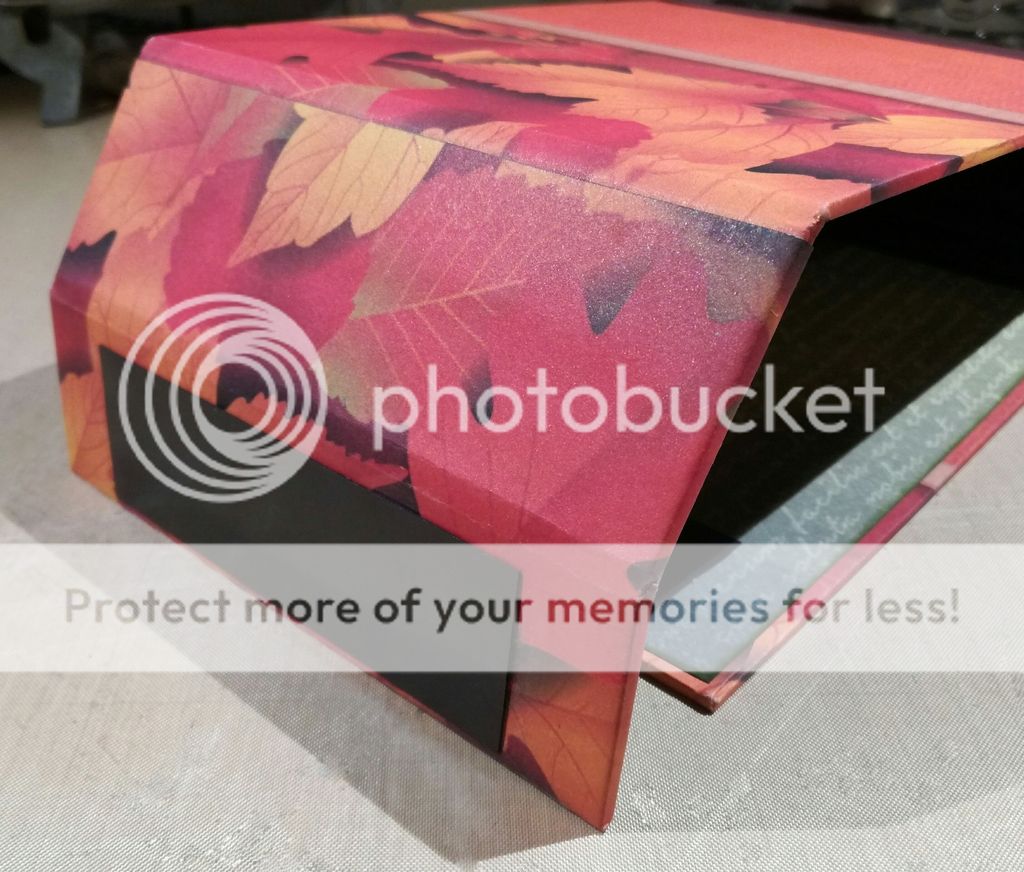
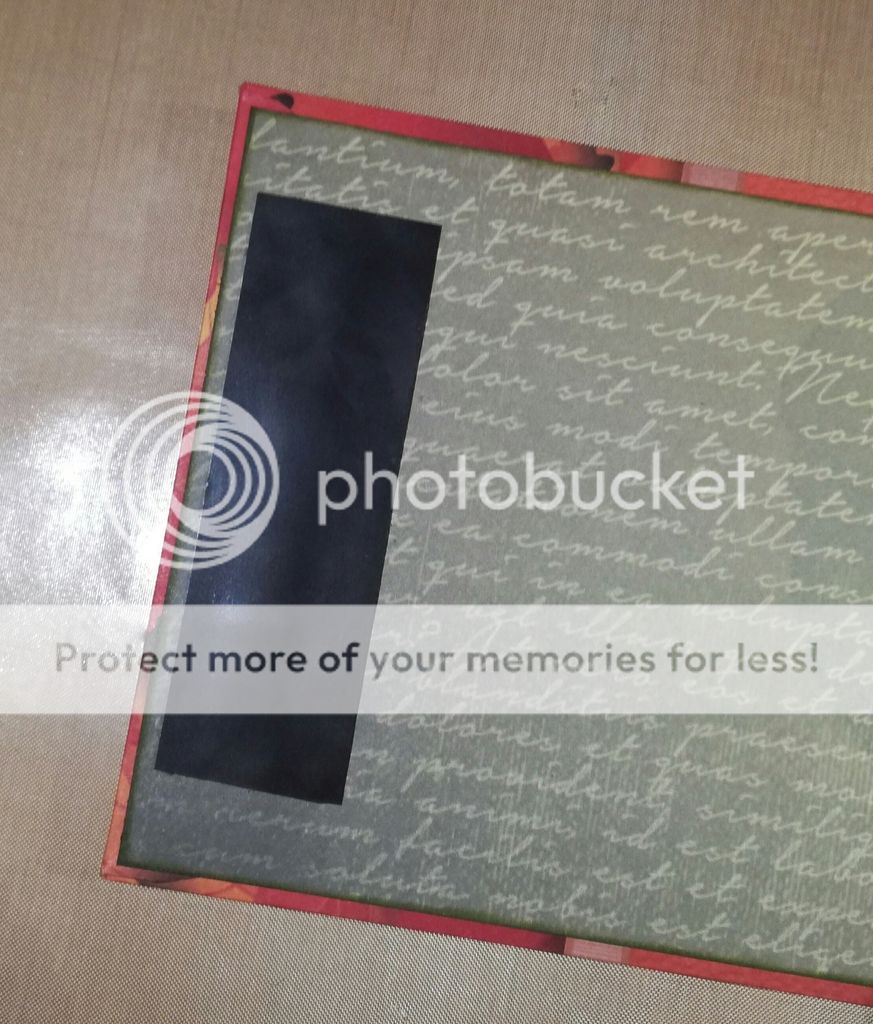
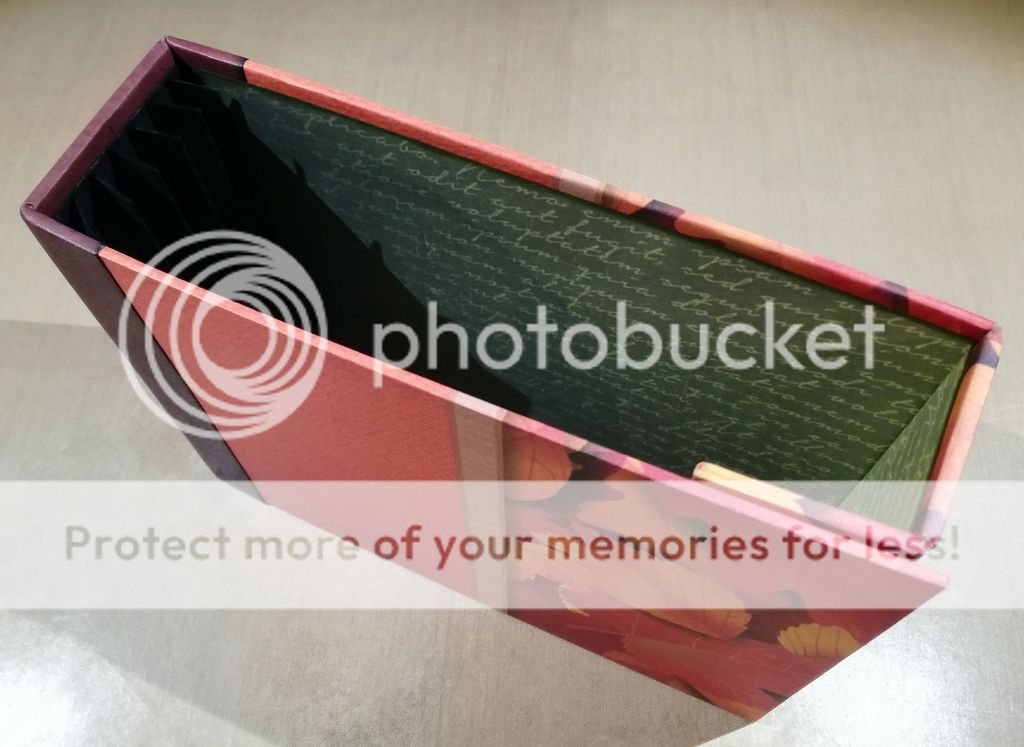
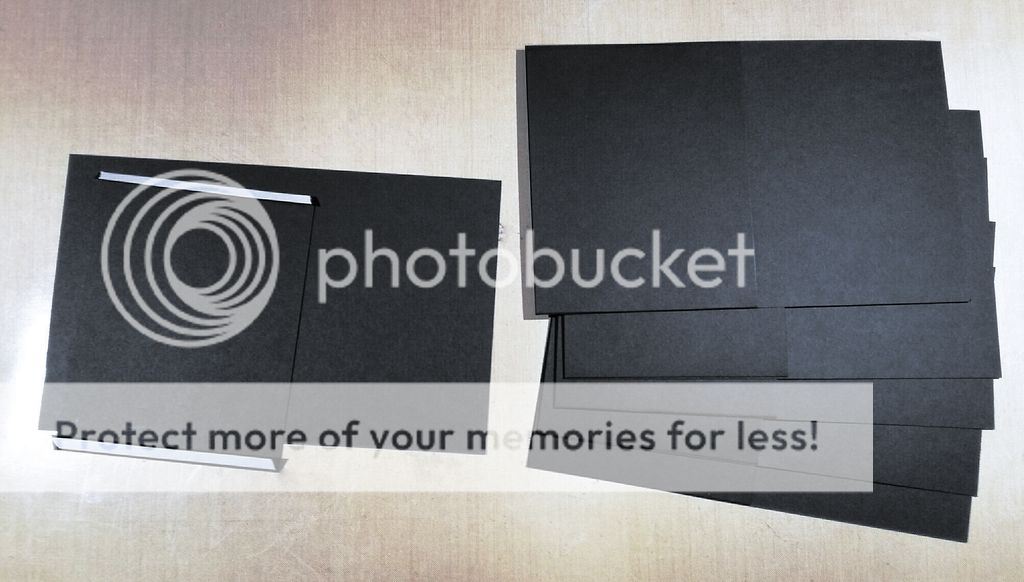
PAGE CONSTRUCTION
Use a strong double sided tape, or wet glue if preferred
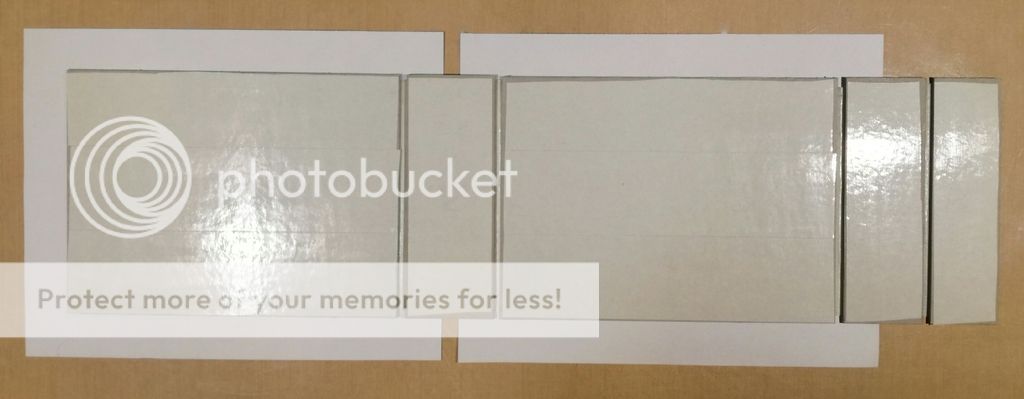
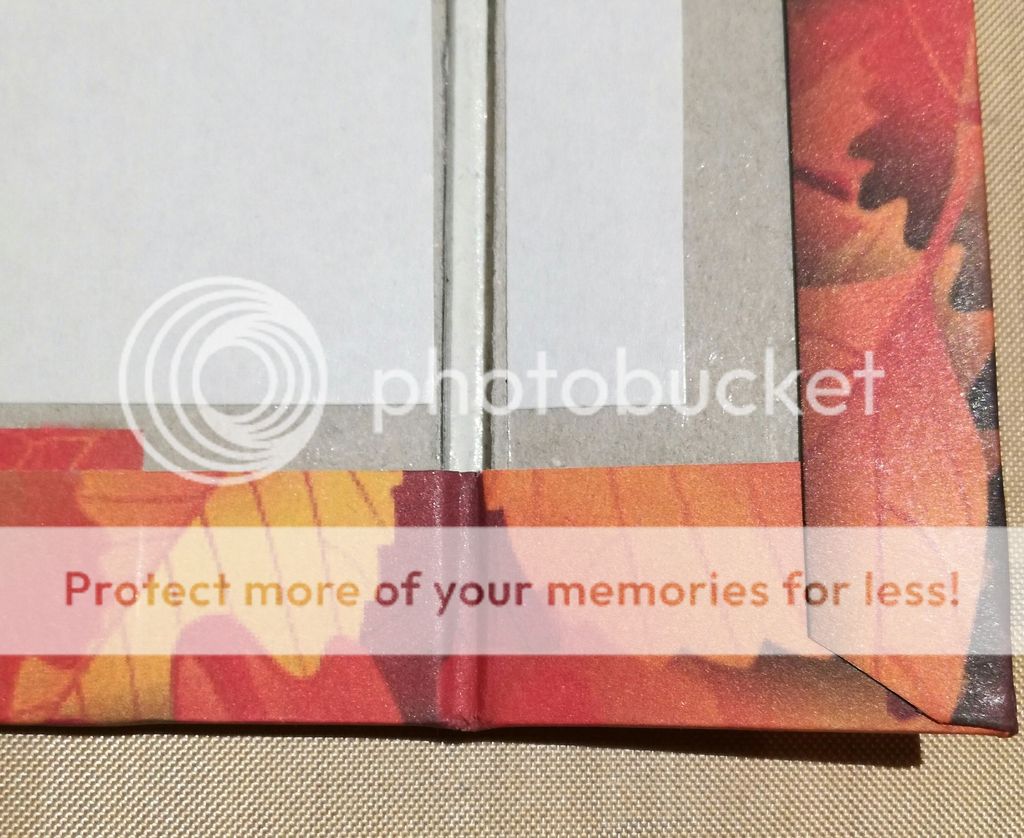
A.... Fold and burnish all the score lines
B.... Attach piece 3 to piece 1. Repeat for all six pages.
C.... Attach piece 5 to piece 3. Repeat for three of the pages.
D.... Attach piece 4 to piece 3 on the remaining three pages.
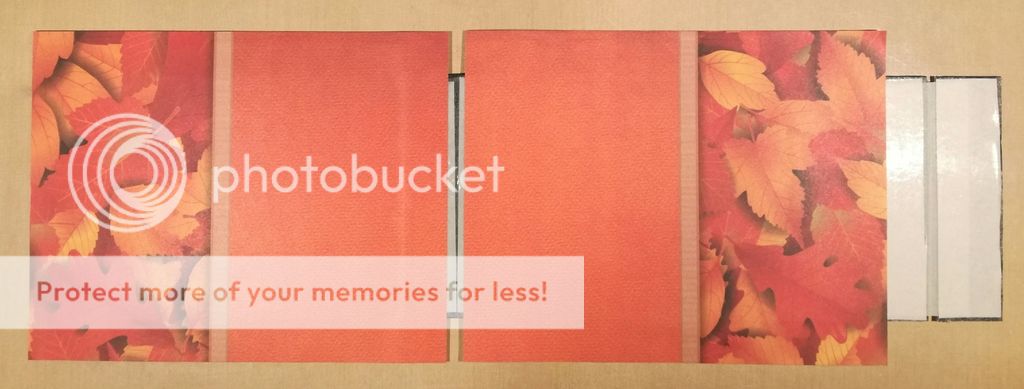
E.... Attach piece 7 to the reverse of piece 1.
Repeat for all six pages.
 You now have 6 pages. Put to one side.
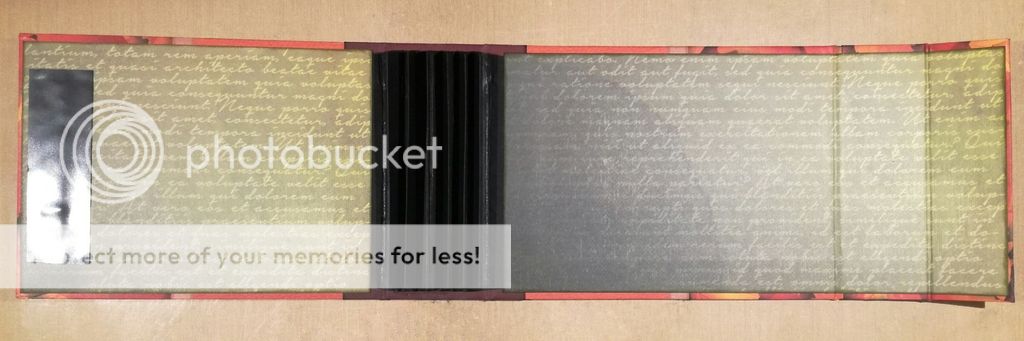
============================================
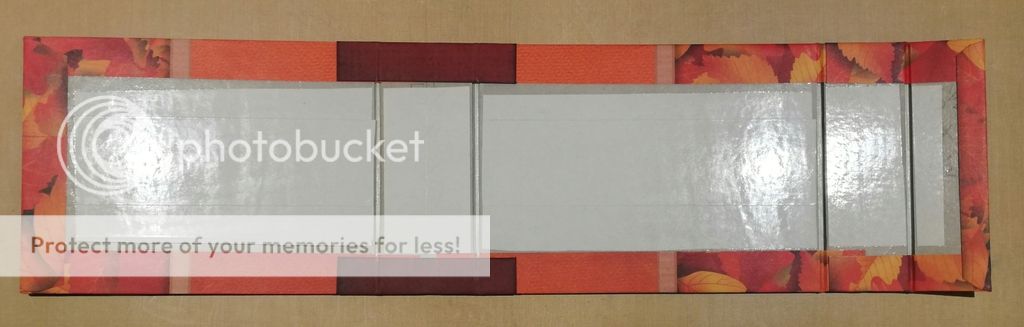
HINGE
A.... CUT 1 sheet of Matt Black Cardstock to 5¼” X 10¼”
(Piece 9)
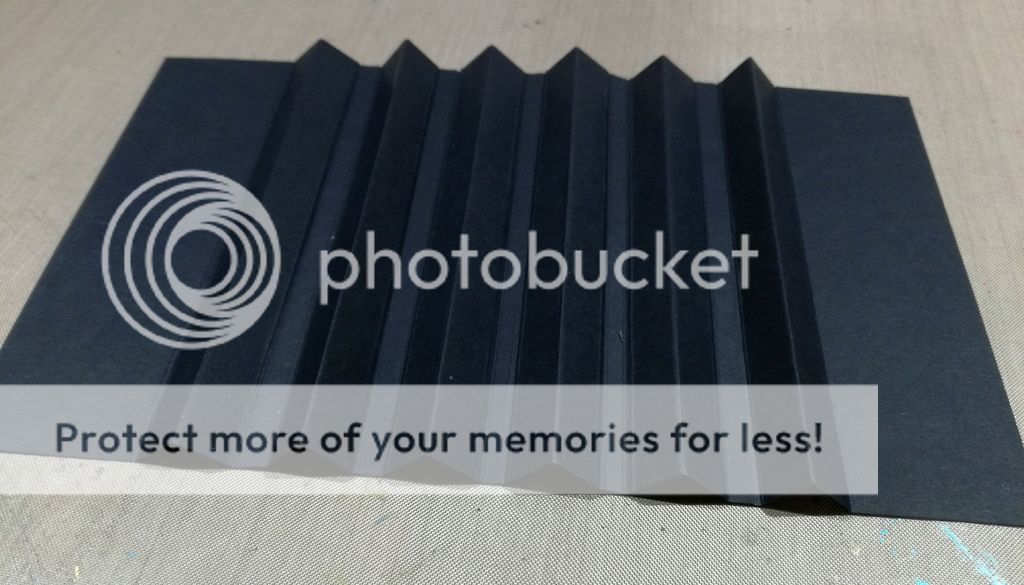
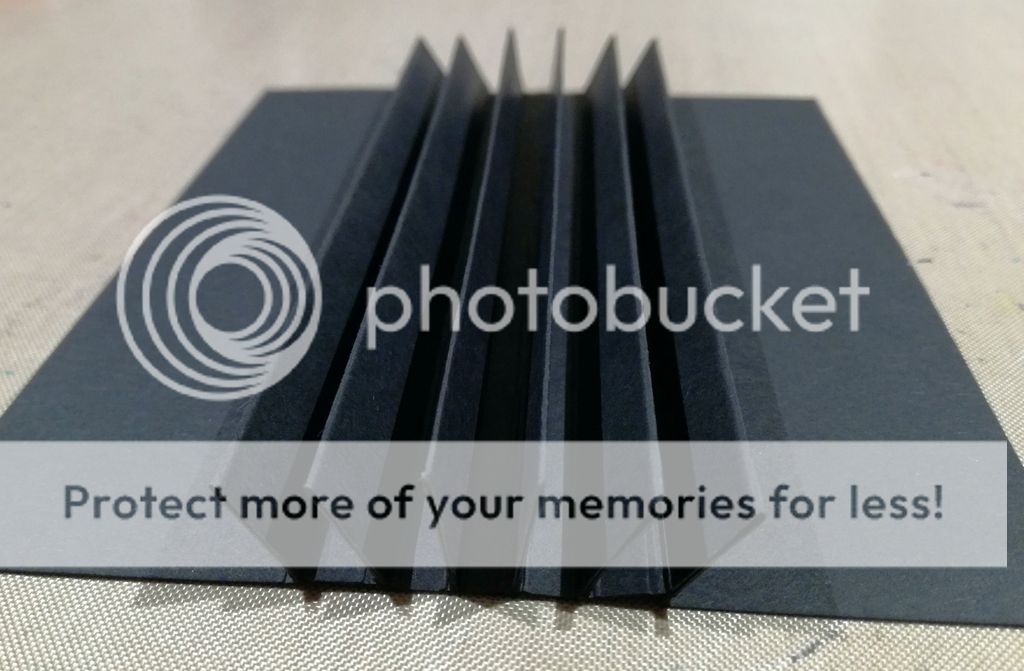
B.... SCORE at 1½” then a further ....
½” , ½” , ¼” , ½” , ½” , ¼” , ½” , ½” , ¼” , ½” , ½” , ¼” , ½” , ½” , ¼” , ½” , ½”
.... until 1½” of card is left!
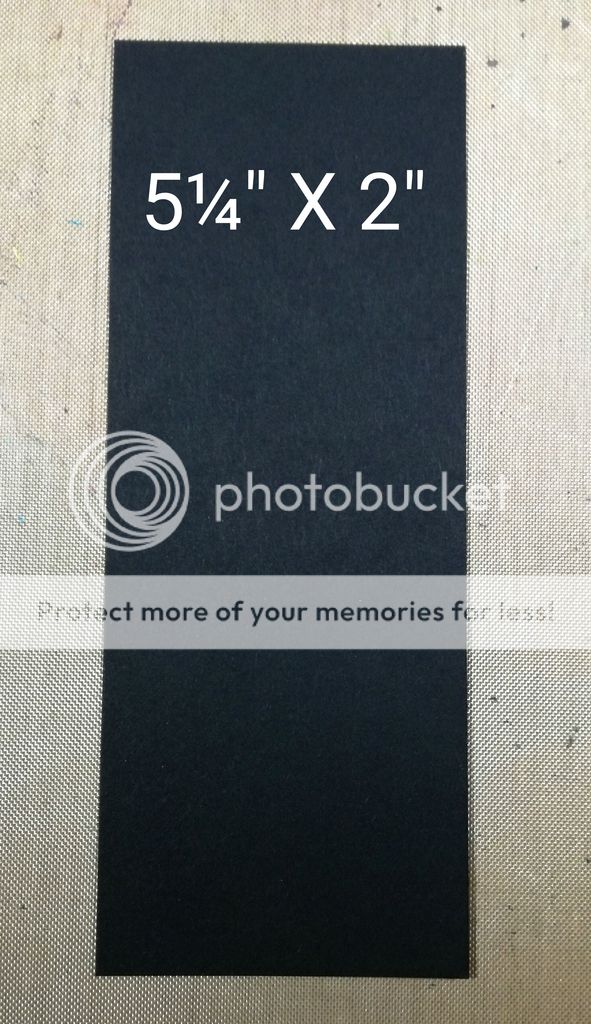
C.... From the left over card CUT 1 x 5¼” X 2" (Piece 10)
============================================
HINGE CONSTRUCTION
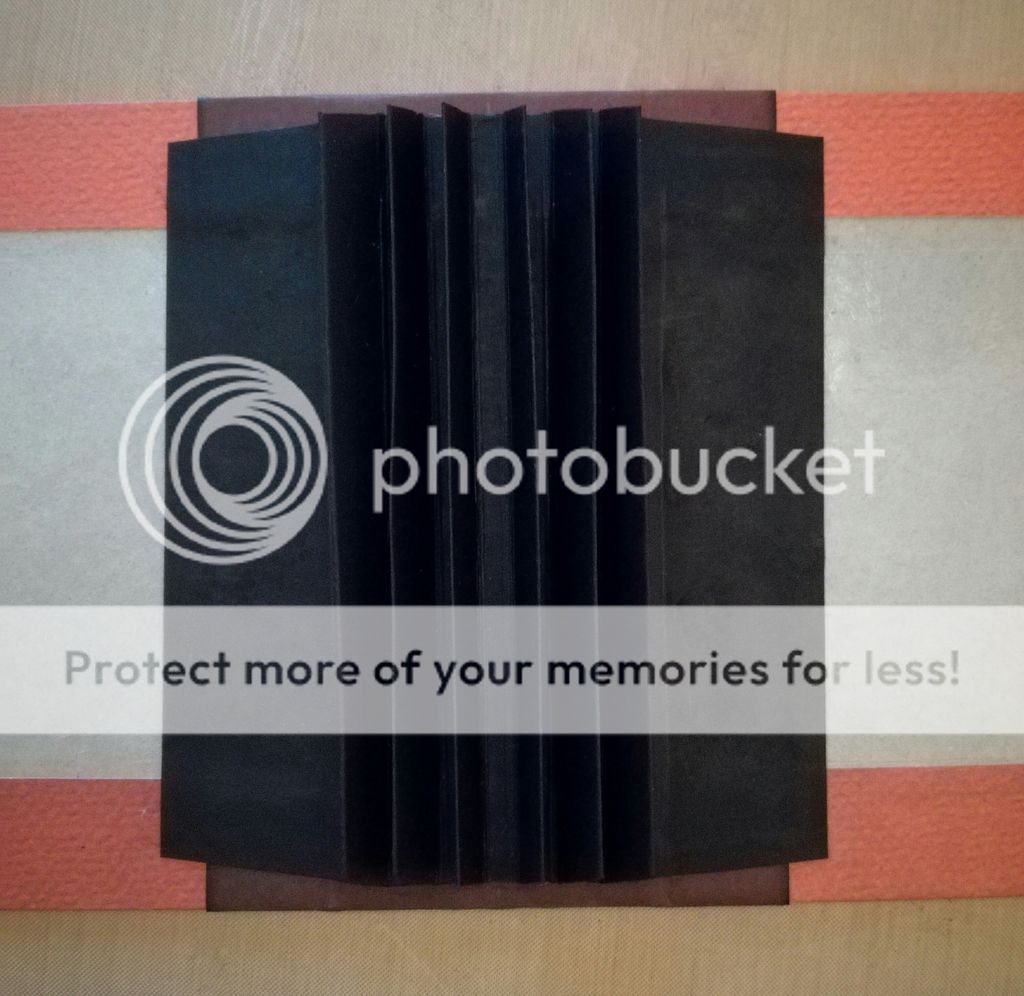
A.... Fold and burnish the score lines made in step B above.
B.... Turn over and attach double sided tape to one side of the wide sections only. 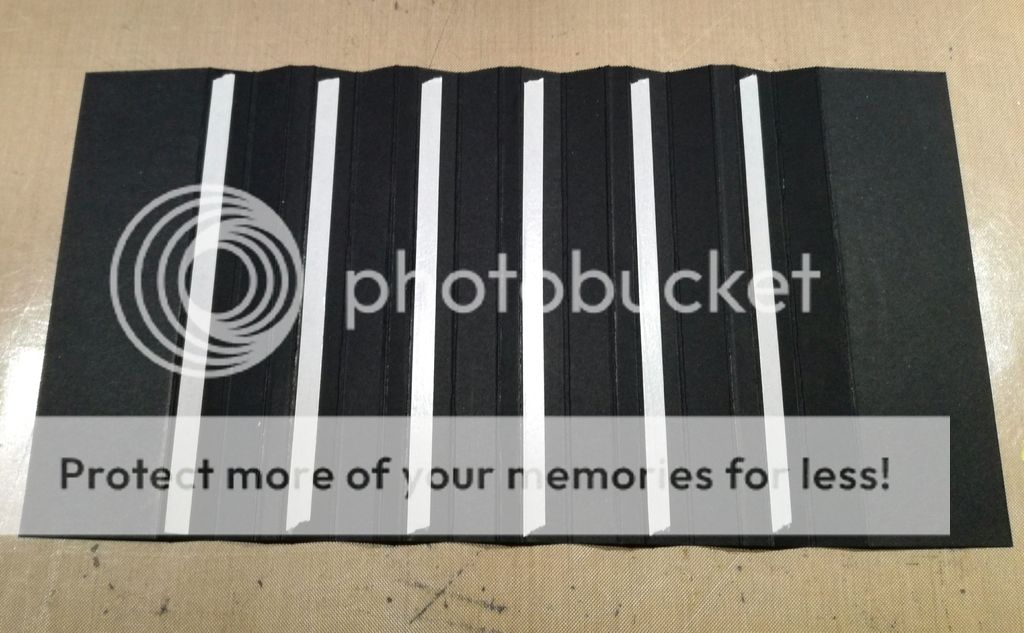
C.... Remove the tape backing and press the wide sides together, burnishing to ensure a crisp fold with strong adhesion.
D.... Trim the corners from each “hinge”. This makes it easier to slide the pages on at a later stage.
E.... Attach piece 10 to the reverse of piece 9, centred over the reverse of the hinge.
============================================
Now that we have 6 completed pages and a hinge system for our album, we'll leave it there!
Thank you as always for popping by.
Don't forget to pop back tomorrow for part two of this tutorial when we'll explore how to construct the Cover for the album!
xxSAMxx