Showing posts with label Tutorial. Show all posts

Wednesday, 13 September 2017

Constructing your Snowman Advent Calendar | Daisy's

Were you lucky enough to get hold of the Snowman Advent Calendar from Daisy's Jewels & Crafts? Are you are still on the fence about buying? 
          
These instructions will show you just how easy it is to construct! 
                         
                            
All the pieces have a series of number or letters to make matching up the pieces quick and simple!

So grab your Daisy's MDF Glue or other strong pva and lets get started!

1
How to construct your Snowman Advent Calendar from Daisy's Jewels and Crafts.
Gather all your pieces together.  Sort all the dividing pieces in to 2 piles, one for those marked with numbers and one for those marked with letters.
                 
2
Starting with the Letter pieces.  Slot them into the matching lettered Vertical slots on the back snowman piece, applying glue as you go.  
A close up showing the letter on the tabs matching the letters next to the correct slots!
       
3
Grabbing the Numbered dividing pieces, add these in the matching Horizontal slots, again adding glue as you go.
Close up showing the vertical and horizontal pieces in place.
               
4
In addition to all the pieces in step 1, you'll also have a lot of pieces like these!  These glue together to make the drawers for your advent calendar.
               
5
Now you can finally glue the the front snowman onto the piece and add the base.
NOTE: You may want to first paint the sections before constructing, or before you add the front.  I prefer to do it before adding the front.
- - - - - - - - - - - - - - -

Thank you as always for popping by.
     
Check out more photos of this finished project HERE.
          
xxSAMxx
   

Friday, 31 March 2017

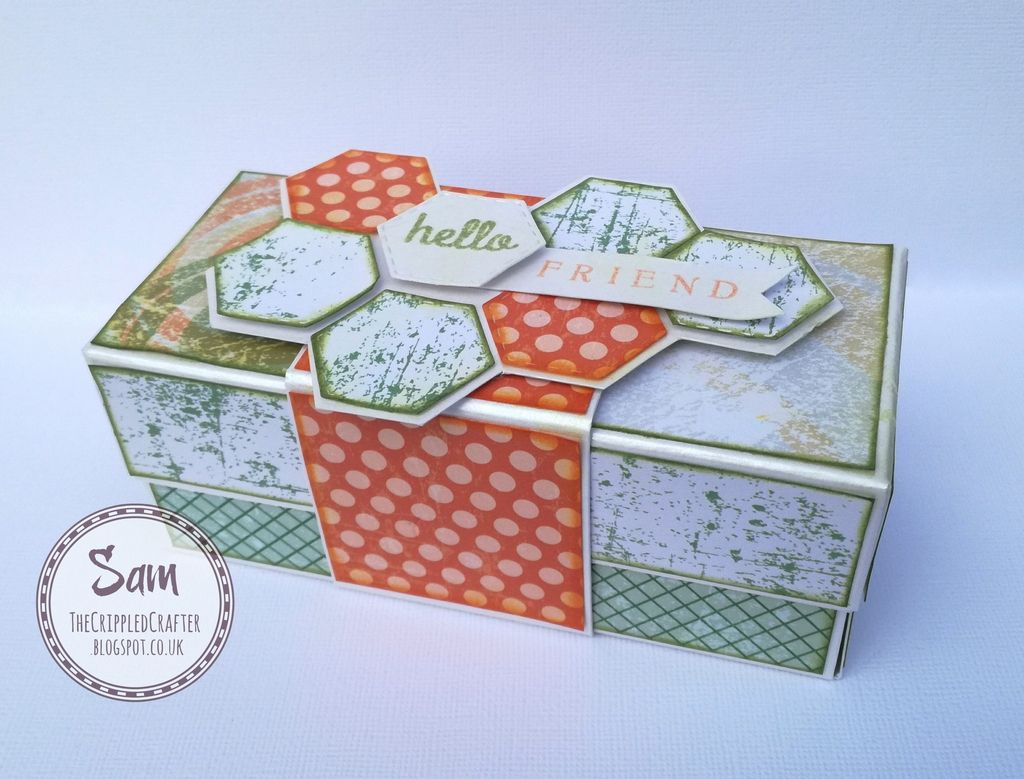
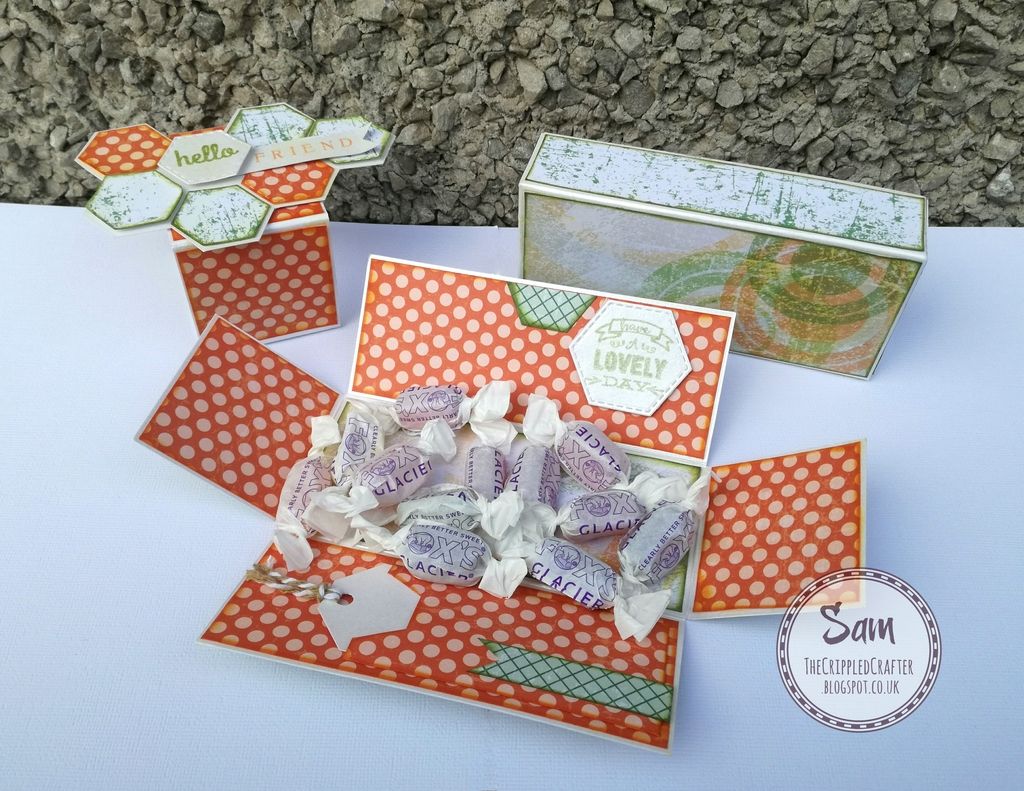
Hello Friend - Exploding Box Card

Today I'd like to share another
Exploding Box Card
                            
Exploding Box. Gift Box. By Sam Lewis AKA The Crippled Crafter.
                                
Want to know how to make this?

Find the Exploding Box Tutorial HERE
                 
- - - - - - - - - - - - - - -
    
Materials
            
Exploding Box. Gift Box. By Sam Lewis AKA The Crippled Crafter.
                 
Links you need to know 


Crafter's Companion - SHOP
                
- - - - - - - - - - - - - - -
                 
Thank you as always for popping by
              
xxSAMxx

Wednesday, 29 March 2017

Exploding Box Card - YOUTUBE Tutorial!

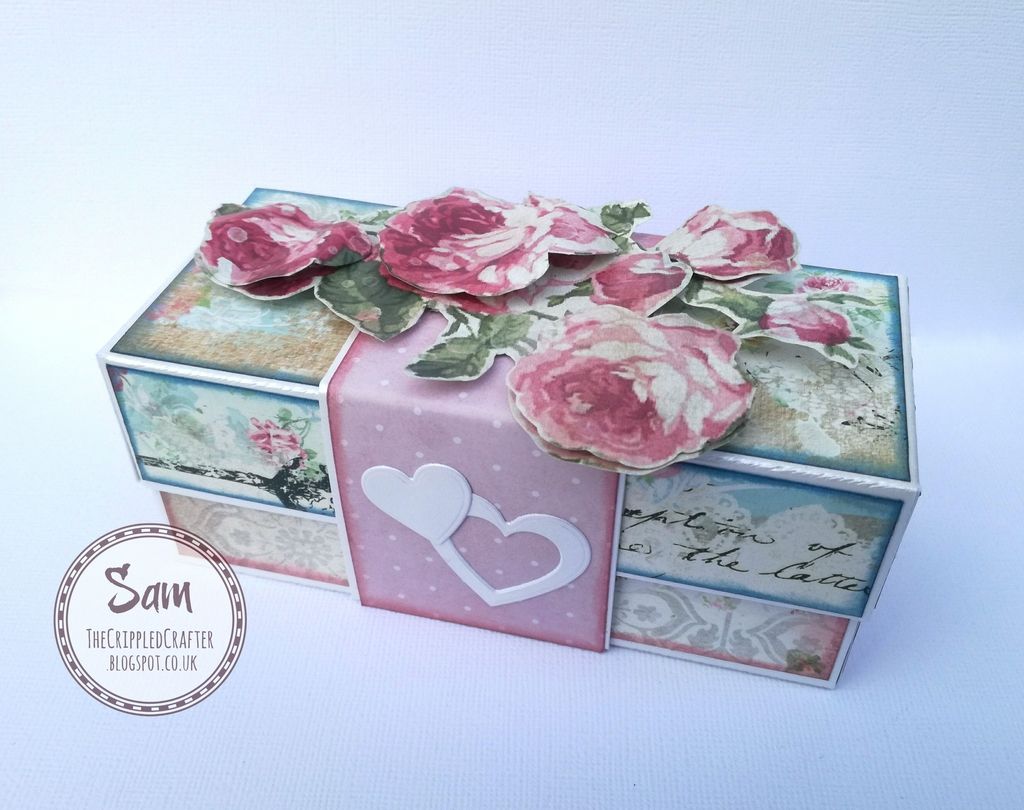
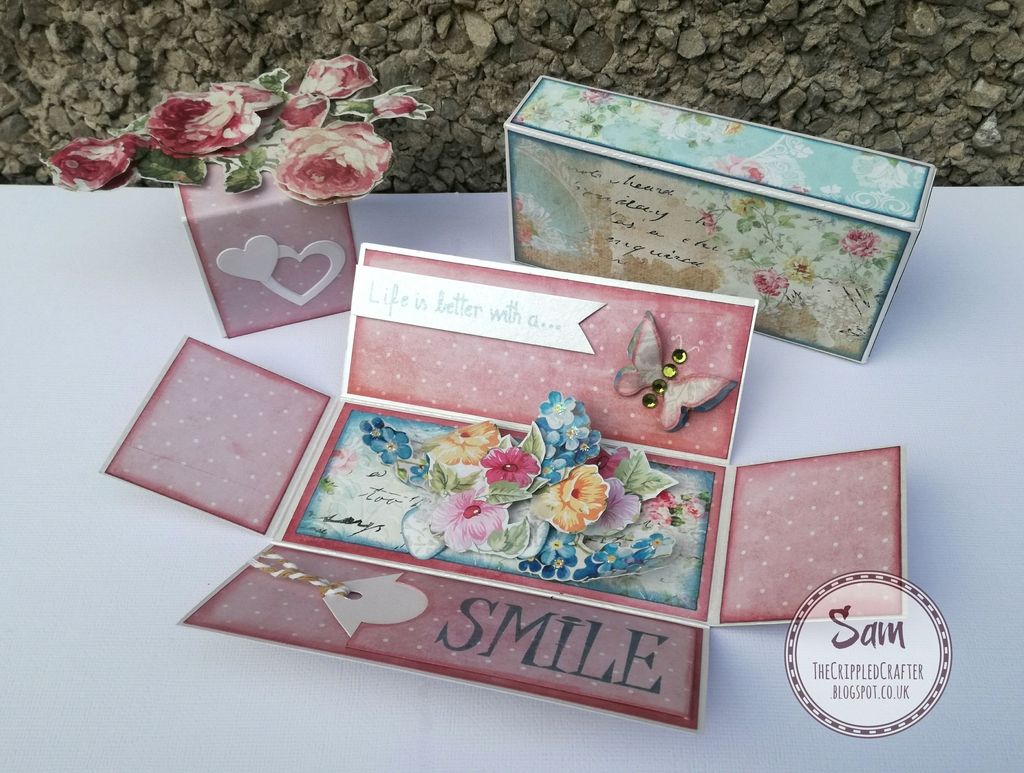
I was recently asked for the dimensions and instructions on how to make my exploding box card.  

So below you will find a YouTube tutorial (my first, be kind!) along with a downloadable PDF with a materials list and demensions.
       
Exploding Box Card TUTORIAL by Sam Lewis AKA The Crippled Crafter.
       
Have fun and please, be sure to share your box card with me!  My social media links are in the sidebar.

Exploding Box Card TUTORIAL by Sam Lewis AKA The Crippled Crafter.

         
YOUTUBE TUTORIAL
      
You’ll find the 3 part tutorial for this project here:
        

PDF TUTORIAL HANDOUT

 Click to view
     
                         
Thank you as always for popping by.
          
xxSAMxx
  

Saturday, 25 February 2017

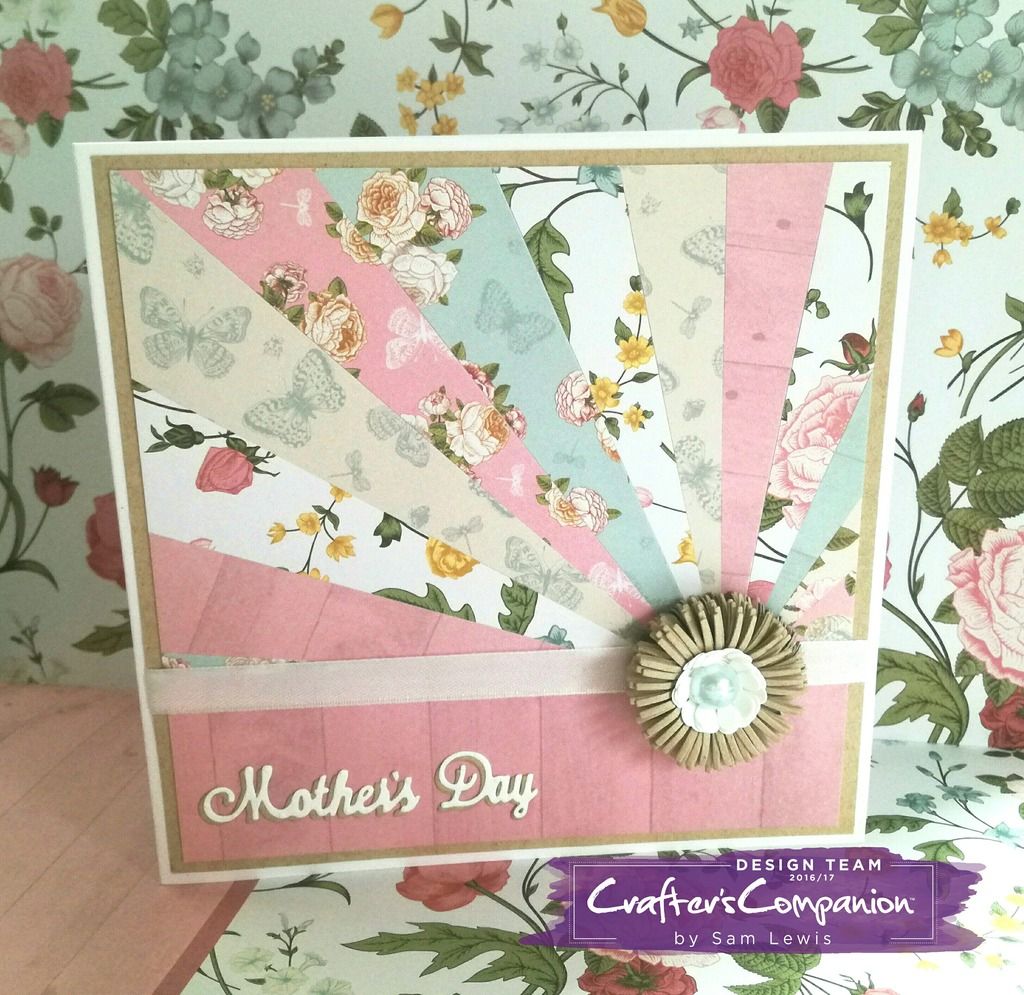
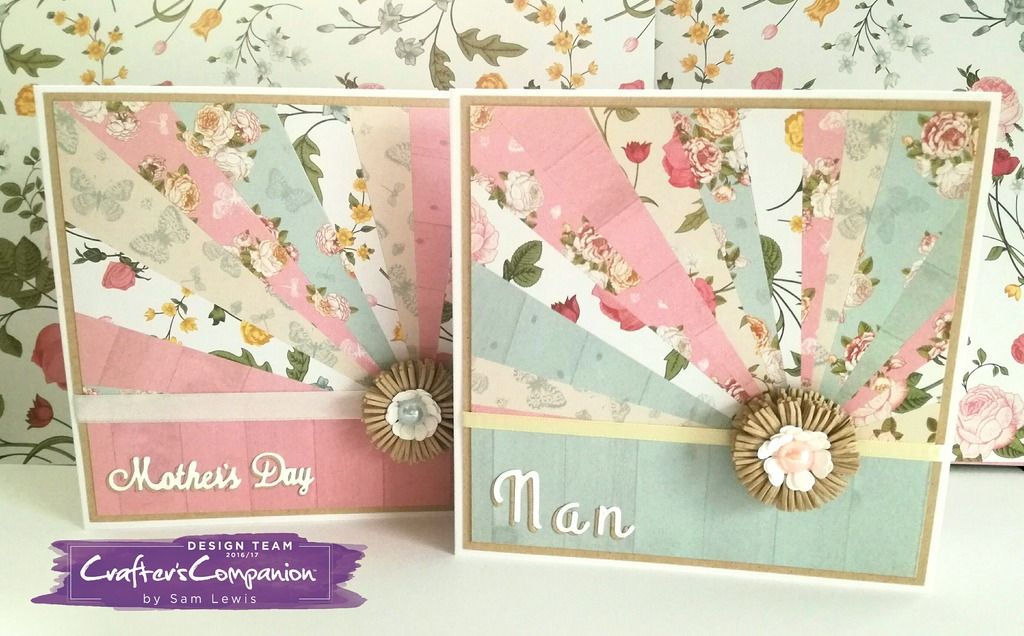
Mother's Day Card - TUTORIAL


Today I'd like to share a Mother's Day cards with you!
      
To see how I made this card, gather the supplies below, then head over to the Step-by-Step Tutorial on the Crafter's Companion Blog HERE
                       
Mother's Day Starburst Card TUTORIAL by Sam Lewis AKA The Crippled Crafter
      
I used the following materials:
                          
 ADHESIVES
Crafter’s Companion Extra Strong Permanent Tape Pen
Collall Tacky Glue 

                                
All products above available from CRAFTER'S COMPANION .

OTHER MATERIALS
                              
Ribbon
Flatback Pearls
                                                 
Mother's Day Starburst Card TUTORIAL by Sam Lewis AKA The Crippled Crafter
                                       
Thank you as always for popping by
       
xxSAMxx

Saturday, 4 February 2017

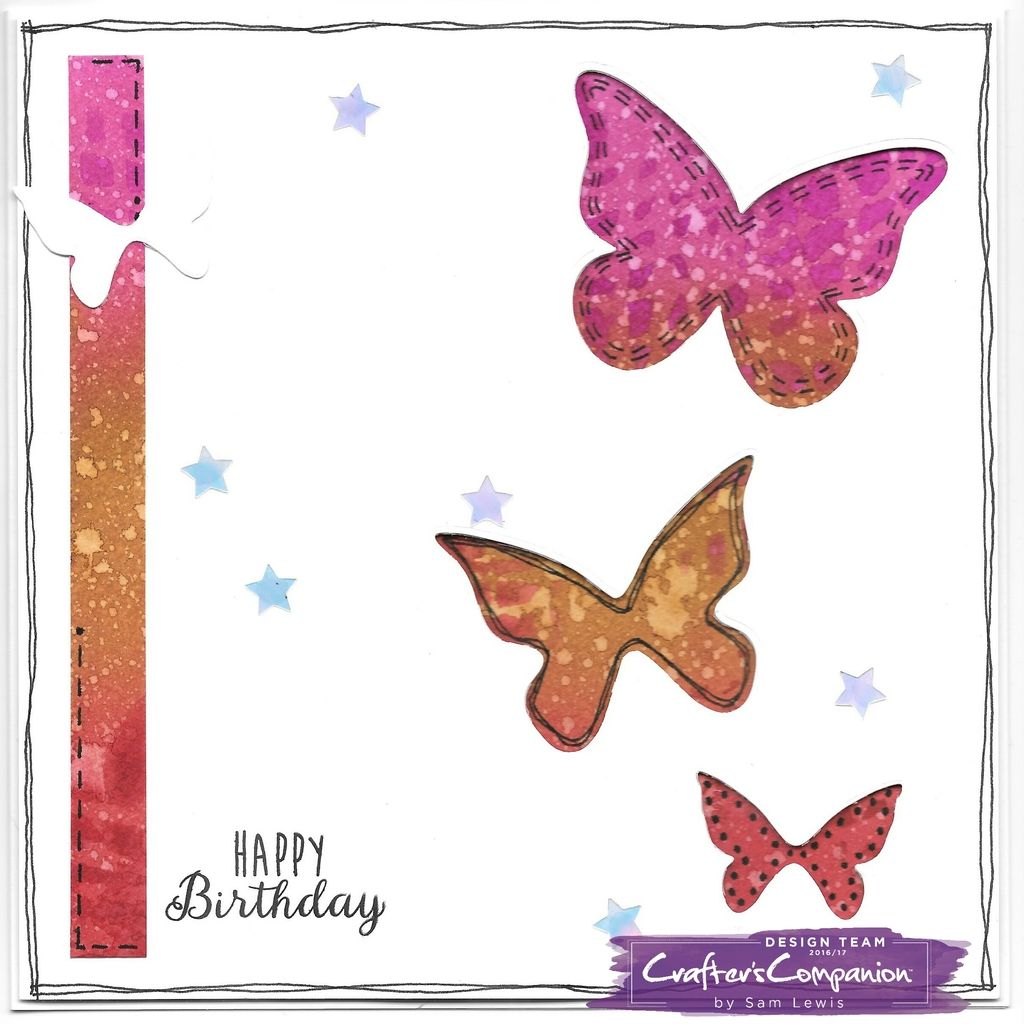
AQUATINT BACKGROUND TUTORIAL

Today I'd like to share a step by step TUTORIAL with you!
              
To see how I made this card, gather the supplies below, then head over to the Crafter's Companion Blog HERE
                         
Spectrum Noir Aquatint Tutorial by Sam Lewis AKA The Crippled Crafter.
                                   
I used the following materials:
      
INKS/MEDIUMS
Spectrum Noir Aquatints - Beautifully Grunge Set
               
PAPER/CARD
Sheena Douglass White Stamping Card
Crafter's Companion Watercolour Card
8x8 Card Blank

DIES
Signature Collection by Sara Davies - English Country Garden "Flutter Away" Die
            
STAMPS
Signature Collection by Sara Davies - English Country Garden - Beautiful Leaves
              
ADHESIVES
Foam Tape
Collall All-Purpose Glue
              
All products above available from CRAFTER'S COMPANION .

OTHER MATERIALS
Black Pen
          
                     
Thank you as always for popping by
       
xxSAMxx

Thursday, 12 January 2017

Autumn Morning Album - TUTORIAL 3/3 (Album Decoration)

       
Welcome back to Part 3, the FINAL part of THIS Mini Album Tutorial!
       
Today we will learn:
                
How to cover our pages with patterned paper
Some ideas for embellishing your pages
         
      Make sure to read to the very end of this post for a surprise treat!
                     
========================================
        
DECORATING THE PAGES

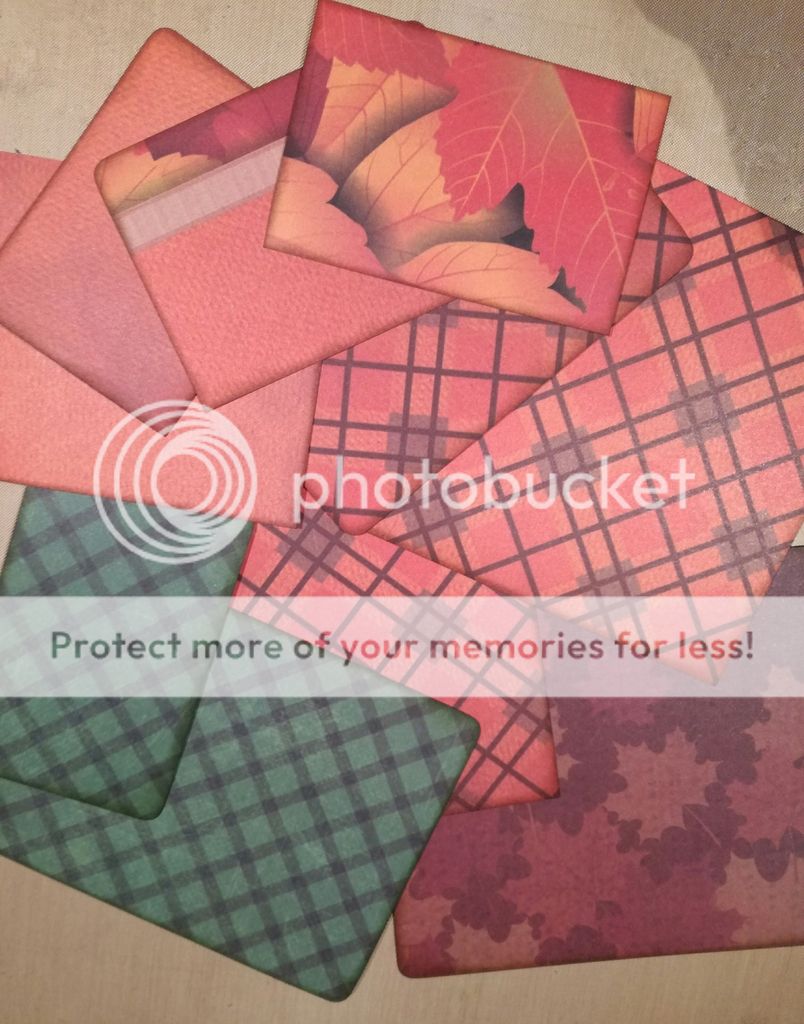
Autumn Morning 12X12 Paper Pad

For all 6 pages in the album you need:
   

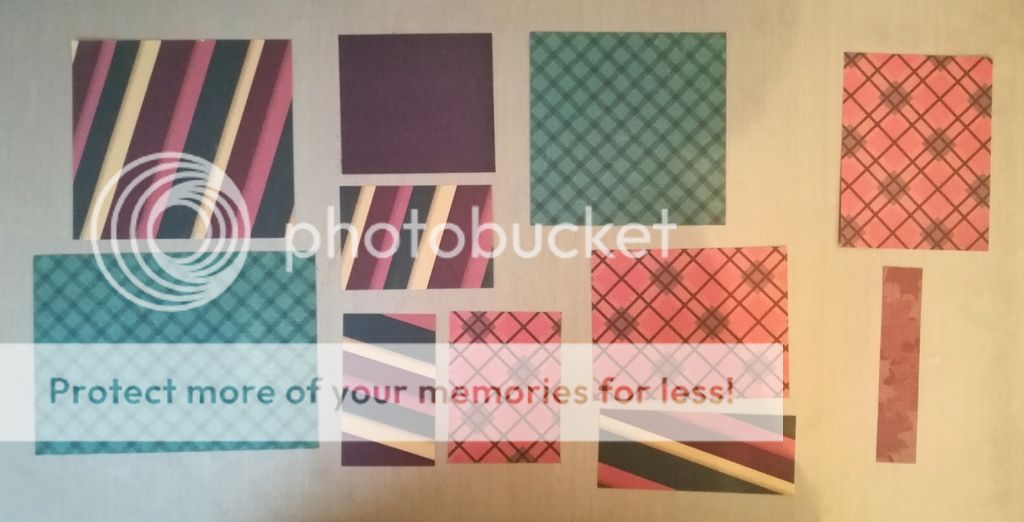
Just a selection of the cut pieces needed!
      
Piece 21..... CUT 6 x 5” X 5” (Front of page, inside large pocket)
      
Piece 22..... CUT 3 x 5” X 3⅞” (Front of page, front of large pocket on belly band pages)
   
Piece 23….. CUT 3 x 3½” X 3⅞” (Front of page, front of large pocket on small pocket pages)
    
Piece 24….. CUT 6 x 5” X 7” (Back of page)
    
Piece 25….. CUT 12 x 5” X 5½” (Front and back of the fold out flap)
          
Piece 26..... CUT 3 x 2⅝” X 3⅞” (Front of page, small pocket)
      
       Piece 27..... CUT 3 x 5” X 1” (Front of page, belly band)
        
Piece 28..... CUT 6 x 3⅞” X 5” (Tag, piece 2)
    
Piece 29..... CUT 12 x 3⅞” X 2½” (Folding tag, piece 6)
    
Piece 30..... CUT 6 x 3⅞” X 2⅞” (Folding tag, piece 6)
    
Piece 31..... CUT 6 x 2 ” X 5” (Tag, piece 8)
    

========================================
   
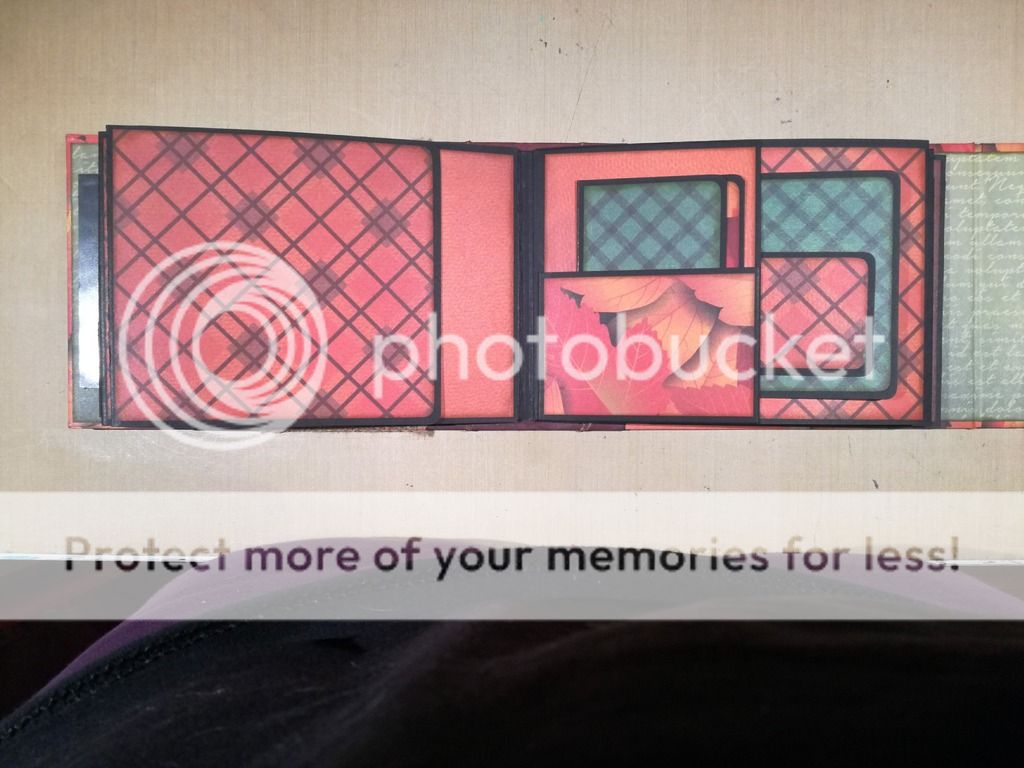
PAGE DECORATION
       
A.... Ink all the long edges. 

      
B.... Attach all the pieces to the pages as shown. 

       
C.... Repeat steps A and B for the tags.

       
========================================

EMBELLISHING YOUR ALBUM
       

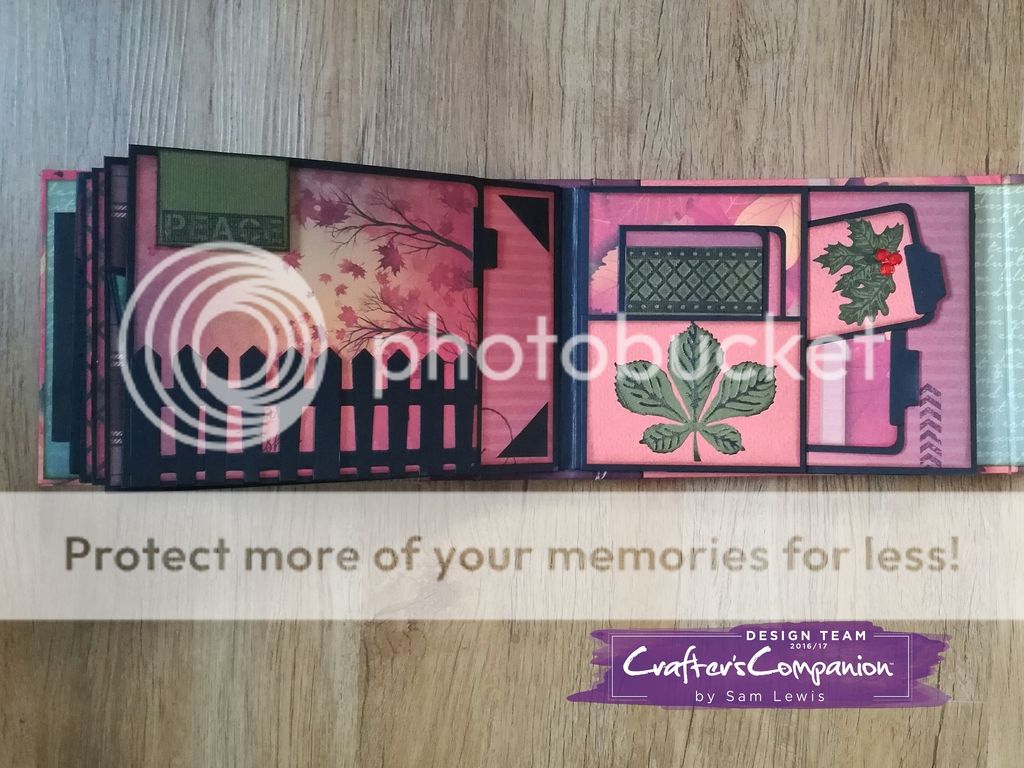
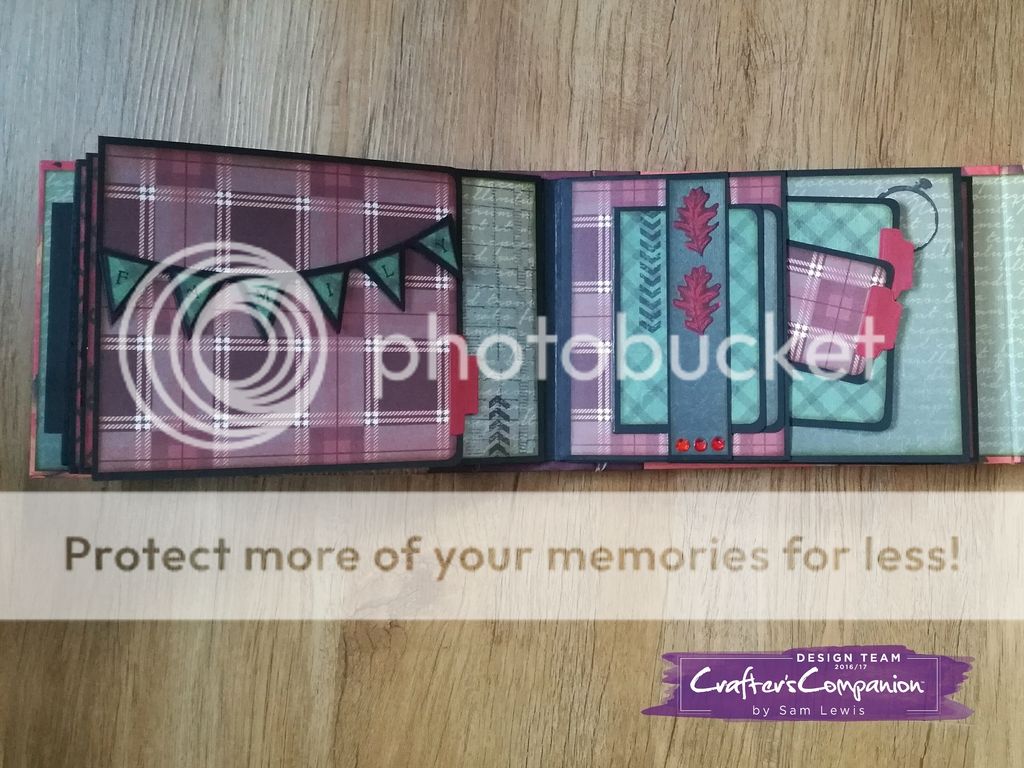
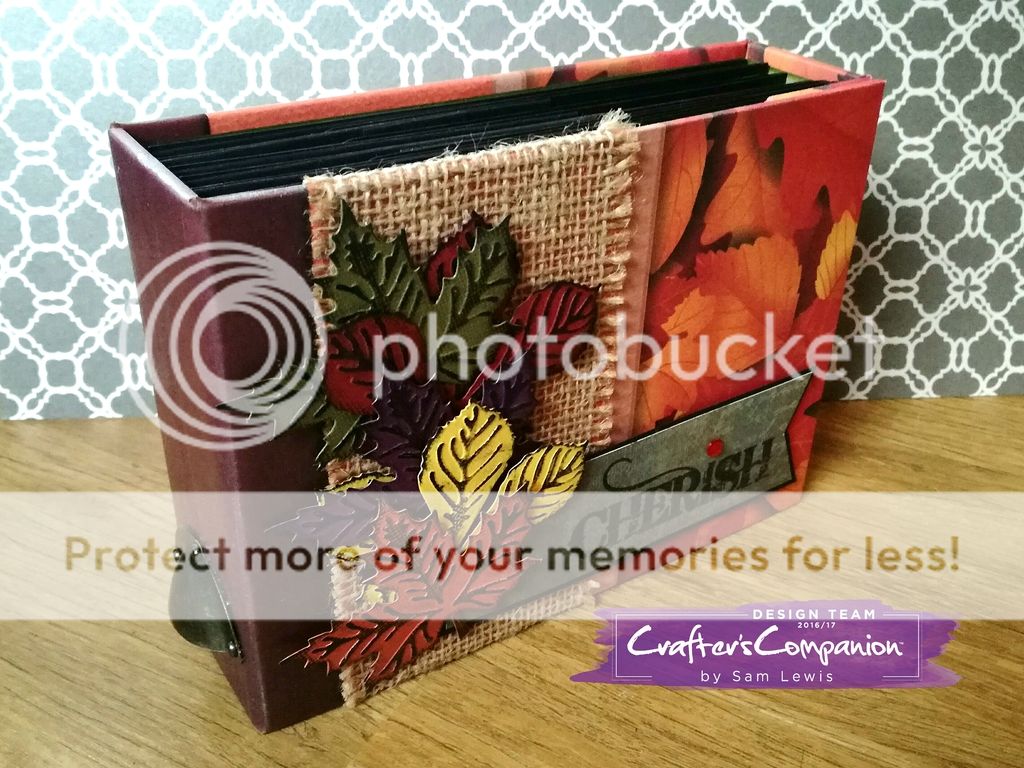
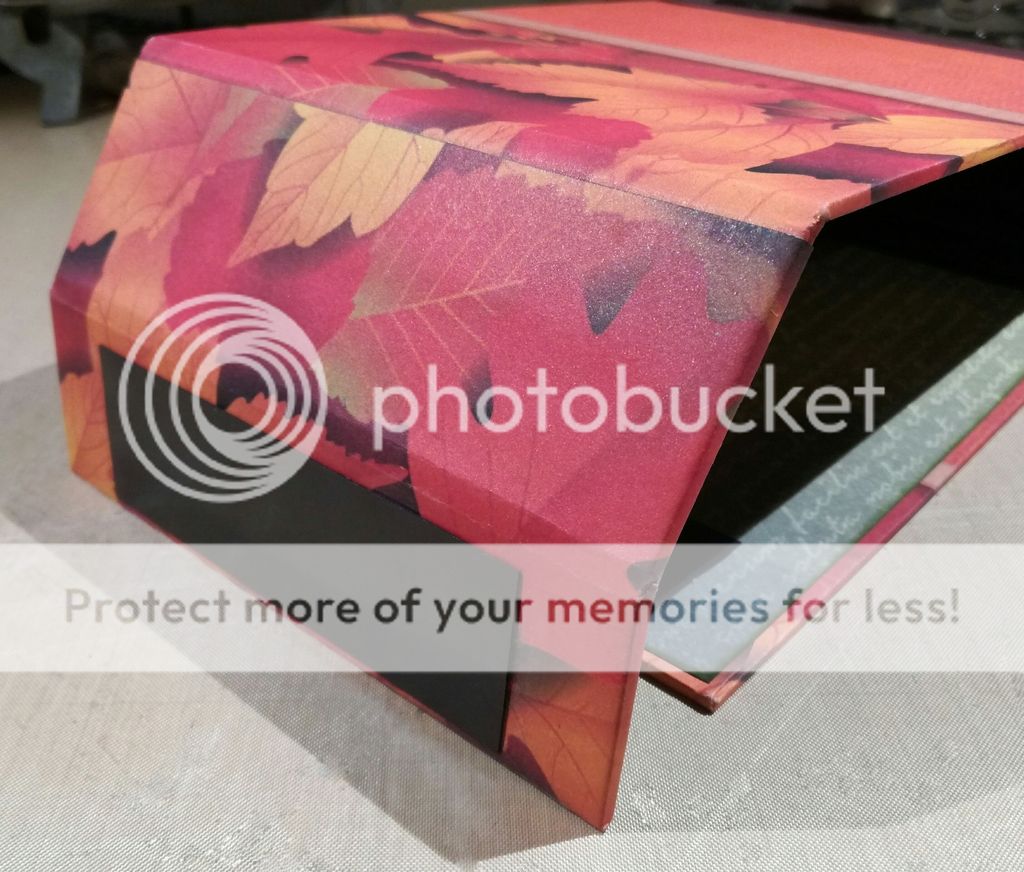
I feel that decorating the cover and pages of a mini album should be a personal thing, so I'm not going to give you a step by step of each page.  Instead, I'm going to share with you ideas and tips to make your album unique and personal to you.

   
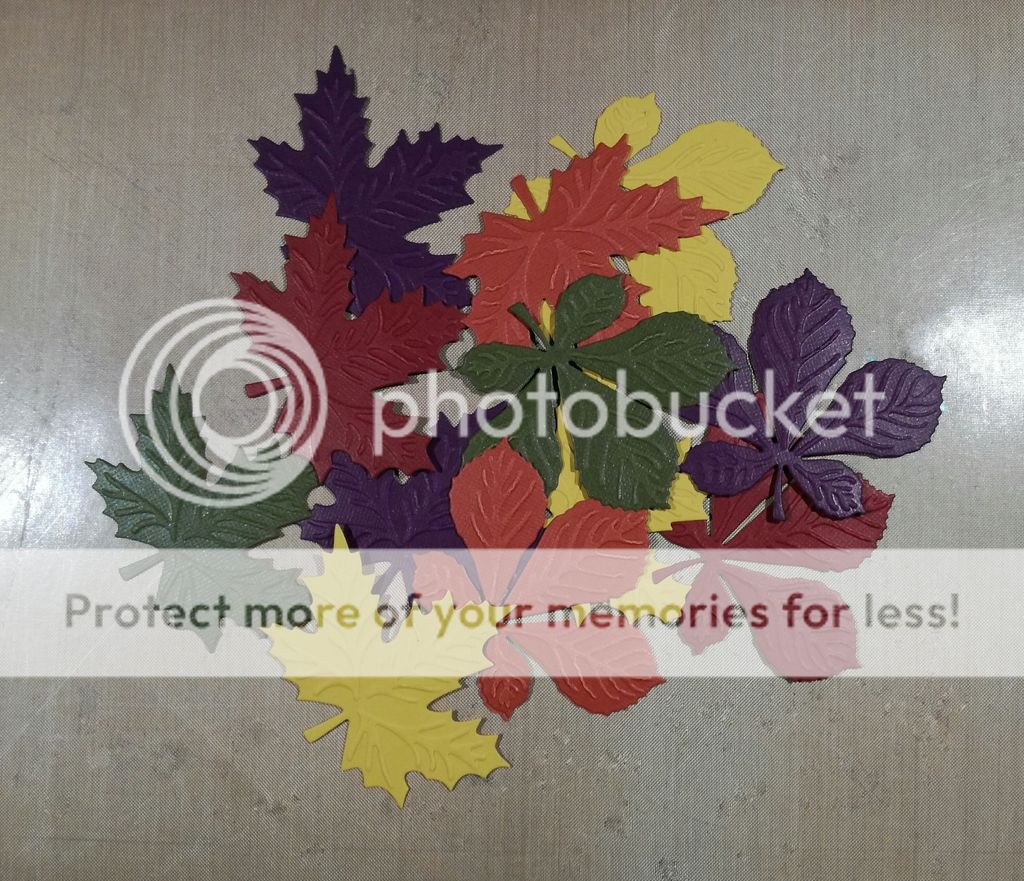
1.... Use your dies to embellish the pages of your album!
    
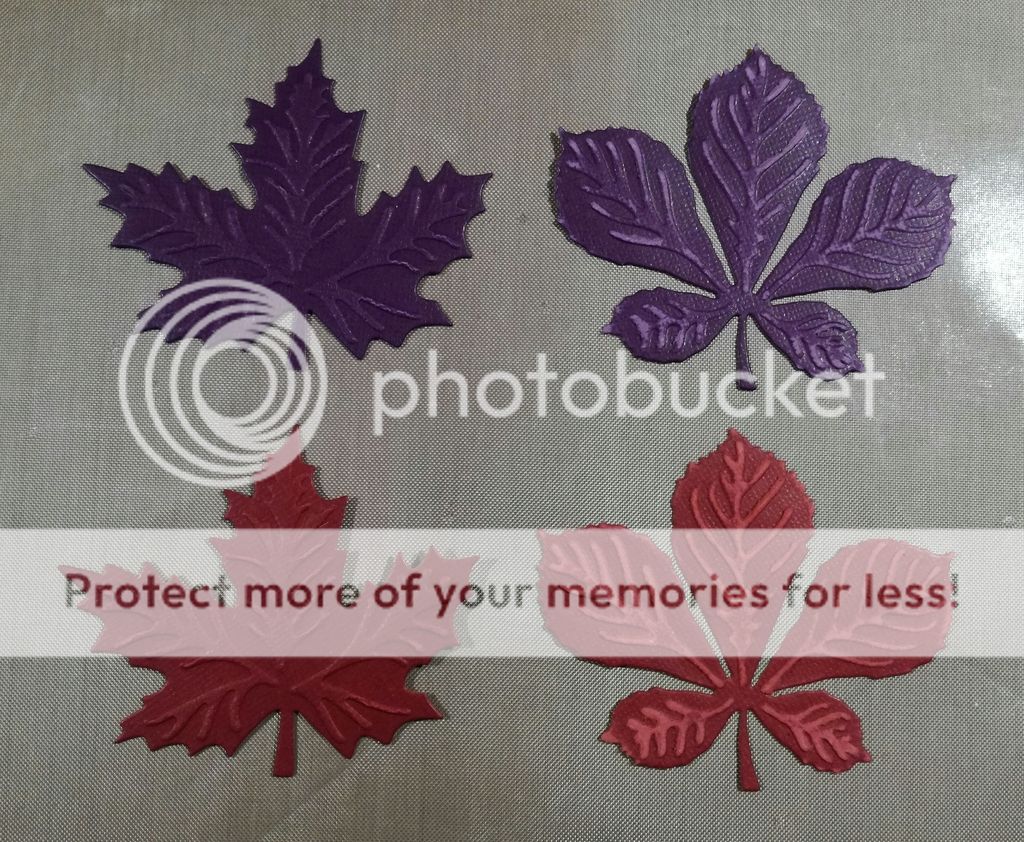
2.... If your dies allow, make use of the embossed detail!  Sand it back or ink it up!
   
3.... Some dies have matching stamps which really give wonderful detail to the die cuts.
     
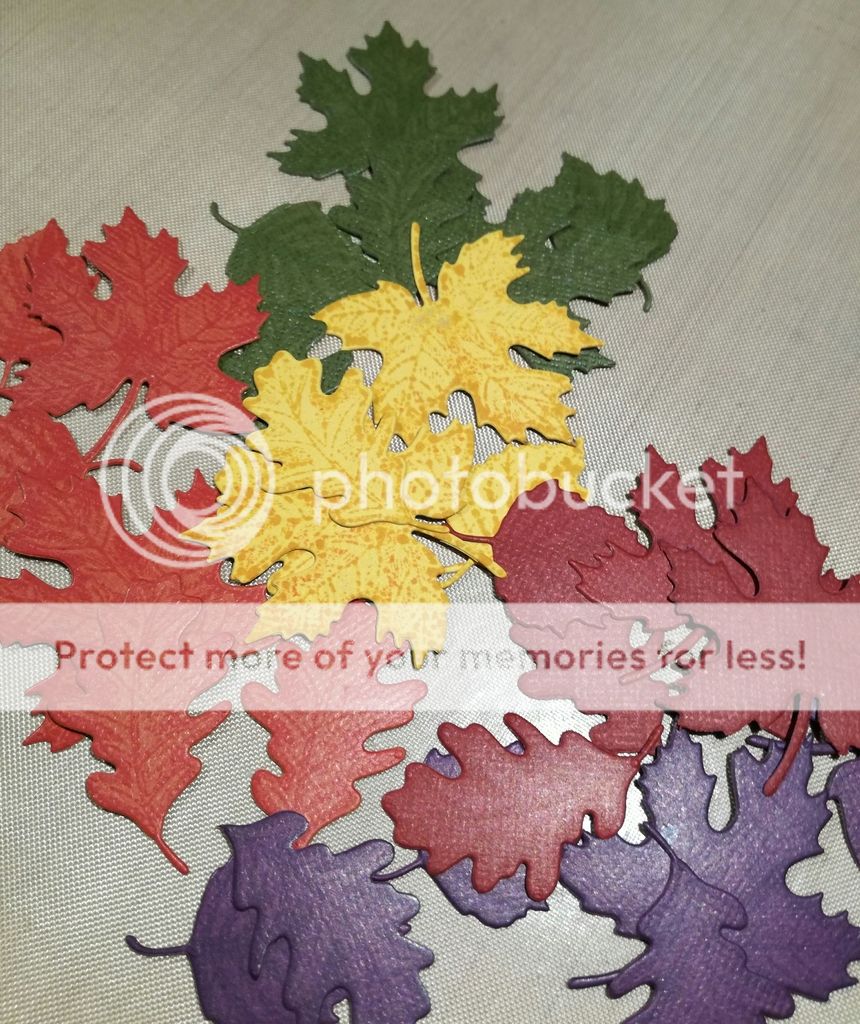
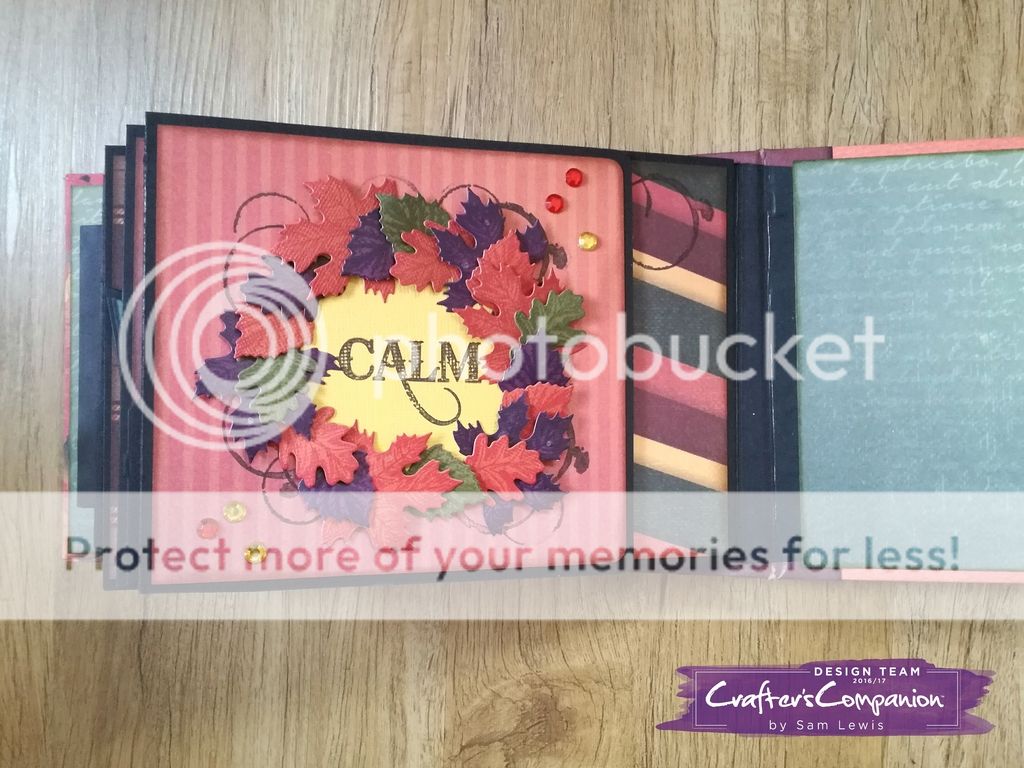
4.... Create focal pieces throughout your album, like this leaf wreath using the die cuts above!
     
5.... Keep each double page spread to one colour scheme.
    

6.... Of course you don't just have to use die cuts! 
Use stamping, and other materials such as the hessian on this cover. Anything is possible!

                         
For more ideas check out my YouTube Video where I show off each page in full!
       
========================================
          
Thank you for coming back for the final part of this tutorial!  I've had great fun.

Now time to see how many people have stayed with me until the end! 
     
 I am going to do a GIVEAWAY!  If anyone would like to be in with a chance of winning the album made during this tutorial, then first leave a comment on this blog post before heading to this Facebook Post and following the instructions there.
     
xxSAMxx

Wednesday, 11 January 2017

Autumn Morning Album - TUTORIAL 2/3 (Cover Construction)

        
Thank you for joining me again today for 
Part 2 of THIS Mini Album Tutorial.
            
In this part we focus on:

Constructing the Cover
Gluing in the Hinge
Inserting the Pages
     
Part 1 of the tutorial (Page & Hinge Construction) can be found HERE.
            
==================================
                 
COVER
 
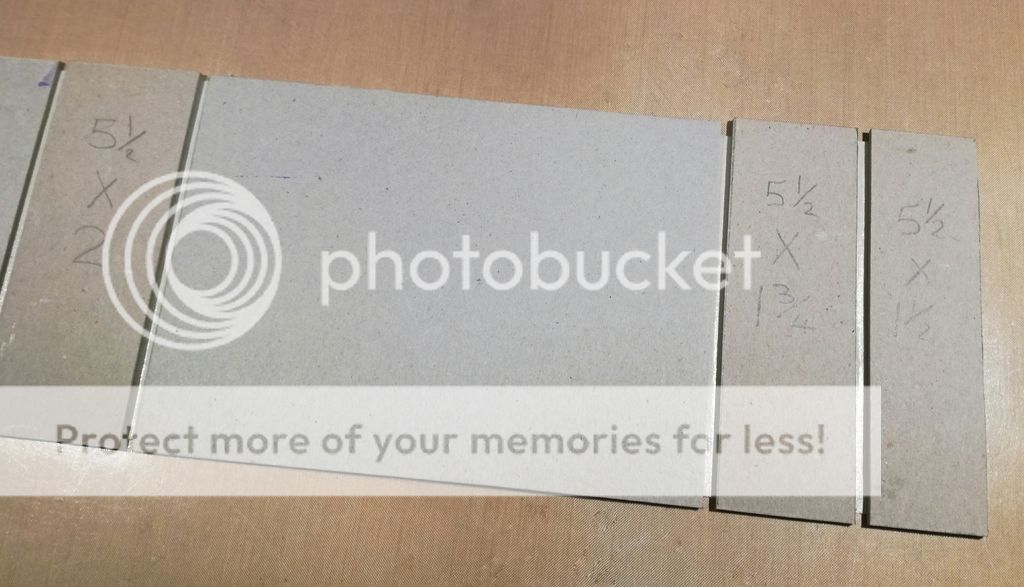
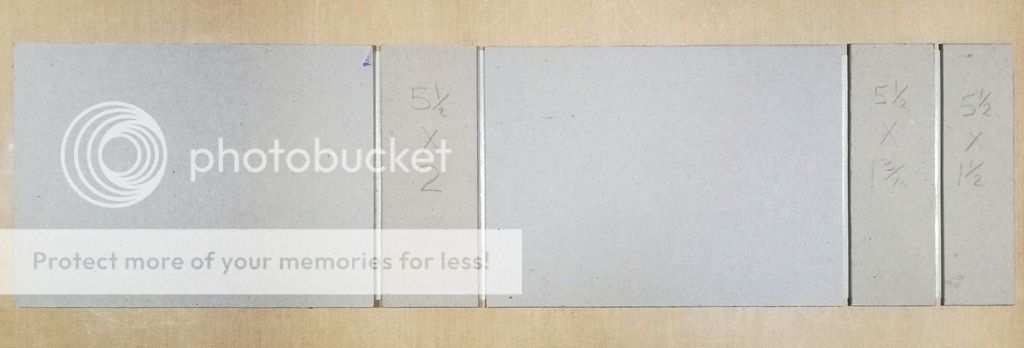
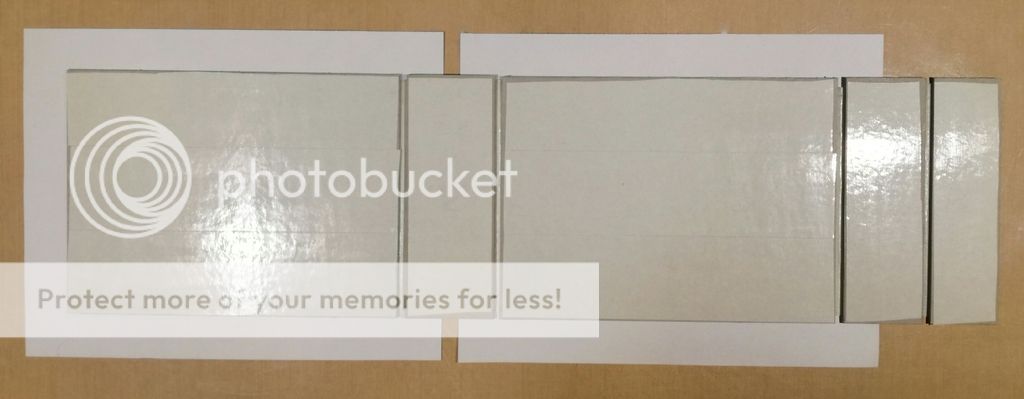
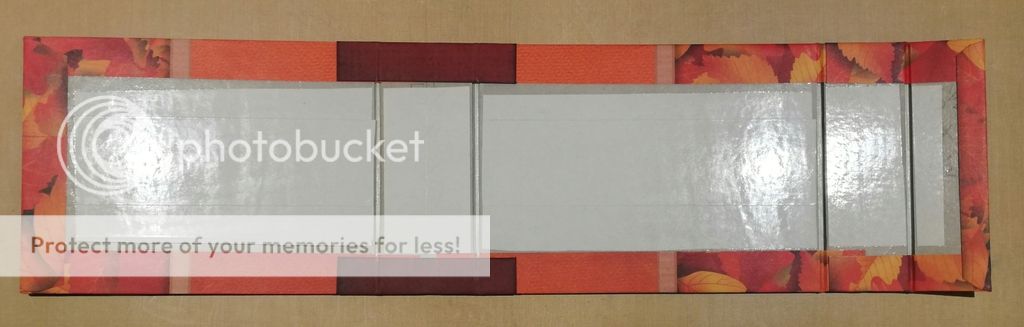
From 2 A4 sheets of Greyboard cut the following:
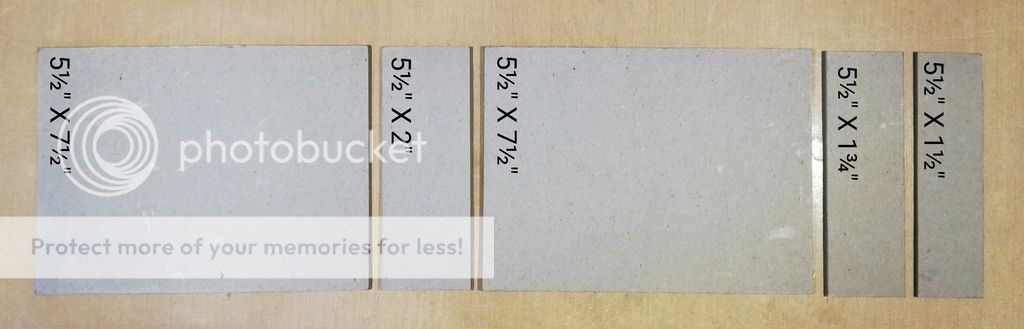


Piece 11..... CUT 2 x 5½” X 7½”
              
Piece 12..... CUT 1 x 5½” X 2”
                 
Piece 13..... CUT 1 x 5½” X 1¾”
                    
Piece 14..... CUT 1 x 5½” X 1½”
         

==================================
            
COVER CONSTRUCTION – Part 1
                     
Glue or tape together 2 scrap pieces of greyboard to use as a spacer. 

                  
Use the spacer to ensure an even gap the width of 2 pieces of greyboard, when attaching the cover pieces together.
                     
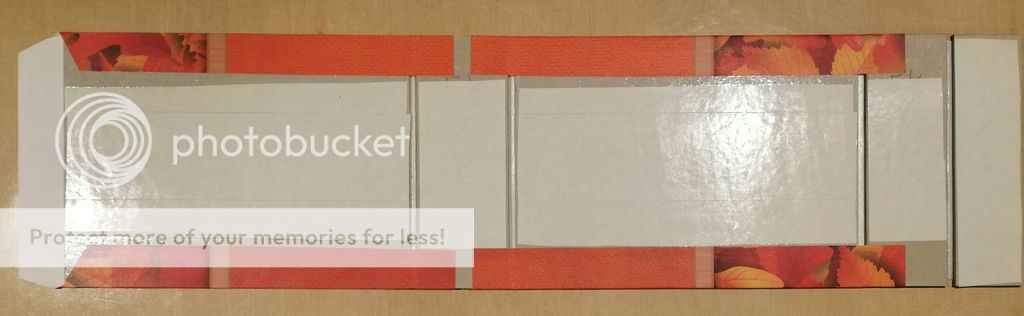
Use a wide masking tape to attach the cover pieces together and burnish the tape to each piece well.
        

A.... Affix masking tape to a short ends of one piece 11.
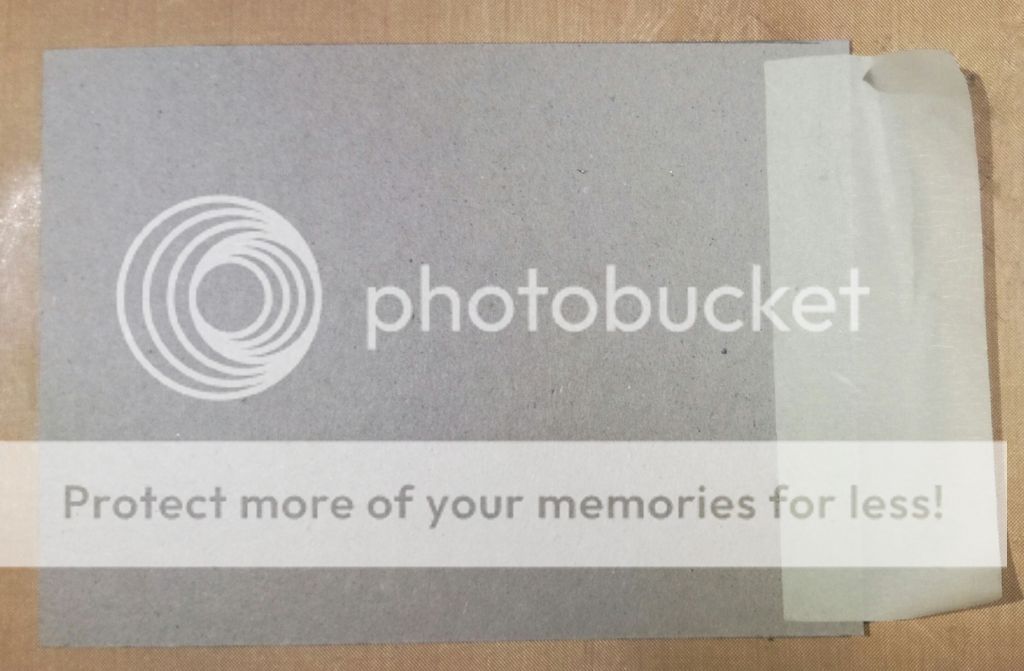
        
B.... Attach piece 12 to piece 11. 
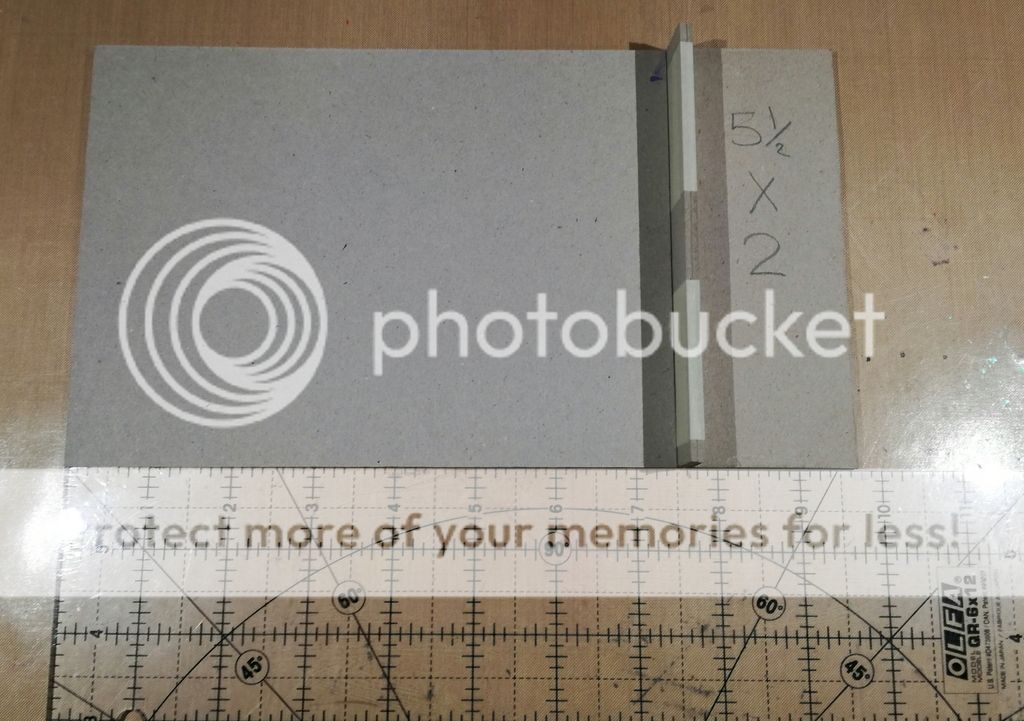


C.... Affix masking tape to piece 12.
    
D.... Attach the second piece 11 to piece 12.
    
E.... Affix masking tape to piece 11.
    
F.... Attach piece 13 to piece 11.
     
G.... Affix masking tape to piece 13.
      
H.... Attach piece 14 to piece 13. 


==================================
               
COVER CONSTRUCTION – Part 2
      

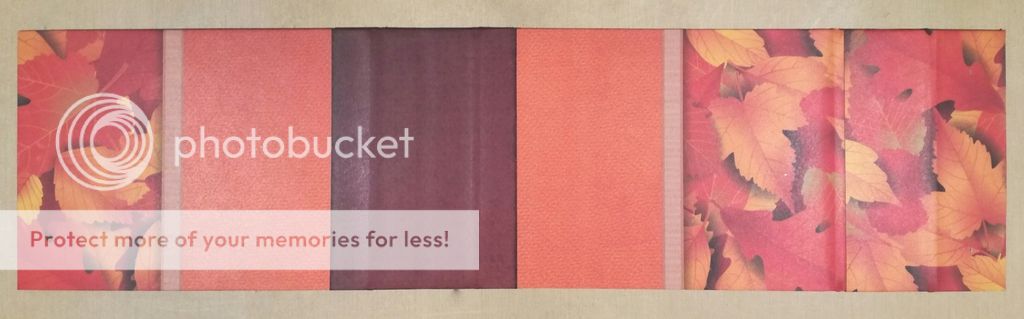
Using Autumn Morning 12X12 Paper Pad (5 sheets)


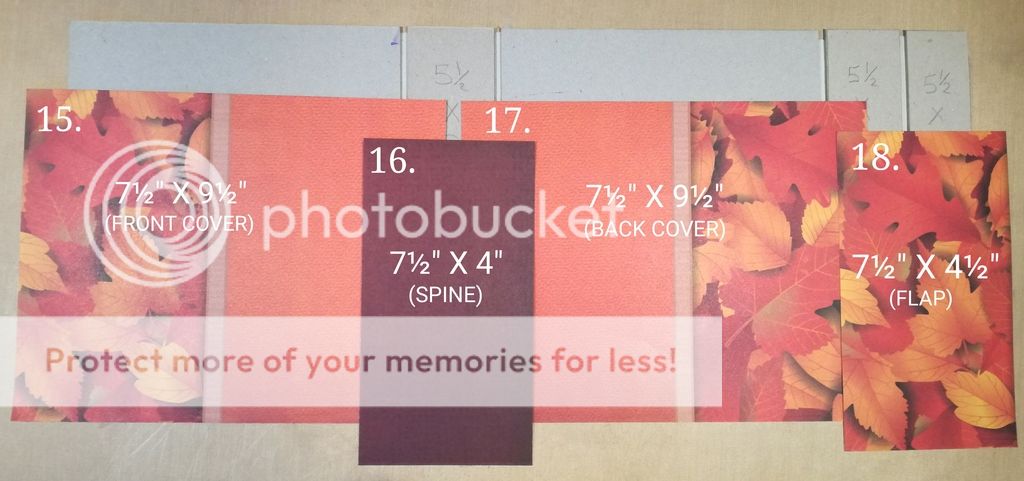
Piece 15..... CUT 1 x 7½” X 9½” (FRONT COVER) (1 Sheet)
        
Piece 16..... CUT 1 x 7½” X 4” (SPINE) (1 Sheet)
                     
Piece 17..... CUT 1 x 7½” X 9½” (BACK COVER) (1 Sheet)
                        
Piece 18..... CUT 1 x 7½” X 4½” (FLAP) (1 Sheet)


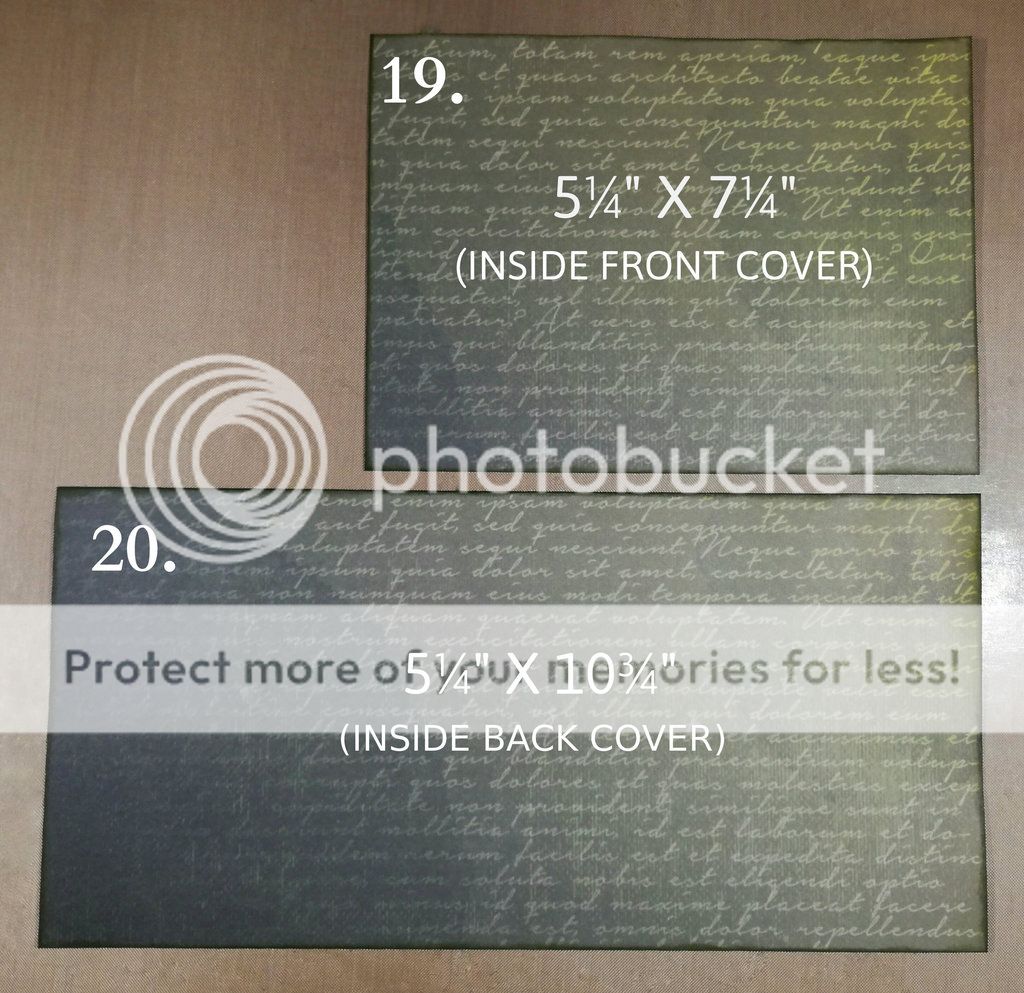
Piece 19….. CUT 1 x 5¼” X 7¼” (INSIDE FRONT COVER) (½ Sheet)
                
Piece 20….. CUT 1 x 5¼” X 10¾” (INSIDE BACK COVER) (½ Sheet)
           
==================================
         
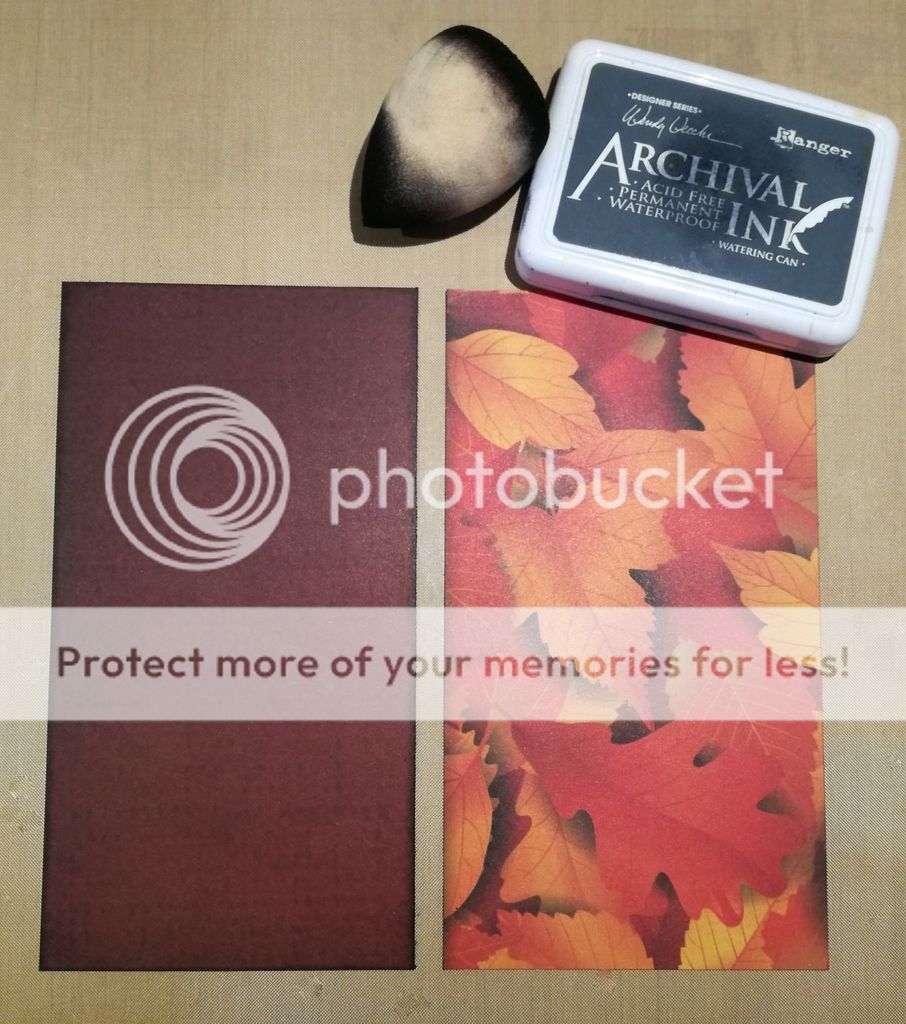
A.... Using Archival or Distress Ink, ink the long edges of piece 16, one long edge of piece 18 and all the edges of pieces 19 and 20. 

    
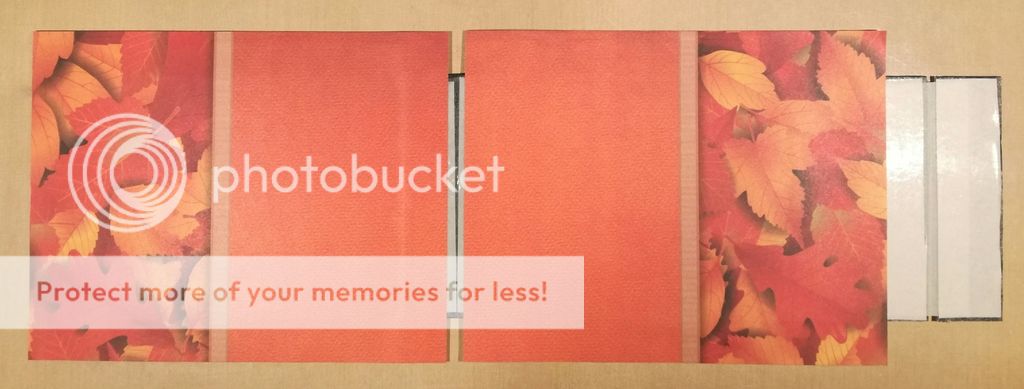
B.... Affix wide masking tape to both sides of the greyboard cover.
    
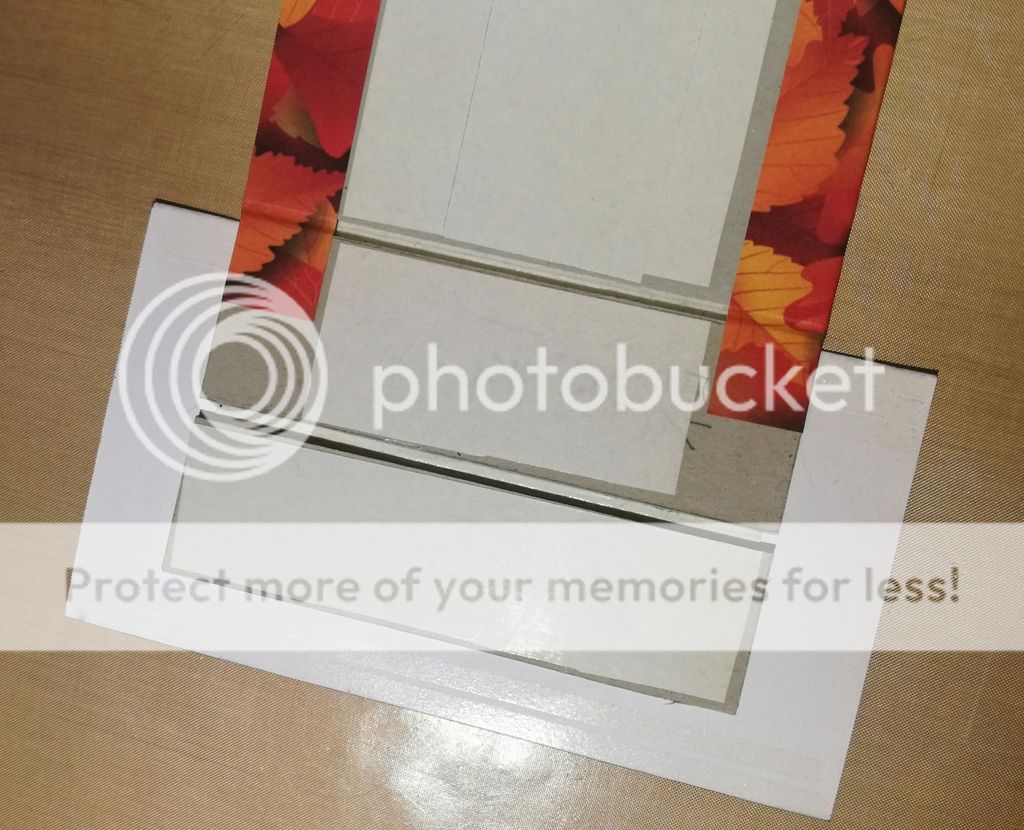
C.... Attach pieces 15 and 17 to the greyboard cover as shown, making sure the pieces are the right way up. 


D.... Cut the corners out from the end overlapping piece (Mitre the corners). Stop about 3mm from the corner. Don’t cut too close to the corner! 

    
E.... Fold over the long edges and attach to the other side of the album. Use your bone folder to burnish the creases as you go. 

       
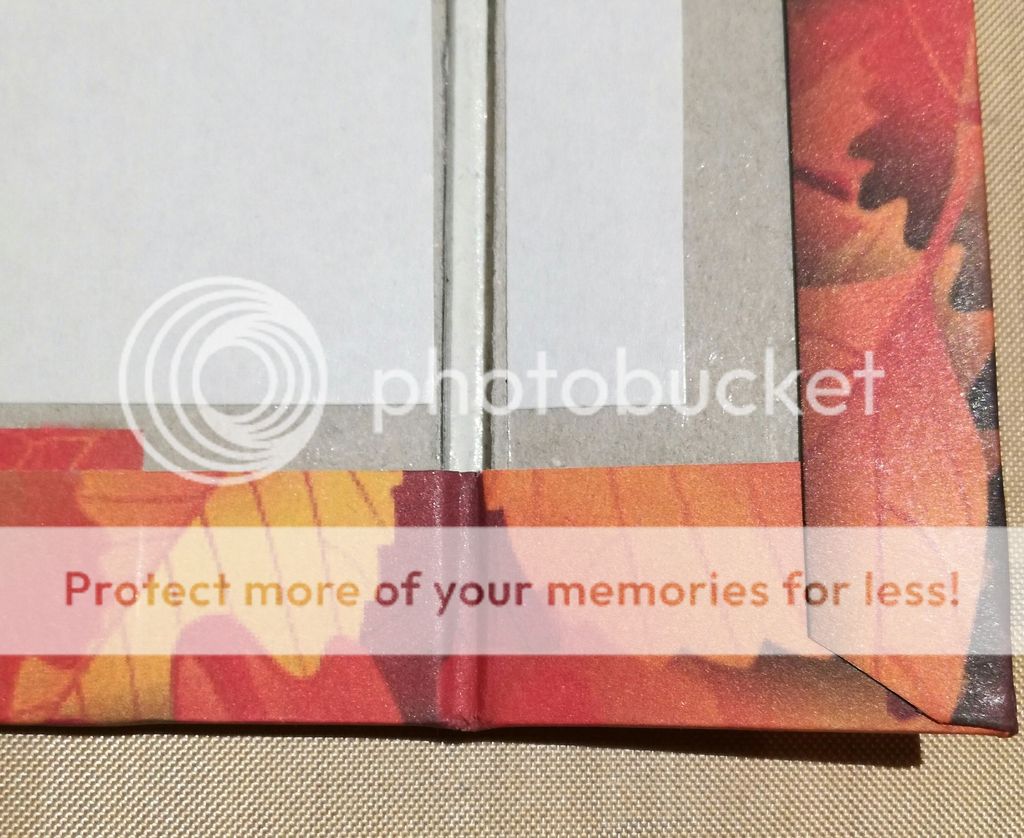
F.... Using your bone folder, GENTLY AND GRADUALLY ease the corner of the paper around the greyboard as shown. Repeat for the other corner.
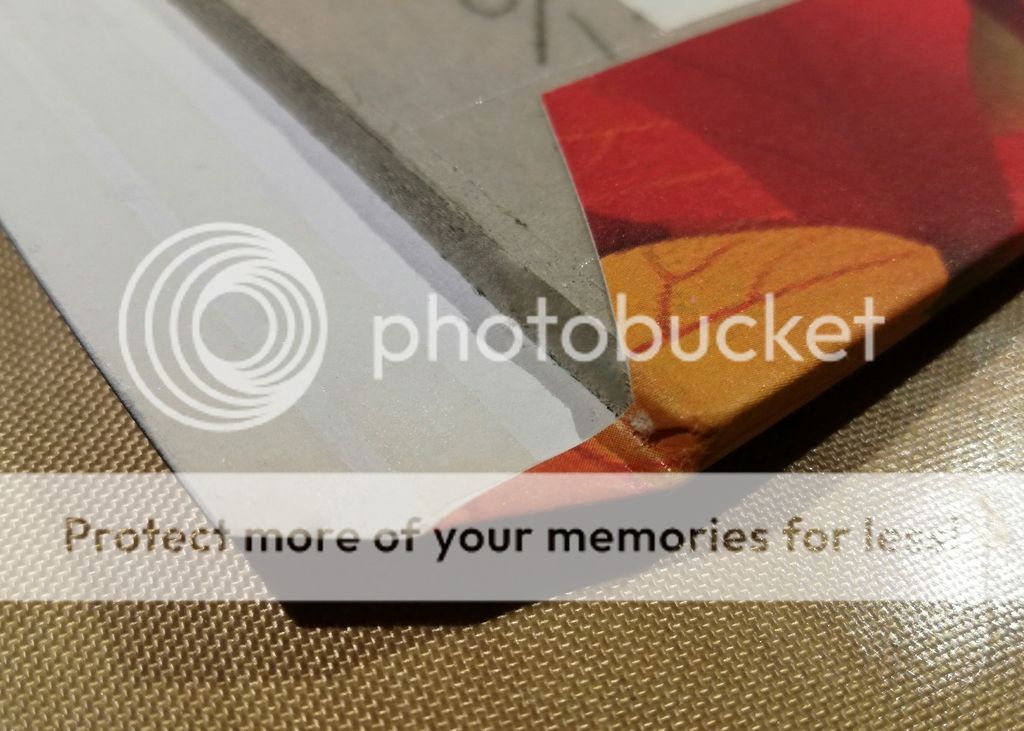
  
         
G.... Fold this short edge and attach to the other side of the album, again using the bone folder to ensure a crisp neat edge. 
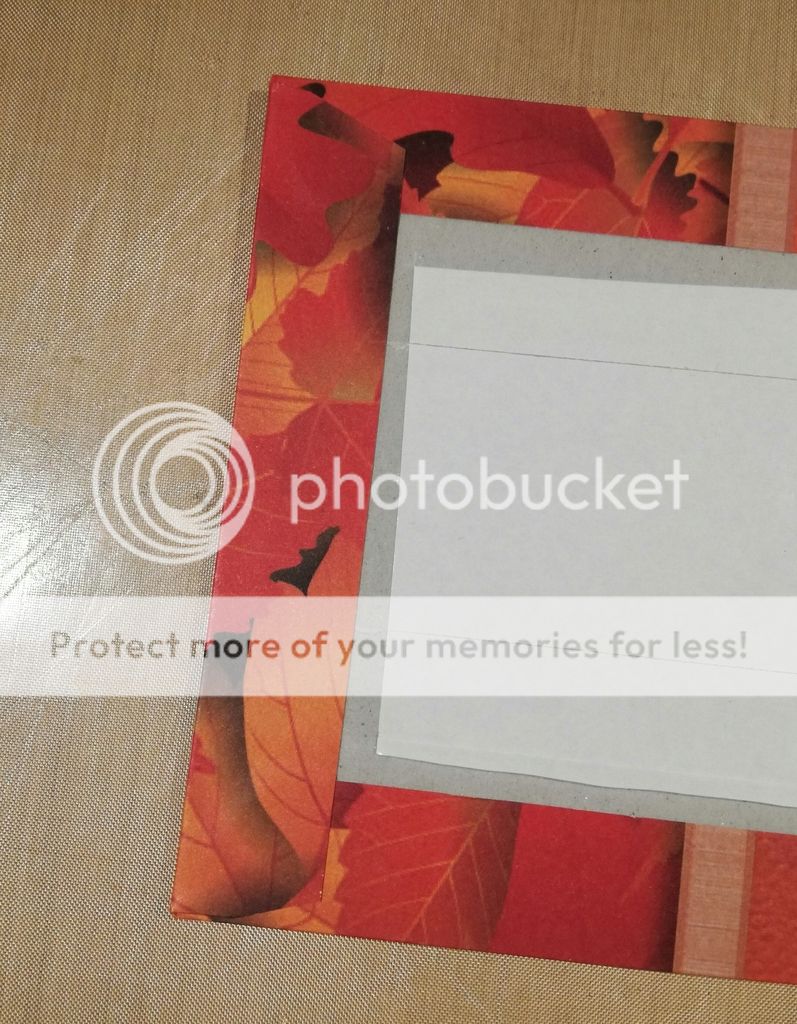
  
        
H.... Repeat steps C to G above to attach piece 18 to the other end of the cover. 


I.... Using your bone folder, GENTLY AND GRADUALLY score along the joints on the inside of the cover.
( TIP: Don’t over score, you are simply aiming to show the paper that you want it to fold into the joints when opening and closing the cover. )

              
J.... Repeat steps C and E to attach piece 16 over the spine area of the cover. Mark the centre on the reverse of piece 16 and the centre of the spine and line up these marks to ensure the spine cover is centred correctly. 


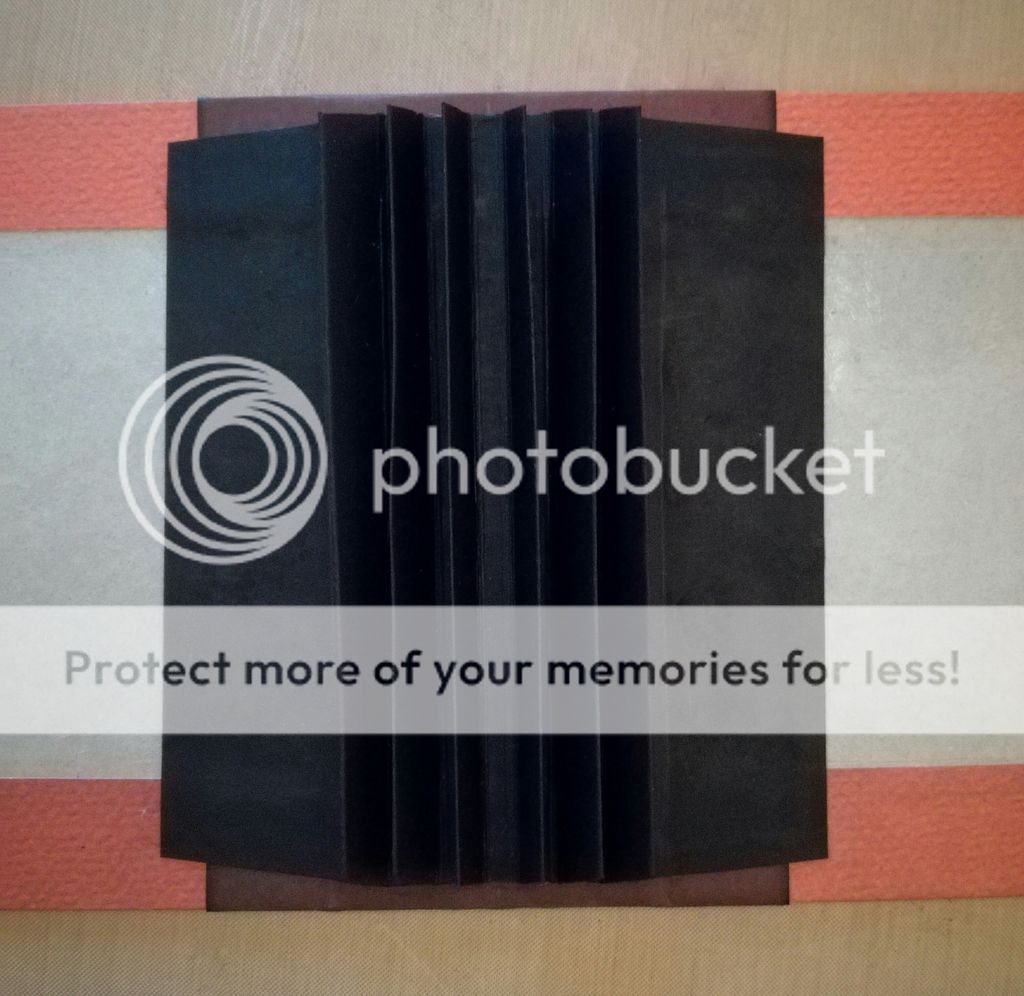
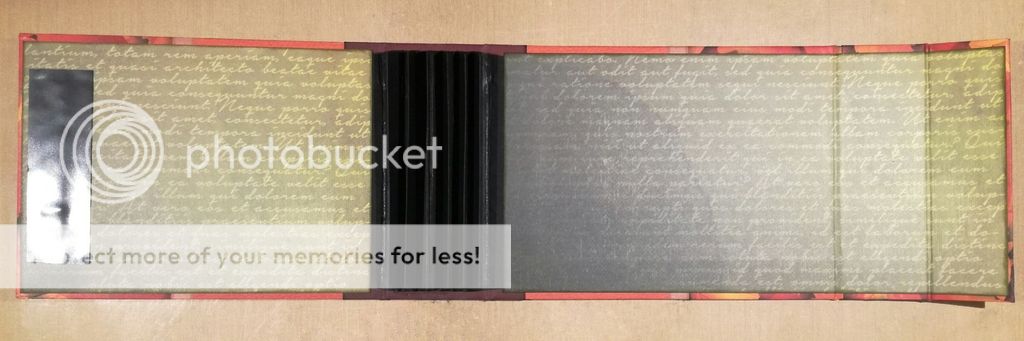
K.... Using the same method of marking the centre, attach to hinge piece to inside of the cover with strong double sided tape or wet glue. 

    
L.... Attach pieces 19 and 20 with double sided tape. 
                  
M.... Repeat step I to score the paper into the flap joints.
    
N.... Attach a magnet strip to the outside of the flap with wet glue and allow to fully dry before continuing. 

    
O.... Lay another magnet strip face down on top of the first and apply wet glue to it.
      
P.... Close the cover of the album over the glue, lining it up as you want it to close.
      
Q.... Gently prise this magnet off the first magnet, leaving it on the inside of the front cover. Allow to dry fully. 

        Optional: Apply 2 or 3 light coats of Mod Podge Matte to the spine. This makes the spine a little more hard wearing and adds a more luxurious look to the album. 
        
There’ll be plenty of paper left from these sheets which can be used to decorate the pages later.
           

==================================
          
INSERTING THE PAGES
         
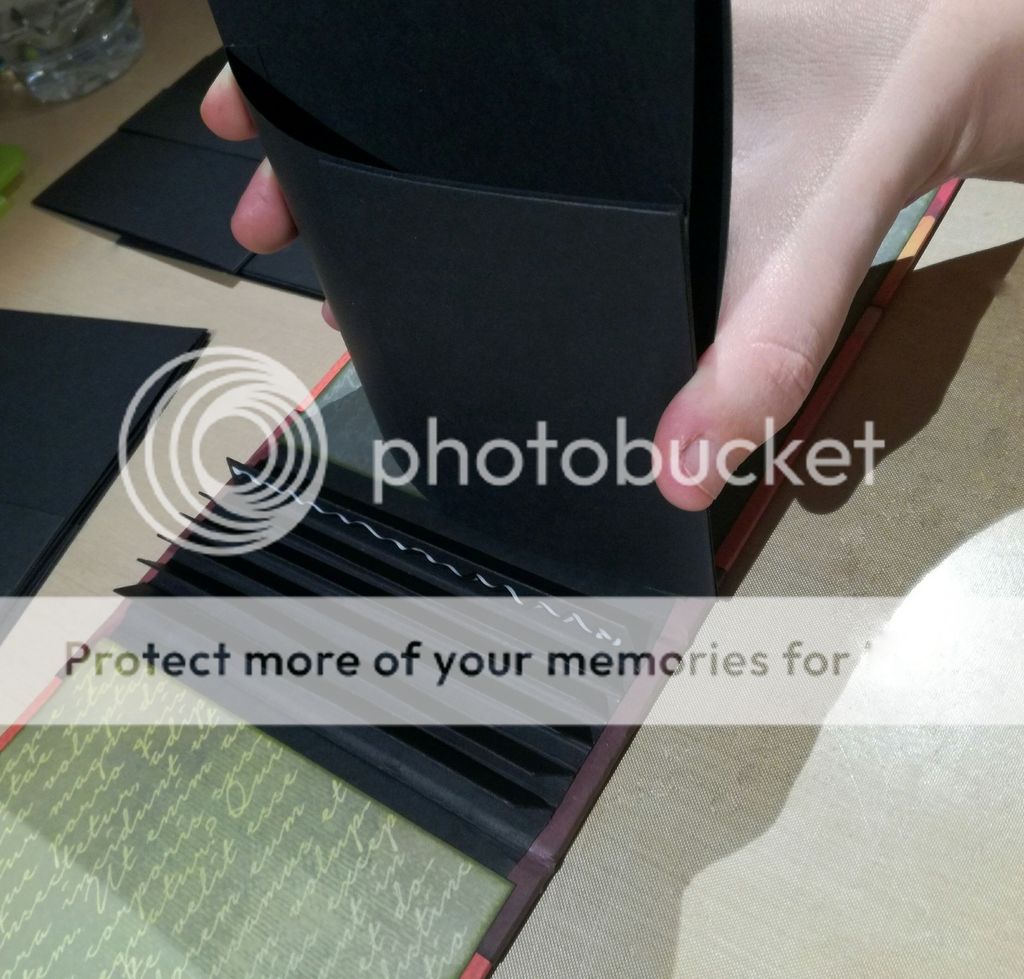
A.... Apply wet glue to both sides of the first hinge piece. 

     
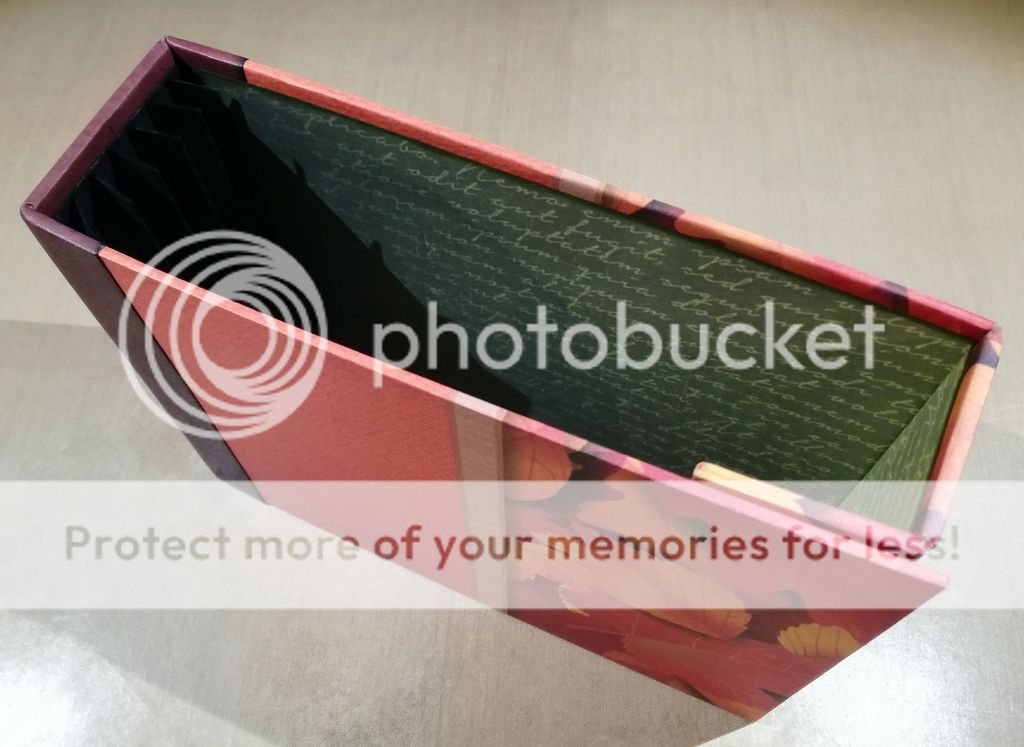
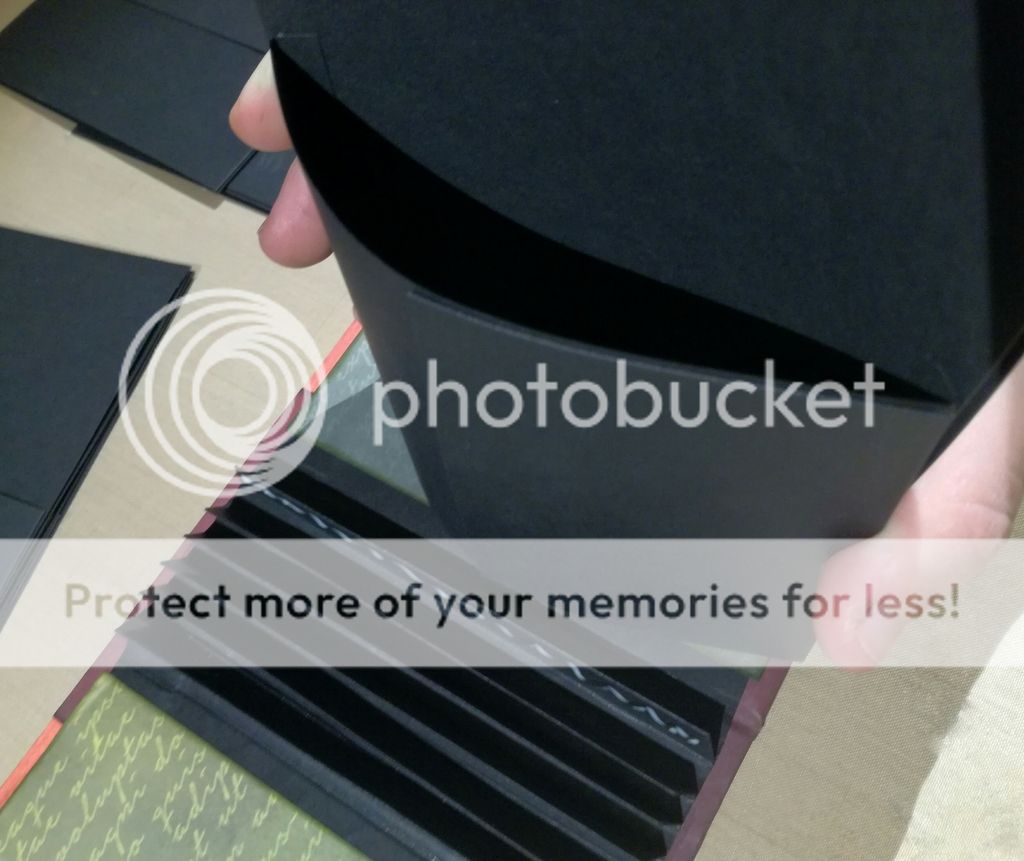
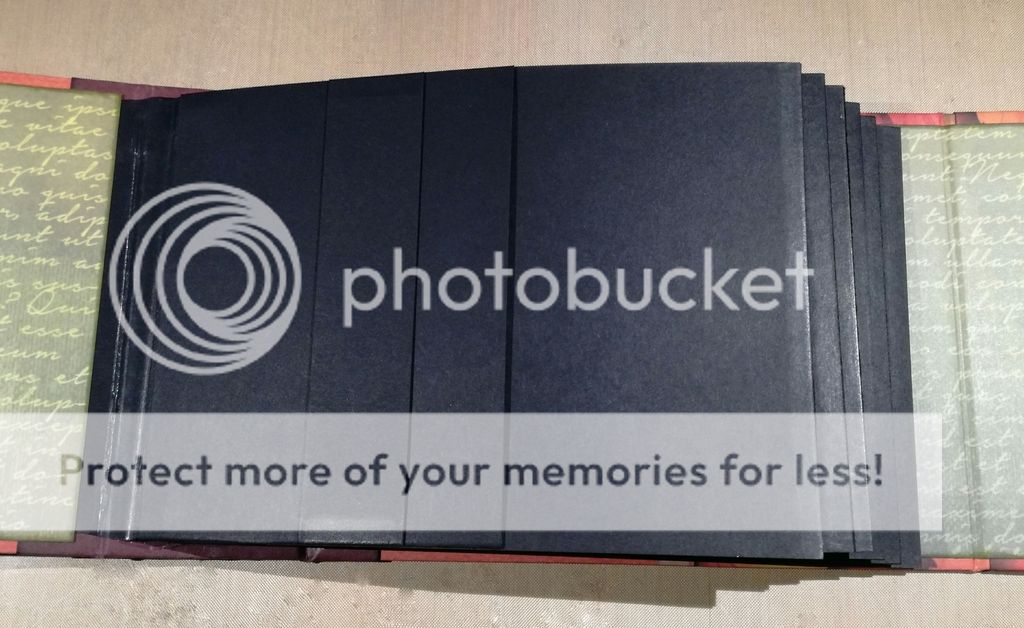
B.... Whilst the glue is wet, slide one of the pages over the hinge, with the sideways pocket facing forwards towards the front cover of the album. 

     
C.... Repeat for the other 5 pages. 

                     
==================================
                               
Thank you for joining me again today.  We'll leave it there for now!

Pop back tomorrow for the third and final part of this tutorial when we'll explore how to decorate the pages of the album!
    
xxSAMxx