Sunday, 12 April 2015

Mrs & Mrs - MDF from That Craft Place

Today I'd like to share with you this Mrs & Mrs MDF freestanding plaque that I finished recently.
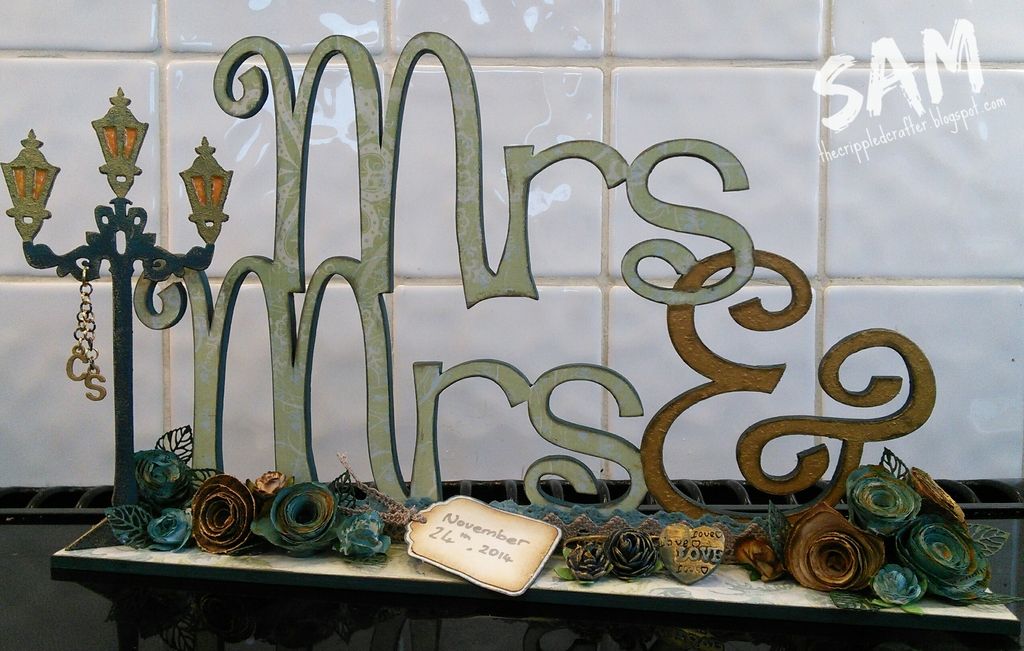

The Mrs & Mrs plaque is from That Craft Place, a wonderful craft shop that posts out if you don't live nearby! They obviously do a Mr & Mrs version but Lisa was more than happy to create a special version for my wife and I. What service!!

First I painted all of the edges of the plaque as well as the sides and bottom of the base piece (which comes as a separate piece for easy decorating). Then I sanded the unpainted surfaces to smooth off any paint overflow.


I spread a generous layer of Mod Podge over the back of the paper and stuck the plaque face down on onto it. I pressed down all of the surface firmly before flipping it over and smoothing the paper out to clear any bubbles. Then I left it to dry thoroughly!
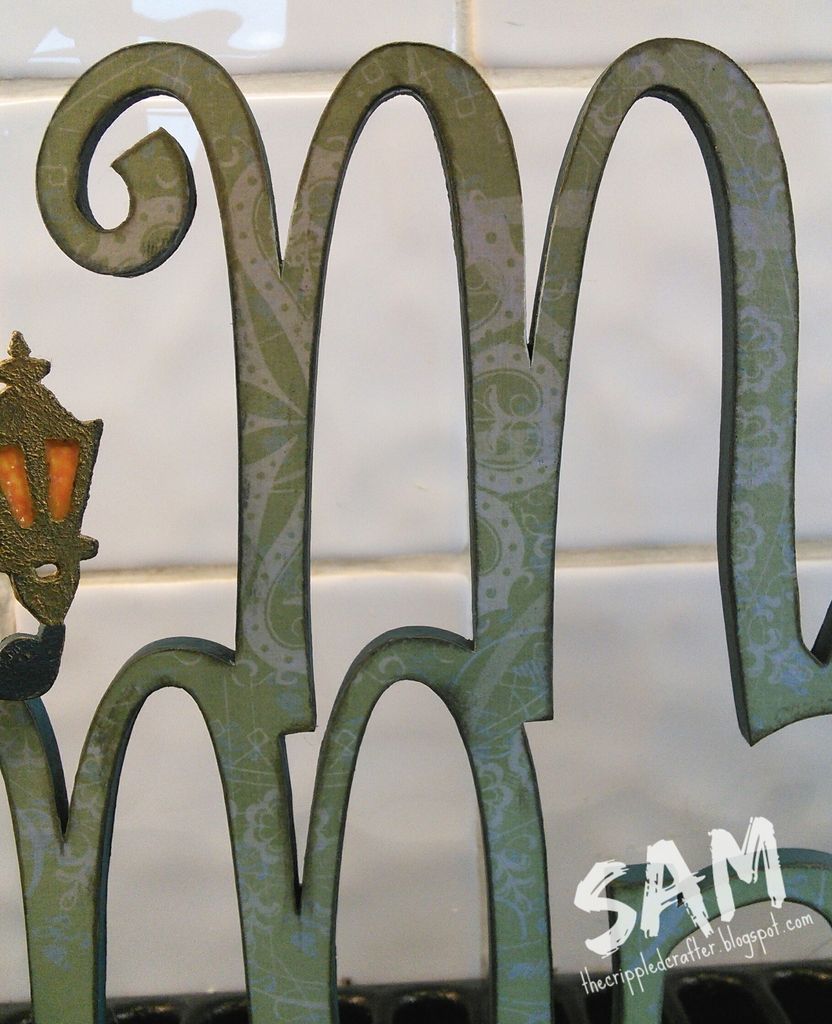
Then came the very tedious job of trimming round the edges with my craft knife (why did I decide to cover in paper??!). After I had spent what felt like an eternity doing this I then repeated the process of glueing, sticking, drying and cutting on the reverse of the plaque... because, ya know, I apparently never learn!

Anyway, after that came the second tedious job of sanding down all the edges both on the front and reverse of the plaque. It is certainly worth doing this step as the finished job looked great! 

I followed the same process to cover and trim the base piece before using Distress Ink in Pumice Stone to add a little definition to the edges of both plaque and base. 

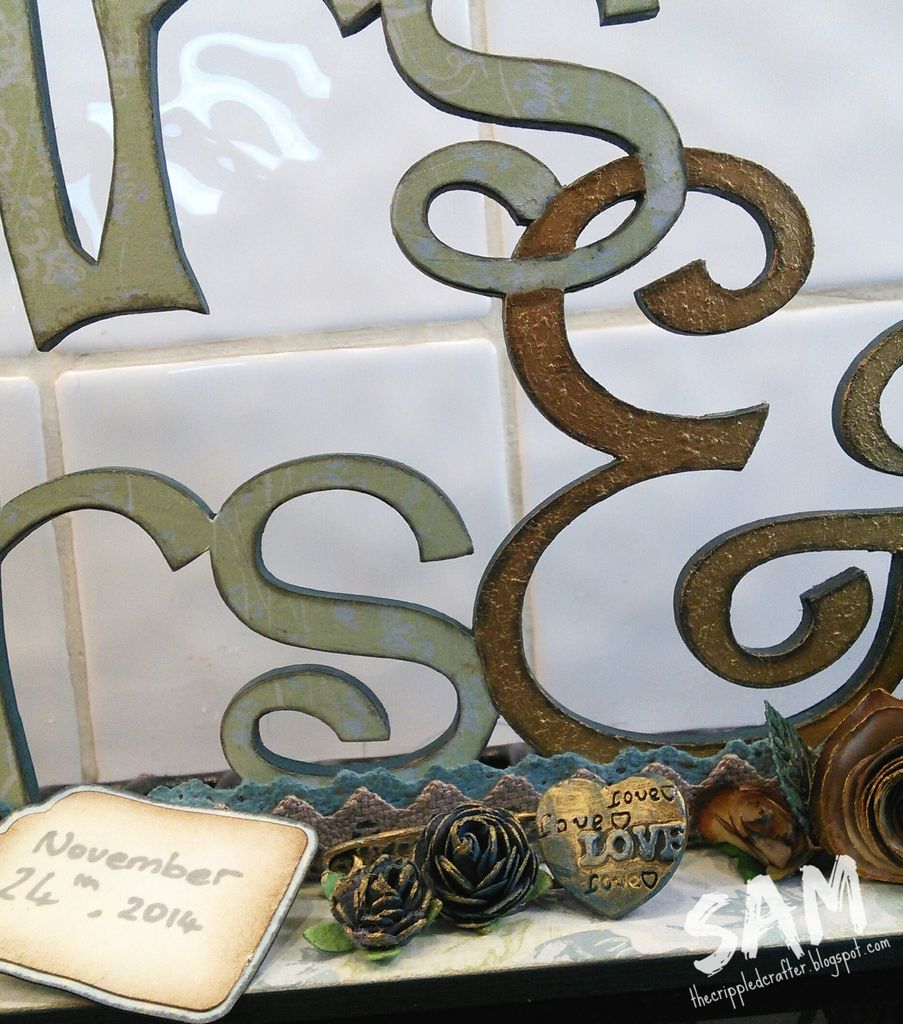
I wanted the & symbol to be separated from the two Mrs' parts so I painted and stippled this with DecoArt Metallic paint in Gold.

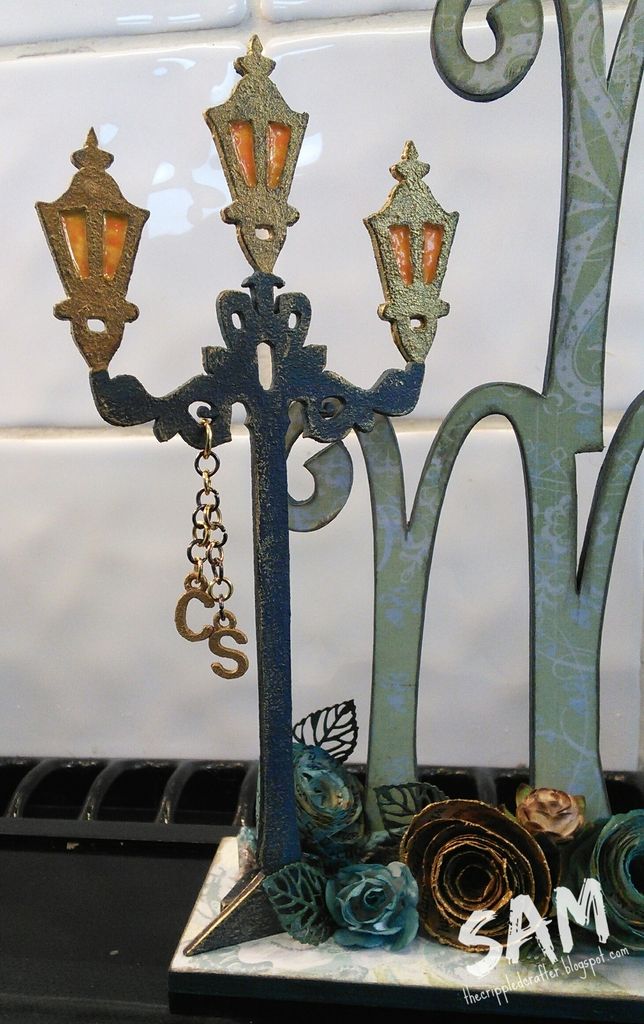
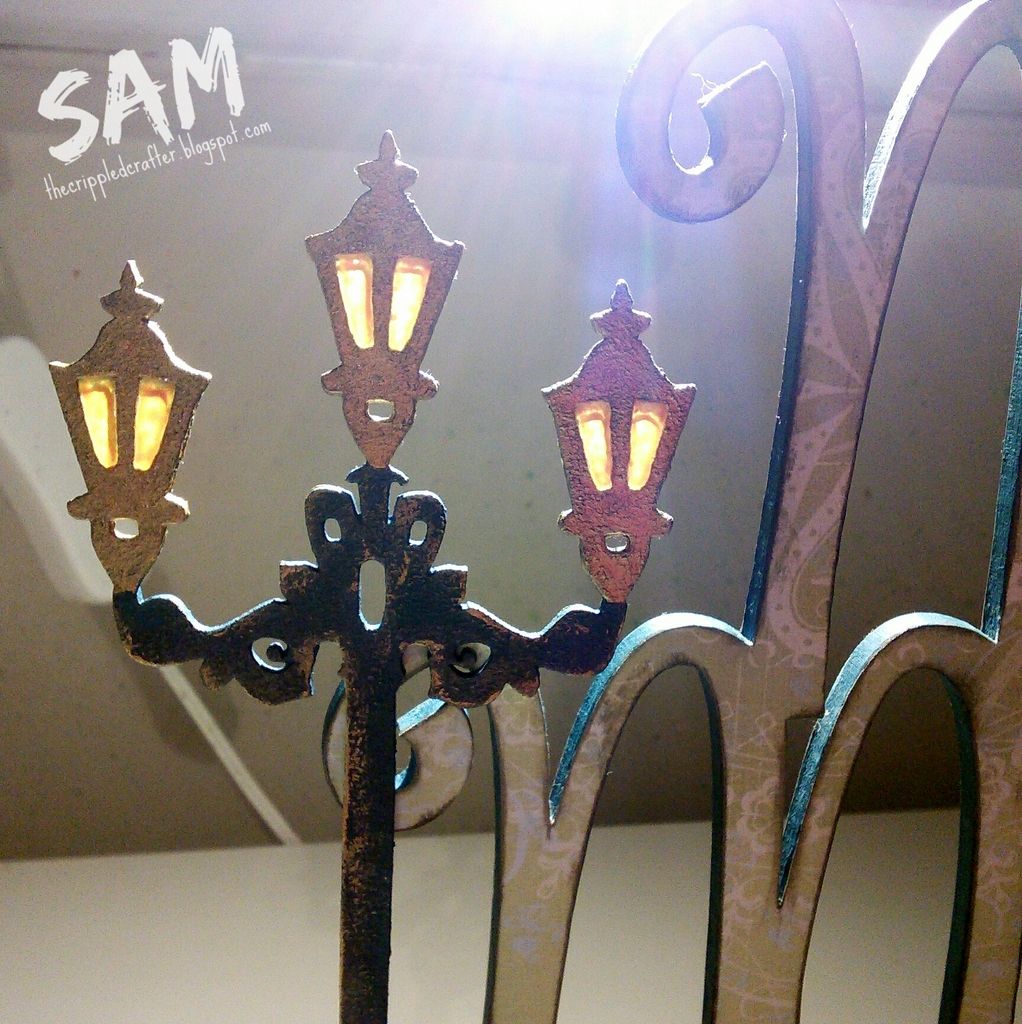
The lamp-post is a greyboard laser cut, also from TCP and I painted this in the same paint as before.  I then rubbed on a little of the gold metallic paint to highlight.  I paint the lamps gold and then set aside to dry.


Once dry I decided to take a risk and grabbed my glossy accents. I laid the lamp-post down on a piece of wax paper and squeezed glossy accents into the windows of the lamps.  Luckily once dry these looked amazing and I finished them off with orange paint mixed with gloss Mod Podge to make it transparent.  If you shine a light behind the lamps they glow.  Definitely glad I took the risk there!

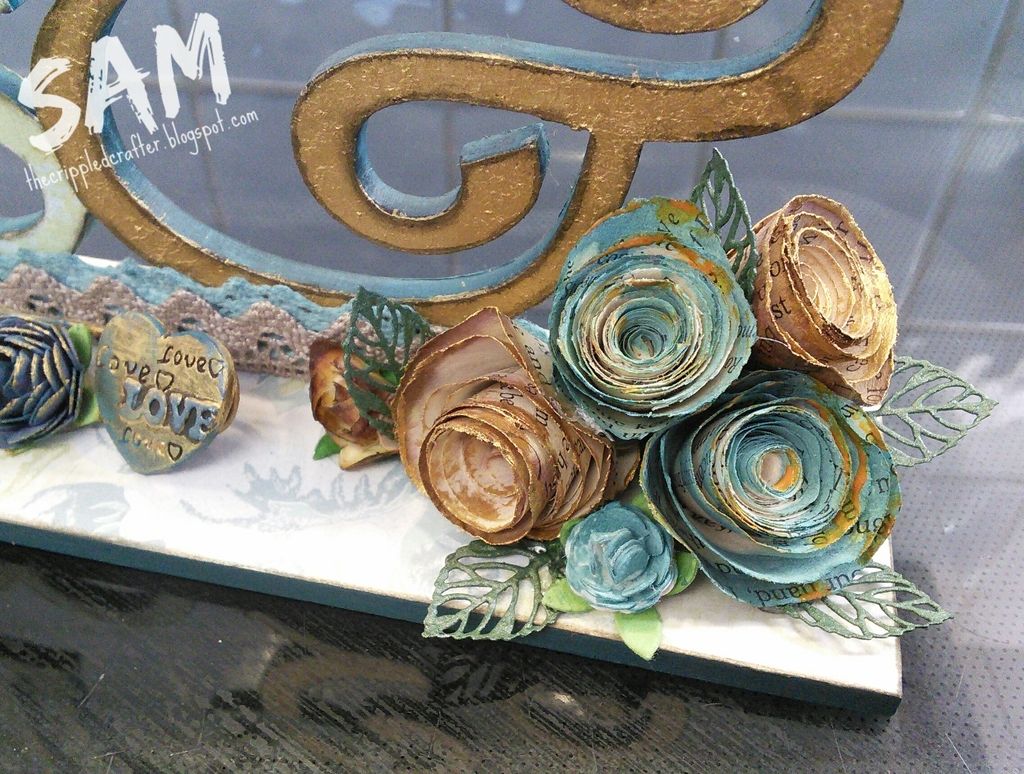
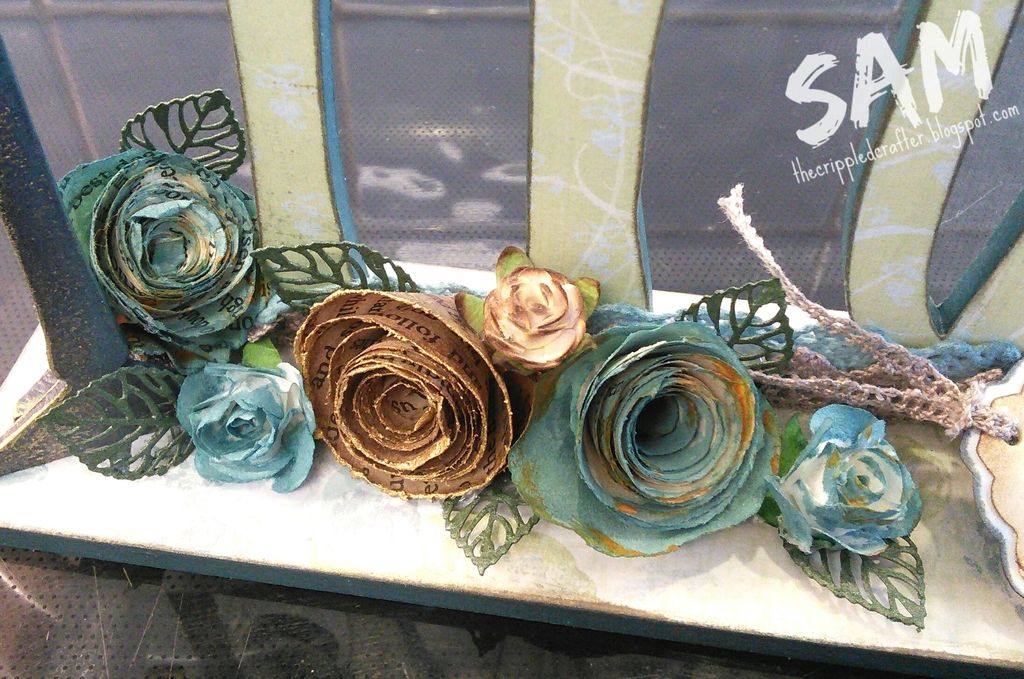
Anyway, that just left the embellishing to do. I added some lace trims and paper flowers which I had sprayed with inks or watered down paint. Some of the flowers are handmade rolled flowers and some are ready made from TCP.  I painted the tiny metal leaves with green metallic paint.  


I used a brass pin and painted it gold before rubbing some of the teal paint over it. It real made the little "Love" words pop out.  Finally I cut a tag using a punch I have and wrote on our wedding day. 


The Mrs & Mrs mdf plaque, greyboard Lamp-post, metal leaves, distress ink, archival ink, gold paint, glossy accents and some of the flower embellishments are all from That Craft Place. (Yes I'm slightly addicted to this shop!)

Thankyou for stopping by once again and I do hope you haven't completely glazed over after reading all of this!  Hope you have a lovely day doing whatever you are doing! 

xxSAMxx

I would like to  please enter this project into the following challenges:

Thursday, 9 April 2015

Birthday Sugar

Hi, and welcome to my blog. If you've been sticking with me throughout the last week of intensive book page related blogging, then a huge thankyou! 

Today we take a break from the book pages to share with you a card I made using a gorgeous image from my favourite craft shop That Craft Place. You can visit their Facebook shop HERE, and the link to their Etsy store, where their digistamps can be found, is a little further down the page!


- - - - - - - - - - - - - - - 

I used the following materials / steps for this project:

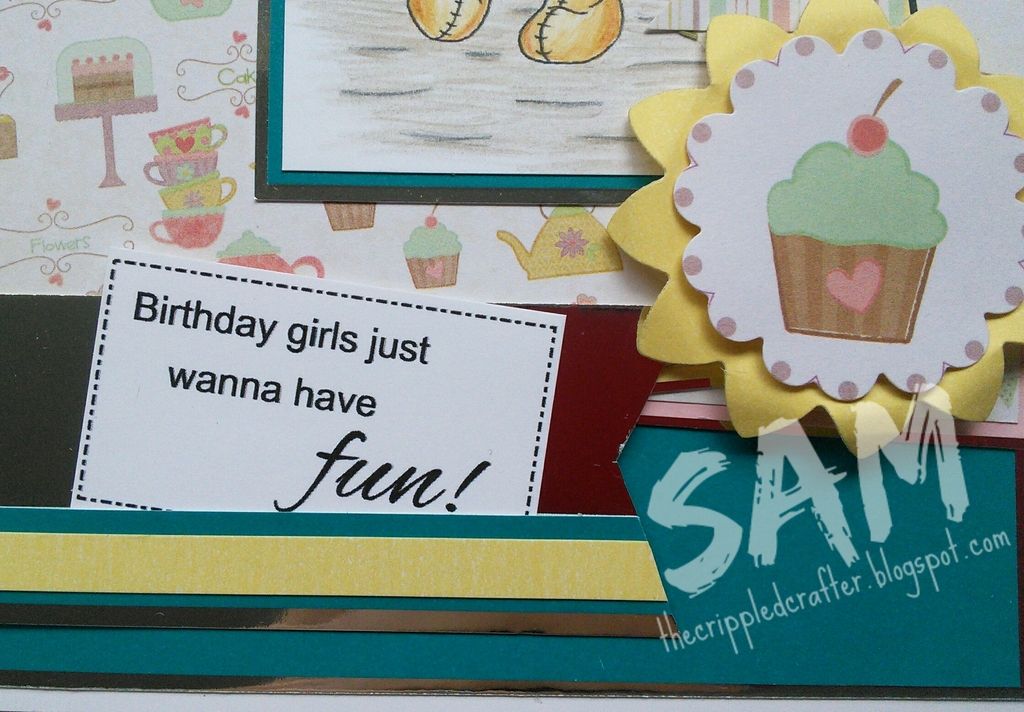
The adorable image is called "Love from Sugar" and is from That Craft Place's Sugar & Spice digistamp range, available to buy from Etsy.  The sentiment is also from That Craft Place's Etsy store. 

The image was printed onto Neenah cardstock and coloured using Derwent Academy Coloured Pencils, my first attempt using pencils!

That Craft Place don't just sell digital products, and indeed have a bricks and mortar shop selling craft goodies to stash addicts like me all over the country! Infact the mirror card on this project is from their store too.

The pink die cut with hearts cut out is from a die set by Tonic, and the yellow flower was cut with a die by XCut.

The papers and cardstock are from my stash.

- - - - - - - - - - - - - - -


Thankyou for visiting today. I would love you to leave a comment and, if you are a blogger also, I will pop over to visit your blog too! 

xxSAMxx

I would like to please enter this card into the following challenges:

Wednesday, 8 April 2015

Family (book page swap 8 of 12)

Welcome to another of my blog posts showing you the wonderful pages I made as part of a wonderful book swap with 13 fellow crafters dotted all over the world!
More about this swap can be found in my Book Swap Introduction HERE.
So, onto the eighth page of 12! This page was for Mandy Carnaby, using her chosen theme of FAMILY.  Sadly, this page didn't make it as far as Mandy's book but I wanted to share the process with you all the same.

I used the following materials/steps for this page:
Layers of patterned papers make up the background of this page giving it wonderful texture.  I stamped randomly over the background, once stuck together, with a script stamp.  I used Archival Ink in Tree Branch to do this (from That Craft Place).

The images on the background were cut from a lovely patterned paper and were coated with Mod Podge before layering onto cardstock an mounting on the page.

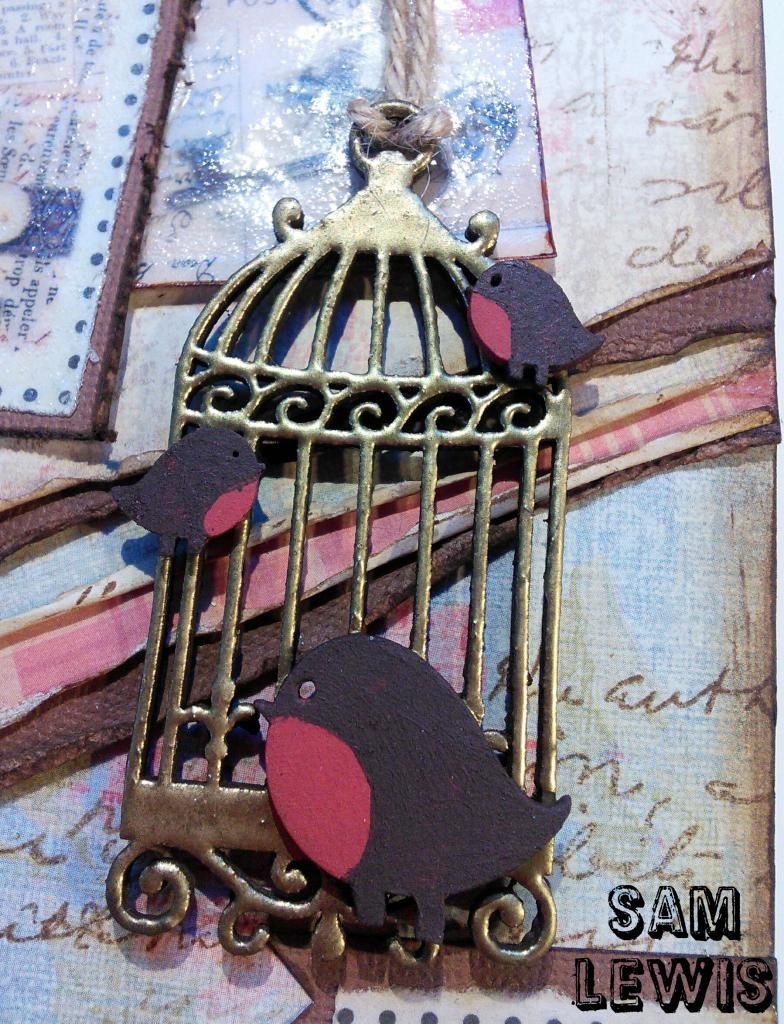
The feature of the page is of course the birdcage with it's family of robins (see what I did there?!).  The birdcage and birds are from Hobbycraft.

The birdcage was thoroughly painted with acrylic paint in burnt umber and then I applied several layers of gold heat embossing to really give it dimension and bling!  The robins were painted red and then the same brown acrylic paint was added leaving the red tummies showing.

As with all my pages, I finished the edges of the book with a thin border of paint as I don't like to leave the edges of the chipboard base exposed.  This definitely leaves a tidy finish to the page.
- - - - - - - - - - - - - - - - - - -
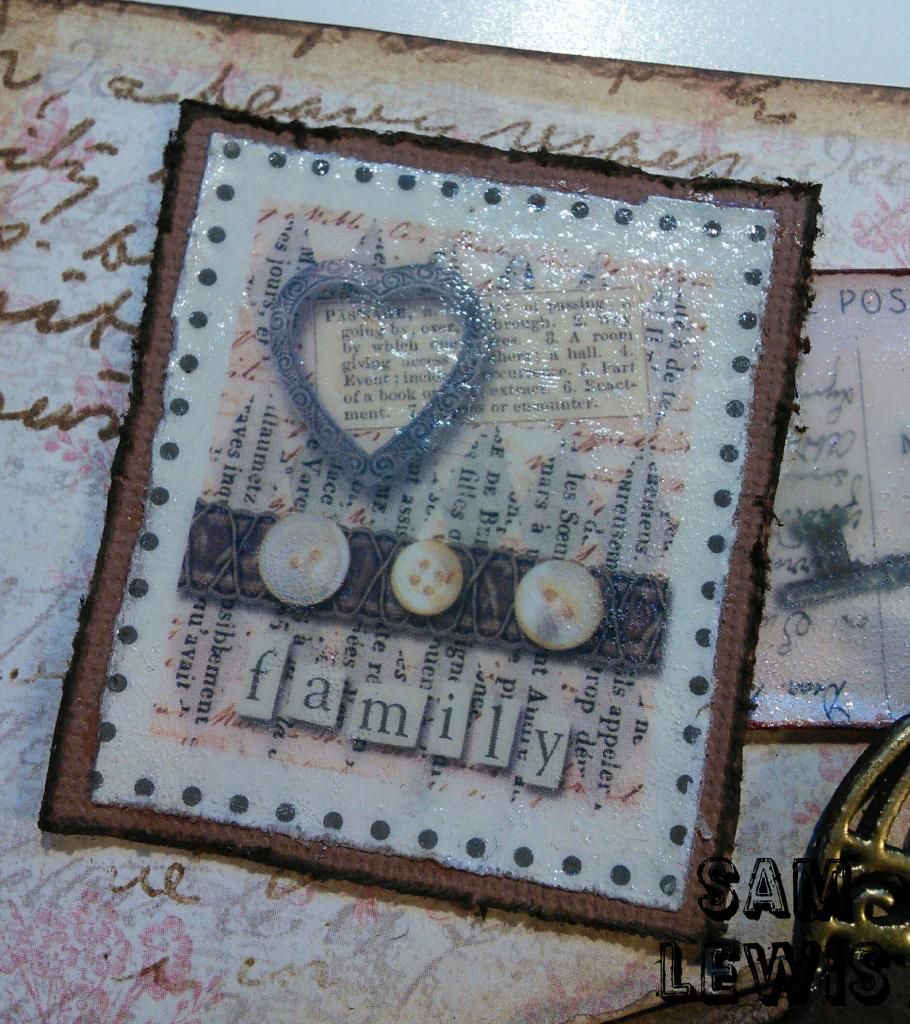
Here are photos of the rest of the book page:


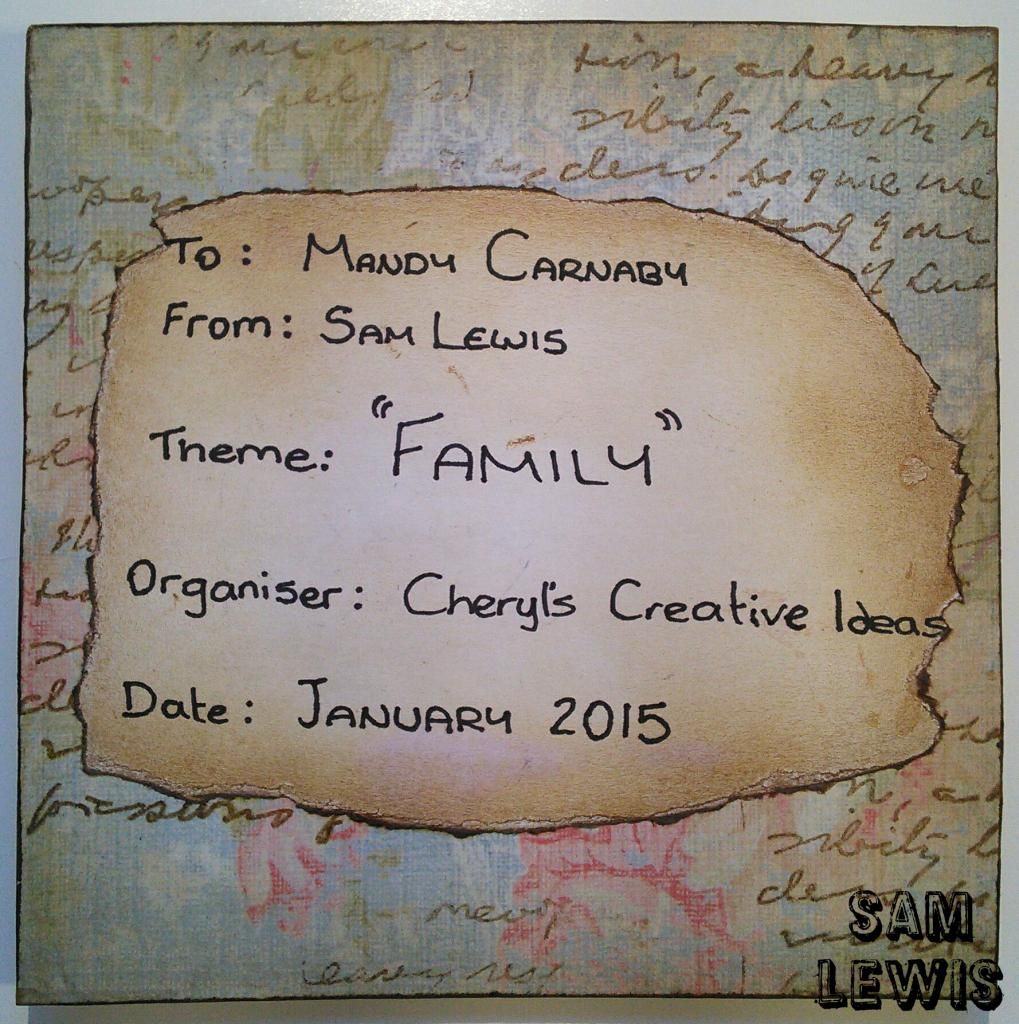
And the back of the page:

- - - - - - - - - - - - - - - - - - -
I'd like to quickly finish off by showing you the page that Mandy made for me, using my theme of Science Fiction:

- - - - - - - - - - - - - - - - - - -
A big thank you for stopping by!  This will be the last post about these book pages for a short while at least, as the remaining pages haven't yet reached their recipients! In the meantime, do please check the home page for ones posted already!
xxSAMxx
I would like to please enter this project into the following challenges

Tuesday, 7 April 2015

The community of crafting...

I just want to say a huge thankyou to everyone I have every had contact with through this wonderful amazing crafting community.


This past few days I have felt especially blessed. Last week I got 3 Top 3's in blog challenges and today I found out that I was the very lucky winner of Jo Lovering's blog candy. 

Do please visit her blog! She has wonderful creations to show and it is the least I could do to say thanks! 


xxSAMxx

Tranquility (book page swap 7 of 12)

Welcome to another of my blog posts showing you the wonderful pages I made as part of a wonderful book swap with 13 fellow crafters dotted all over the world!
 
More about this swap can be found in my Book Swap Introduction HERE.
 
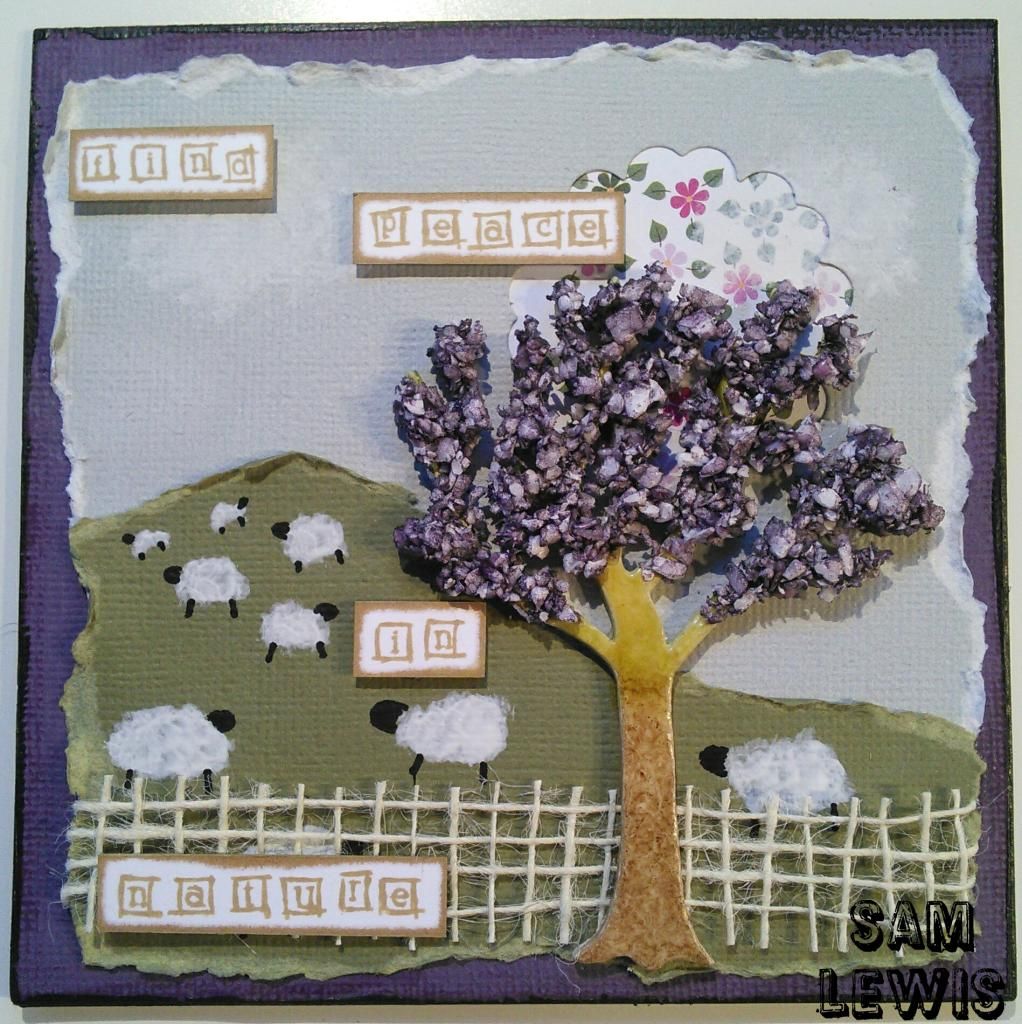
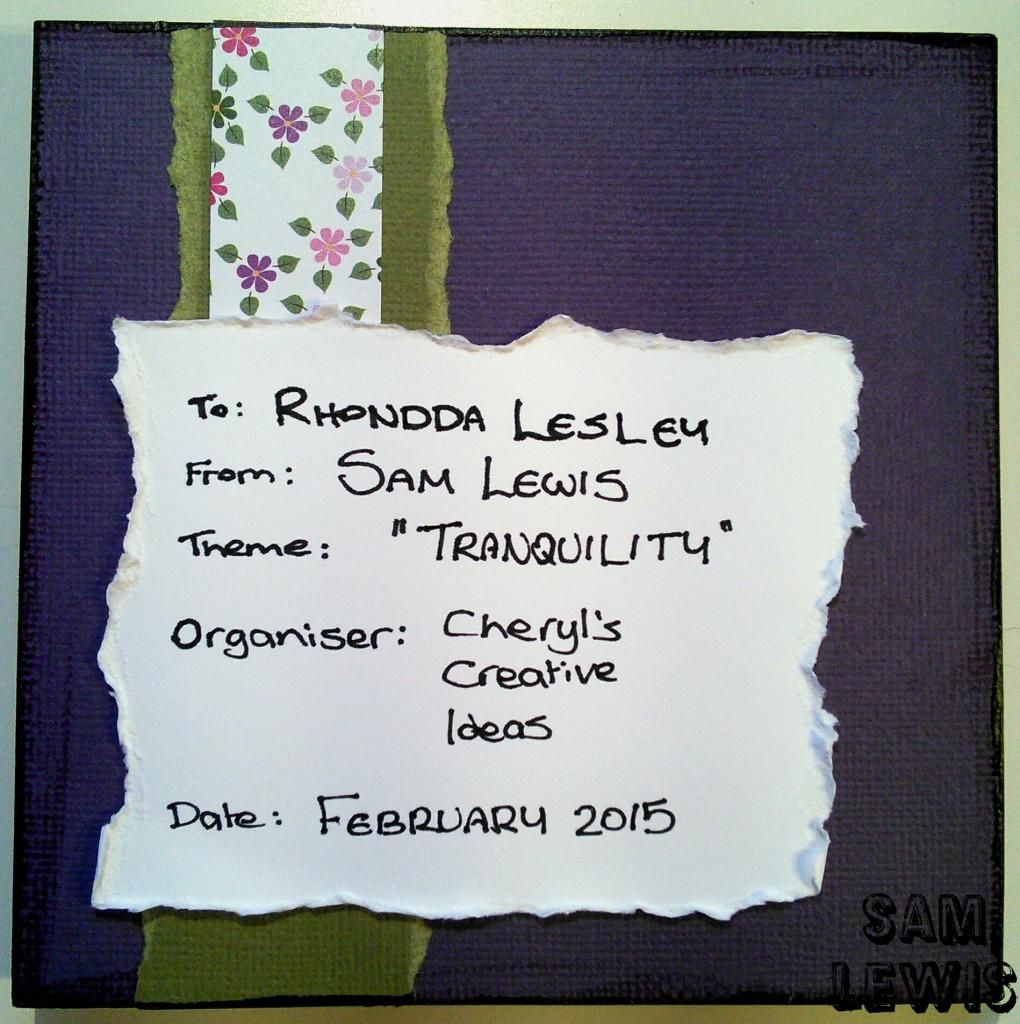
So, onto the seventh page of 12! This page was for Rhondda Lesley, using her chosen theme of TRANQUILITY.
 
 
I used the following materials/steps for this page:
 
Background was made from layers of textured cardstock by American Crafts and onto this I painted and drew the sheep using white gesso and my black Posca paint marker.

The fence is a length of jute ribbon from That Craft Place which I wrapped round the background before securing to the page.

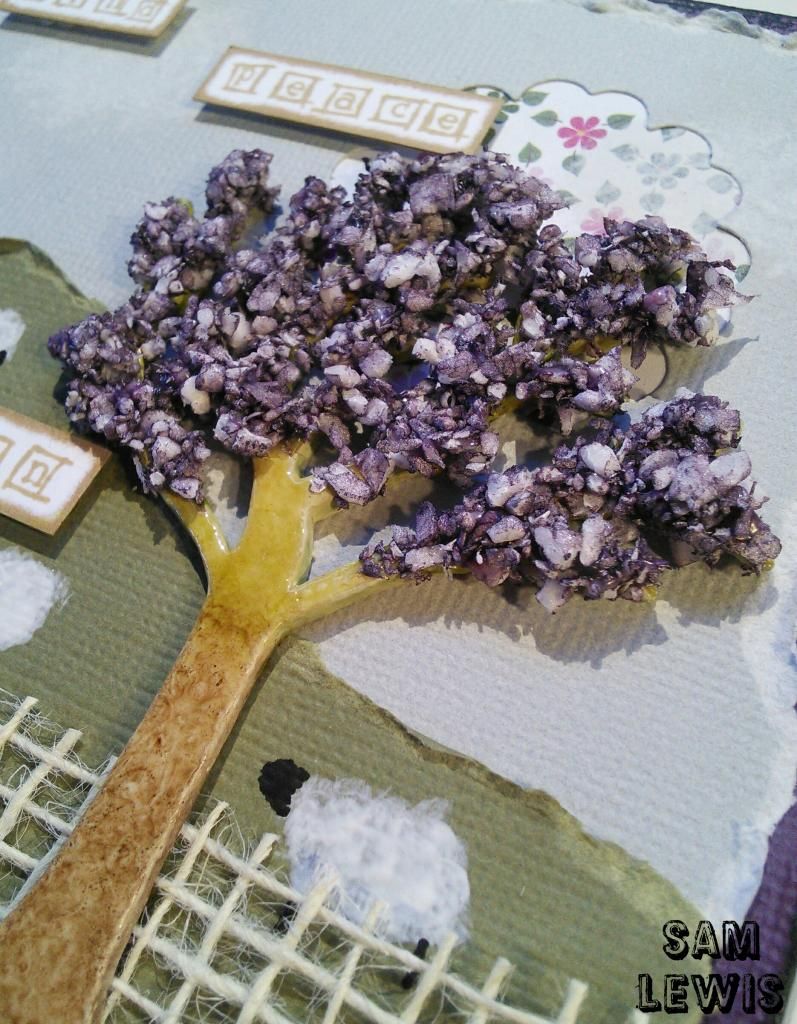
The tree is a chipboard lasercut from Hobbycraft which I coated in white gesso to keep the colours pale.  I then stippled a watered down brown paint onto the trunk, blending into a greener tone further up the tree.  I finished this stage with a coat of glossy accents.

The blossom on the tree is faux Flowersoft, made from polystyrene which I sprayed with DoCrafts Artiste Spritzing Ink in Aubergine. Once dry I coated the upper portion of the tree with pva glue and dipped it in the polystyrene.  I repeated this until I had a nice full looking tree!

To finish, I stamped the sentiment onto Neenah cardstock in Tree Branch Archival Ink.  The mini alphabet stamp set is by Dove Craft.
 
- - - - - - - - - - - - - - - - - - -
 
Here are photos of the rest of the book page:
  
 
And the back of the page:
 
 
- - - - - - - - - - - - - - - - - - -
 
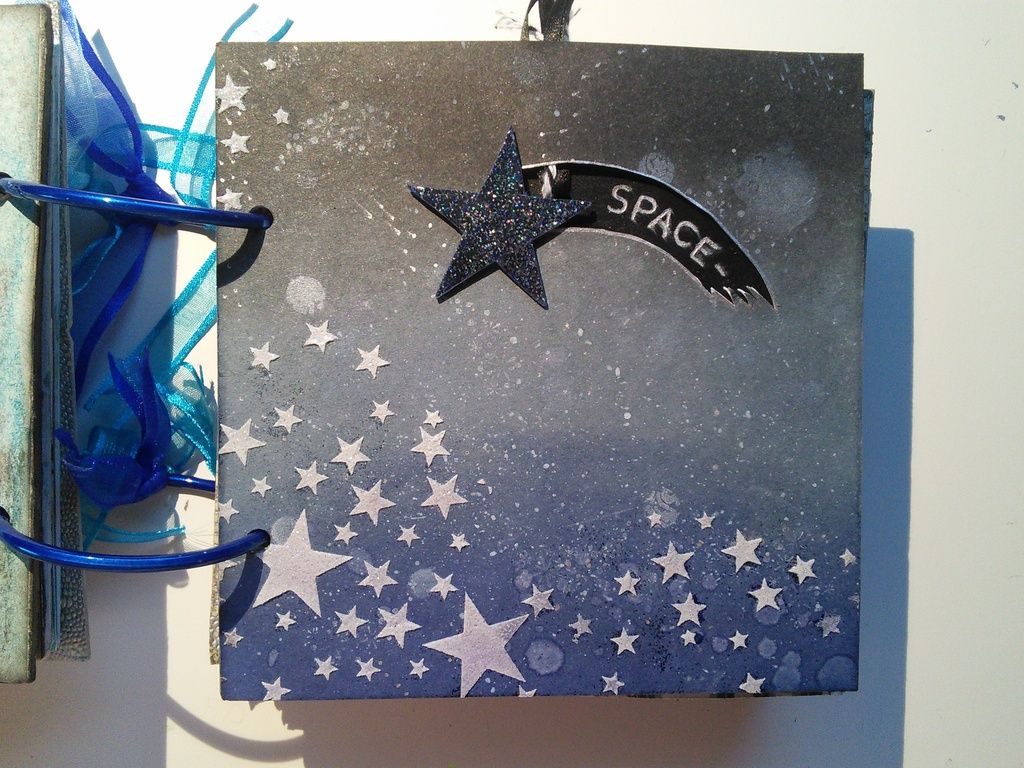
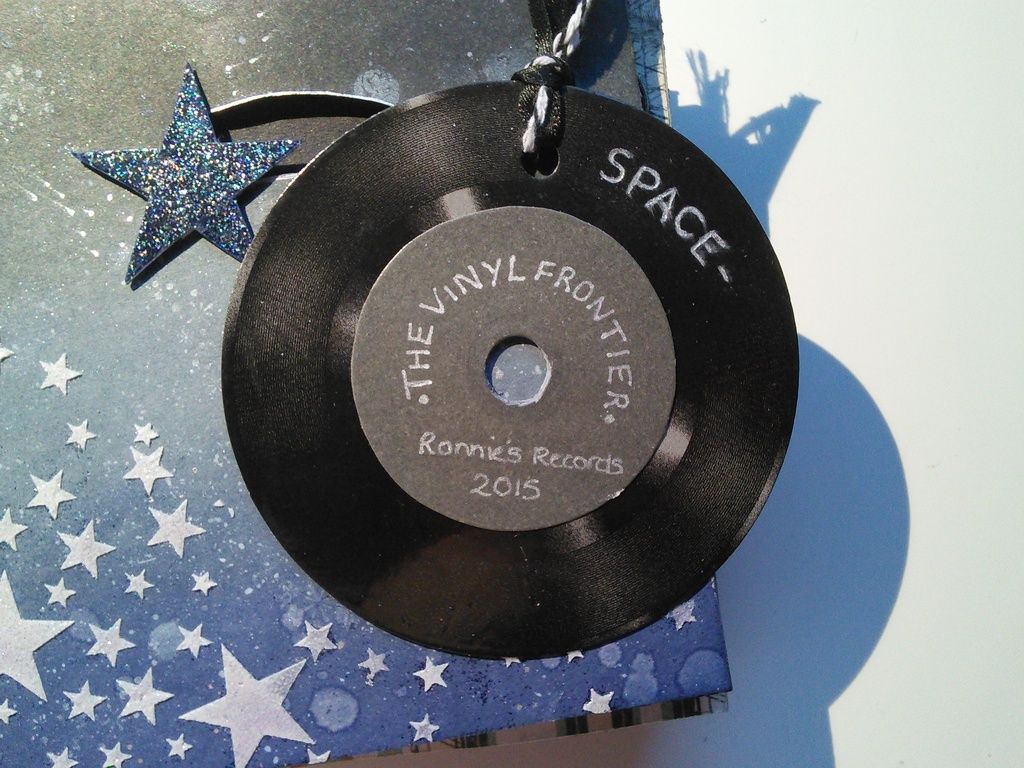
I'd like to quickly finish off by showing you the page that Ronnie made for me, using my theme of Science Fiction:


- - - - - - - - - - - - - - - - - - -
 
A big thank you for stopping by!  Please come back tomorrow to see the next book page in this series and check the home page for ones posted already!
 
xxSAMxx
 
I would like to please enter this project into the following challenges