
Hey folks! Today I'm off to hospital for a Wheelchair-Services ordered eye test to make sure I'm "safe" to drive my powerchair outdoors! That should be fun! Then I have to take a road proficiency test before they'll let me loose outside my home!
Anyway, I want to share with you an Art Journal I made for my young niece.
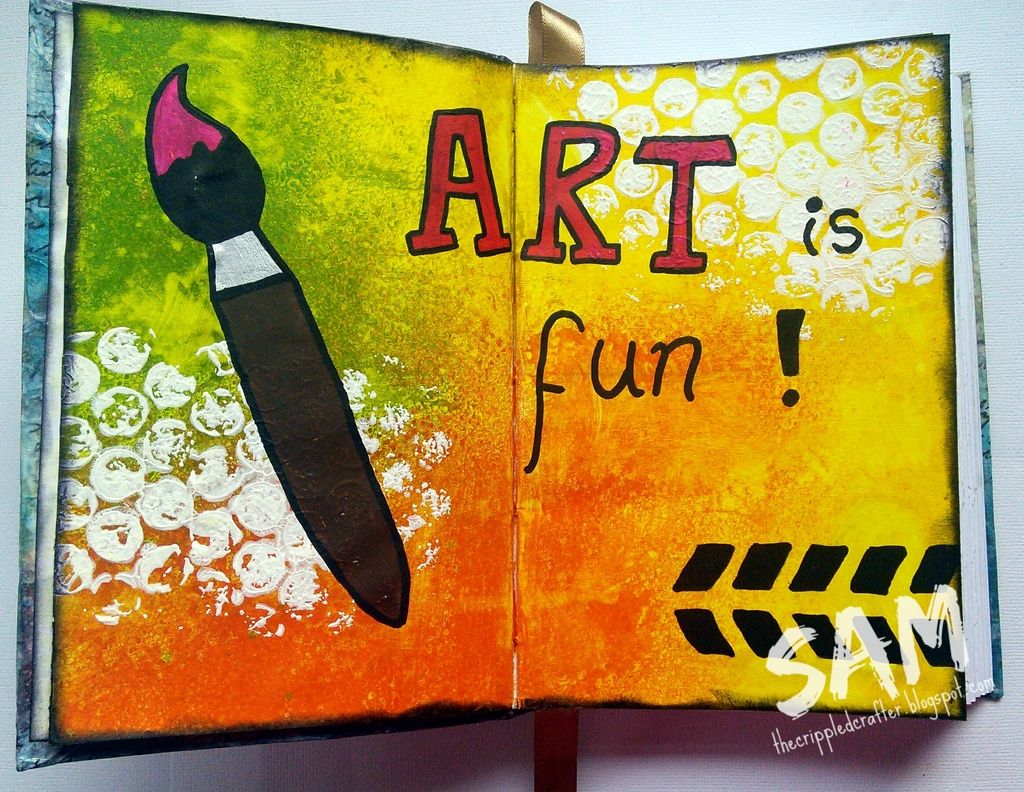
I did the first page inside for her to get her going!...
- - - - - - - - - - - - - - -
I used the following materials:
COVER
DoCrafts Artiste Spritzing Ink (Aubergine, Gold, Ocean Blue)
Archival Ink (Watering Can, Jet Black)
Molotow Paint Marker (White, Black)
PVA Glue
Cardboard for cover, recycled from a pizza box
Recycled brown packaging paper
White tissue paper
Generic Script stamp
Tim Holtz stamp - Grids
Alphabet stamp set - unknown brand
INSIDE PAGES
Distress Ink (various colours)
Archival Ink (Jet Black)
Double sided tape
Cog Stencil - That Craft Place
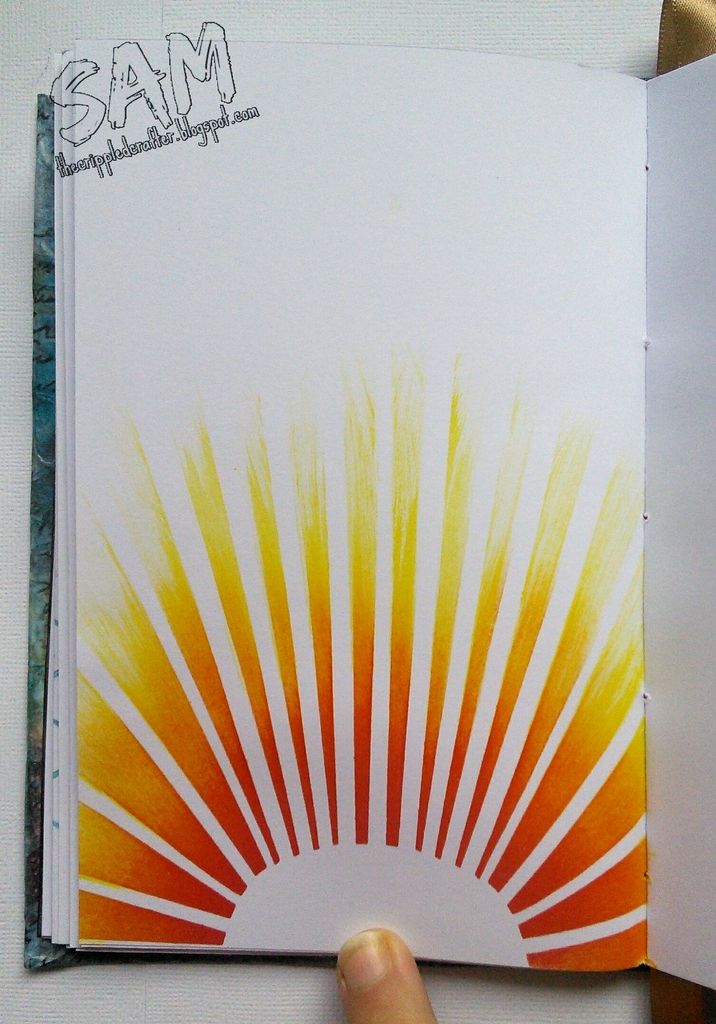
Sunburst Stencil - That Craft Place
160gsm White Cardstock
Tonic Edge Punch - Dotty Border
Other Stencils - various brands
"ART IS FUN" PAGE
DecoArt Media Misters (Yellow Green, Primary Yellow, Orange)
White Gesso
Acrylic paintpaint
Sharpie Marker (Pink)
DecoArt Dazzling Metallics (Silver)
Molotow Paint Marker (Black)
Archival Ink (Jet Black)
OTHER
Ribbon
Patterned paper
Crochet cotton
Most products above available from That Craft Place.
- - - - - - - - - - - - - - -
Summary Process:
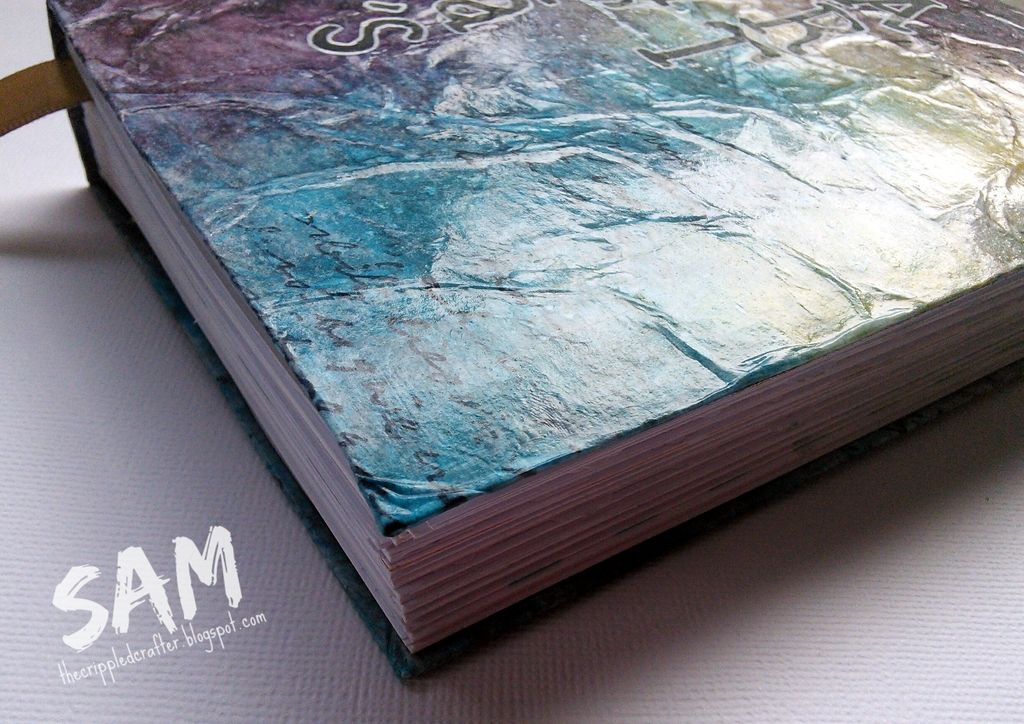
COVER
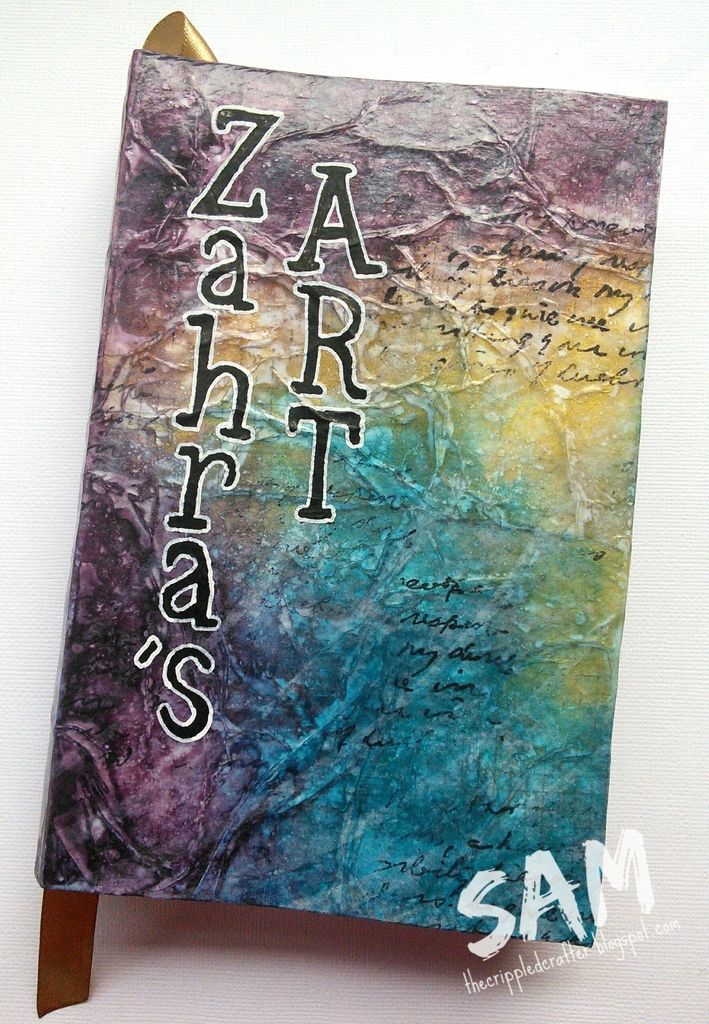
I used an old pizza box for the cover and covered it with crinkled brown packaging paper using PVA Glue, before giving a coat of white Gesso. I then sprayed with DoCrafts Artiste Spritzing Inks.
I stamped a sheet of white tissue paper with script and grid stamps using Archival Ink in both Jet Black and Watering Can and adhered to the cover using PVA Glue.
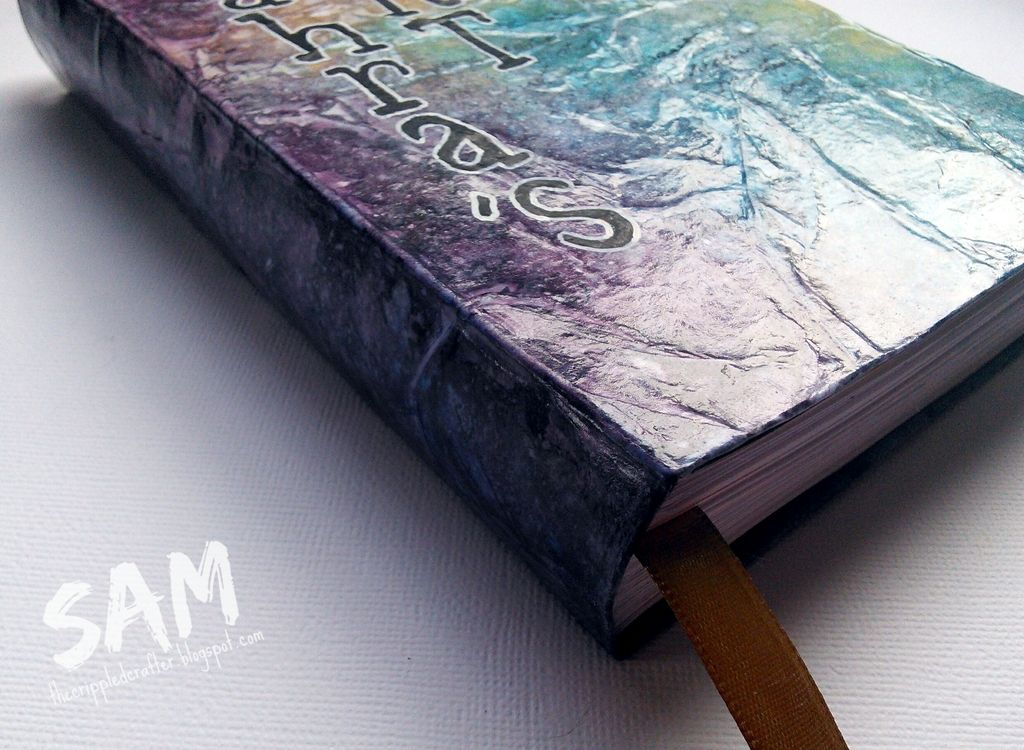
I finished with a final coat of PVA. The layers of PVA Glue gave the cover wonderful strength AND flexibility which gave the finished journal a wonderful feel.
The "Zahra's Art" was initially stamped but I didn't feel it was bold enough so I went over the stamping with paint markers.
INSIDE PAGES
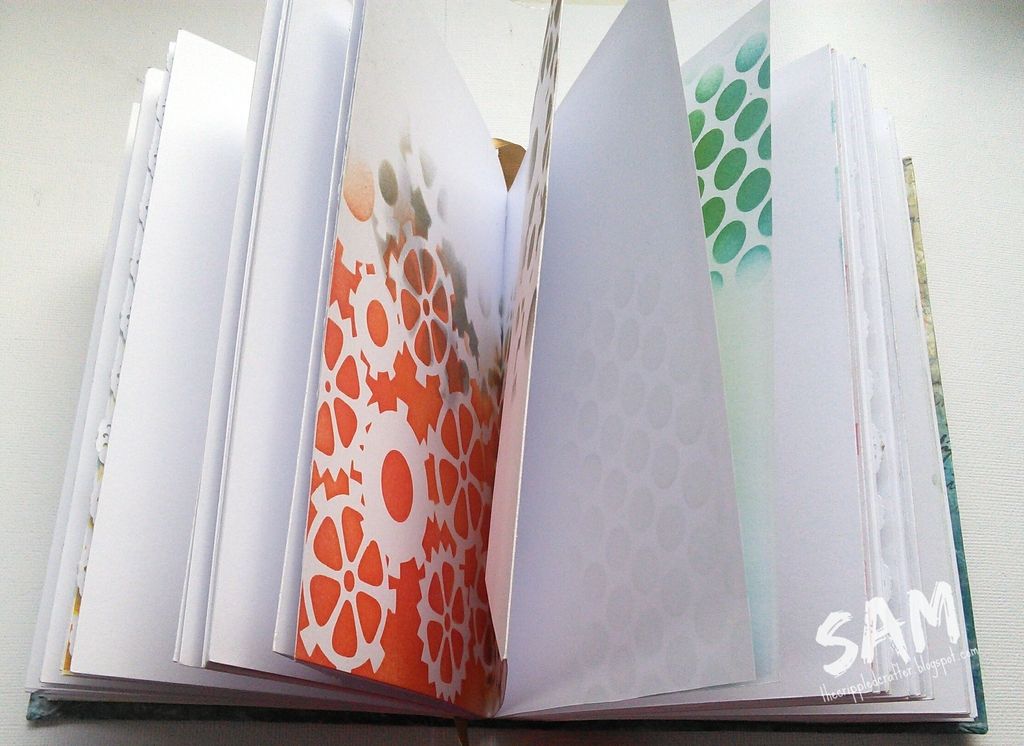
All the pages in this journal were basic 160gsm white cardstock as my niece is not going to be abusing it with the amount of sprays and paints that us mixed media journalers throw at our pages!
I used A4 sheets which were folded on various ways to give flaps and envelope pockets (2 pages secured together with double sided tape) throughout the journal. The edges of several pages were punched with a Tonic edge punch.
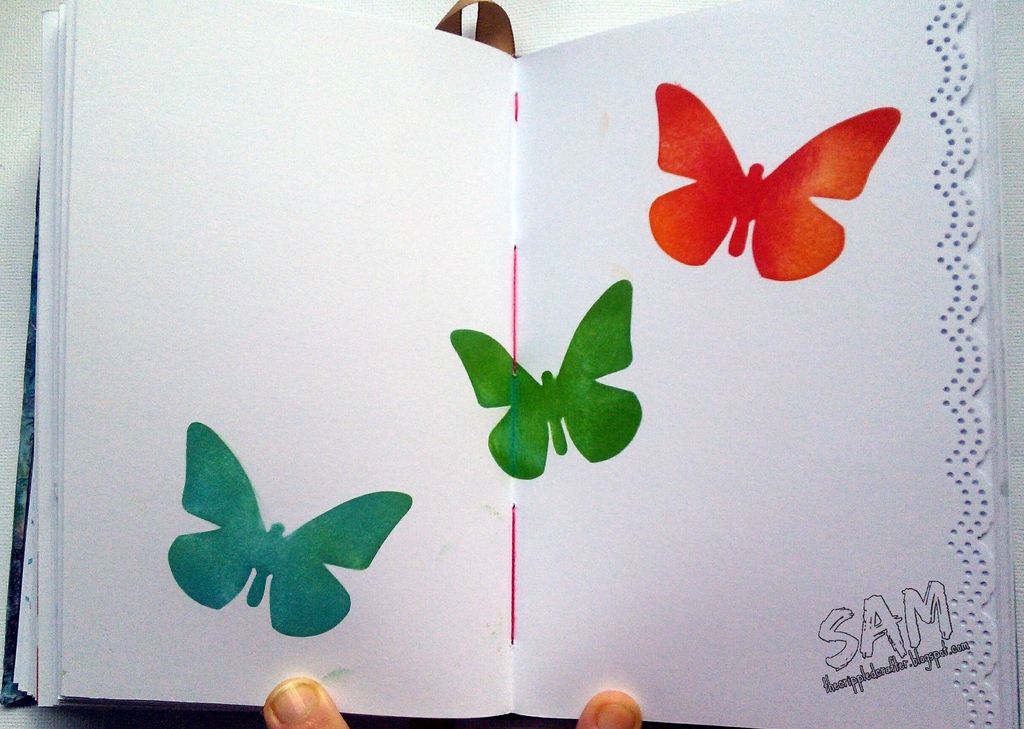
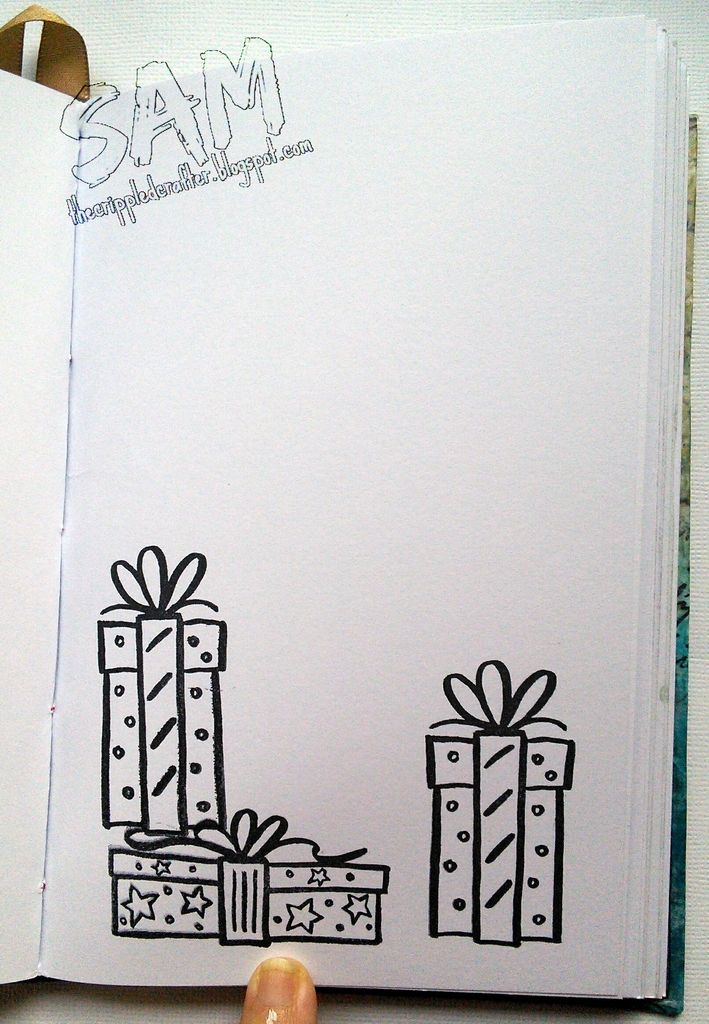
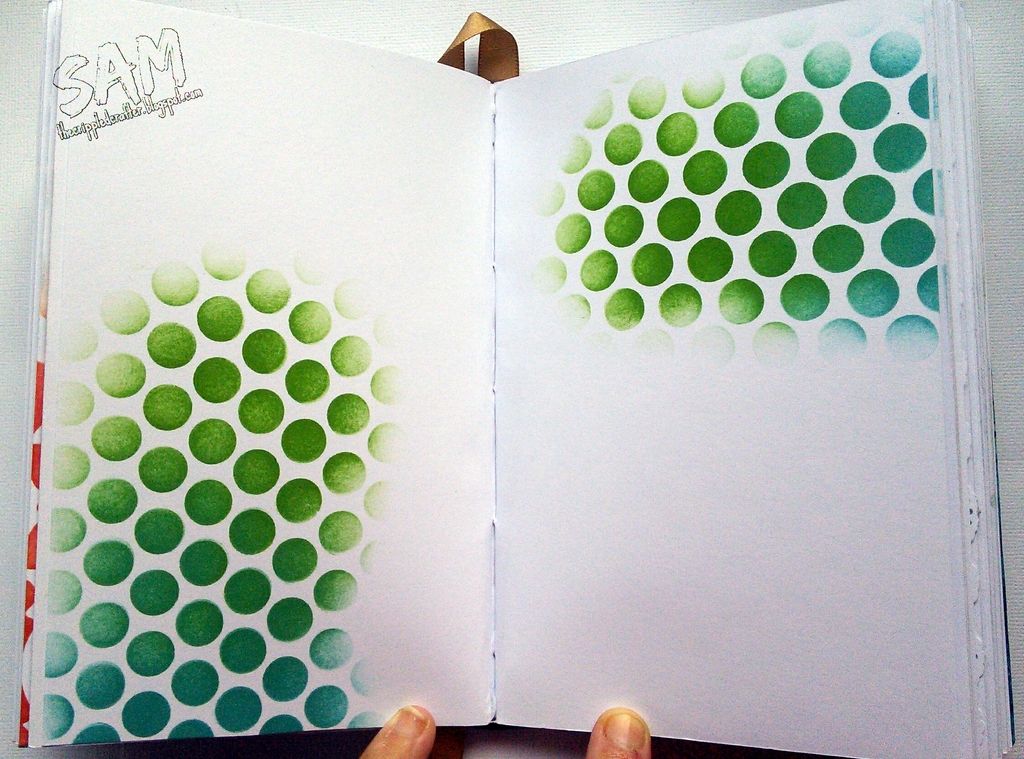
I stenciled and stamped a few of the pages to give starting points for her if needed.
BINDING
I wanted to find a method of binding that didn't leave strings on the outside of the spine and came across this YouTube video!
I followed this almost exactly with exception to the structure of the cover.
My tip when using this method is PLENTY of glue! It makes a really secure and tight binding which should last a long long time.
- - - - - - - - - - - - - - -
Here are some more photos:
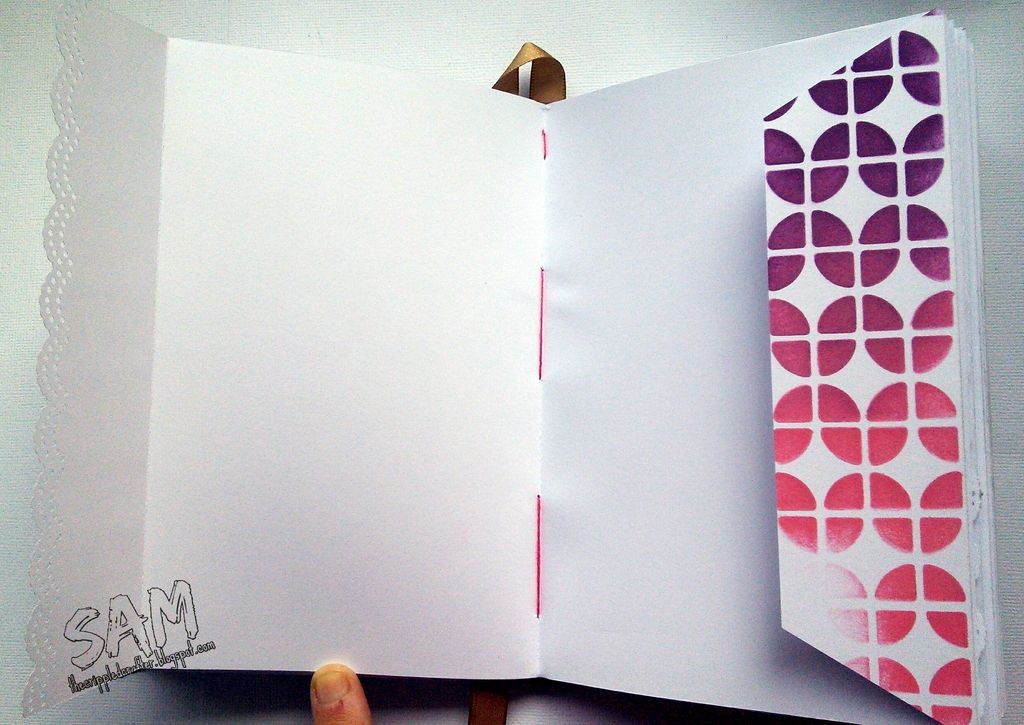 |
| Loose punched: flap (left) & envelope flap (right) |
- - - - - - - - - - - - - - -
Thank you as always for popping by. I hope you enjoyed this tutorial and showcase. I'll certainly be making another using this method! I really enjoyed working on a smaller journal page (I usually use a double page spread in an A4 Dylusions Journal).
I'll be making myself one using thick mixed media paper and perhaps not quite as thick as this one.
Anyway, wish me luck at hospital, no doubt I'll have a long wait in the waiting room so I'll be taking something to doodle in (a smaller journal would have been handy today!!).
I'll be making myself one using thick mixed media paper and perhaps not quite as thick as this one.
Anyway, wish me luck at hospital, no doubt I'll have a long wait in the waiting room so I'll be taking something to doodle in (a smaller journal would have been handy today!!).
xxSAMxx
Please can I enter this project into the following challenge(s):
Hi Sam this is a stunning project. Thank you for the tutorial. Hugs Jackie
ReplyDeleteHello Sam, Wow love this Art Journal, I really must get on with mine, love all the fabulous colours.
ReplyDeleteJade xx
Oh wow Sam amazing journal. I love the pages. Fabulous! X
ReplyDeleteFantastic tutorial I am going to have to have a go at one of these. Xx
ReplyDeleteWhat a beautiful Journal, your niece will adore this hun. Great tutorial hun. Hope all went well at the hospital for you, hugs xxx
ReplyDeleteAbsolutely gorgeous Art Journal, I love the colours and techniques you have used...
ReplyDeletehugs xxx
Love your journal pages, so bright and beautiful. Great work
ReplyDeleteVibrant & beautiful journal.. Everything is brought so well together.. Lovely.! :)
ReplyDeleteThis is such a fabulous idea !!! I know your niece is going to have hours of fun creating in this journal... Hard to believe that cover is from a pizza box... this is awesome. Thank you for creating with us at Rhedds Creative Spirit !
ReplyDeleteWhat a lovely idea to make a journal for your niece. It's fabulous, and hopefully she'll be making her own gorgeous pages in no time! Thank you for entering your project at Rhedd’s Creative Spirit. Sammy-x
ReplyDeleteFantastic project, a beautiful gift idea too. Thank you for sharing it with us at Altered Eclectics.
ReplyDelete